- FREE Shipping on all orders! Limited time!
- support@tru-scapes.com
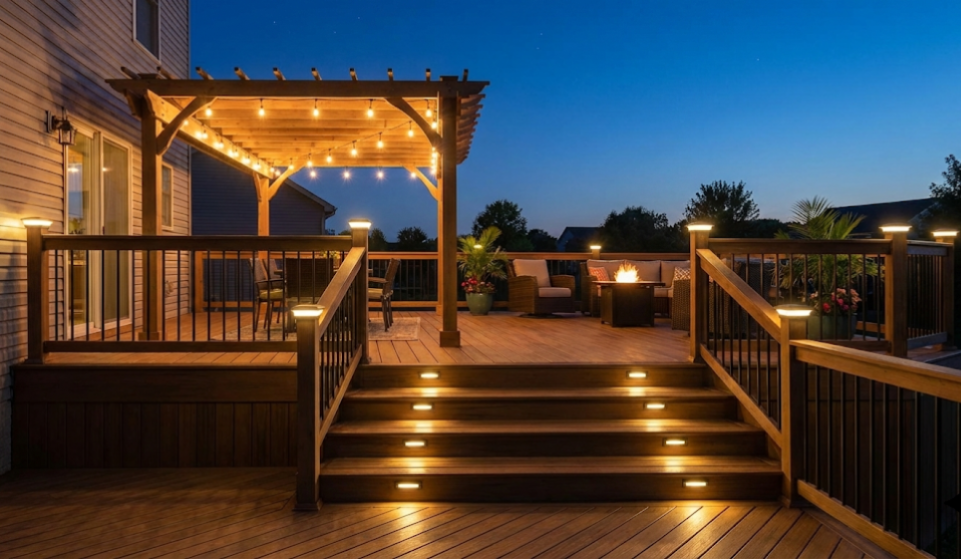
Are you ready to elevate your deck projects from simply functional to truly breathtaking? While basic deck lighting is a great start, mastering advanced installation techniques can set your work apart, creating a luxurious and inviting outdoor space that clients will adore. For homeowners in the United States, a well-lit deck is more than just a feature; it’s an extension of their living space, a place for relaxation, entertainment, and making memories.
This guide will walk you through professional-level deck lighting installation techniques that will not only enhance the beauty and safety of any deck but also streamline your workflow. You’ll learn how to create a seamless, high-end look that will have your clients—and their neighbors—talking.

Before you even think about drilling a hole or running a wire, a solid plan is essential. This is where you transition from a simple installer to a true lighting designer.
Now, let’s get into the nitty-gritty of what separates a good lighting job from a great one.
Visible wires are the quickest way to ruin the look of a beautiful deck. Here’s how to make them disappear:
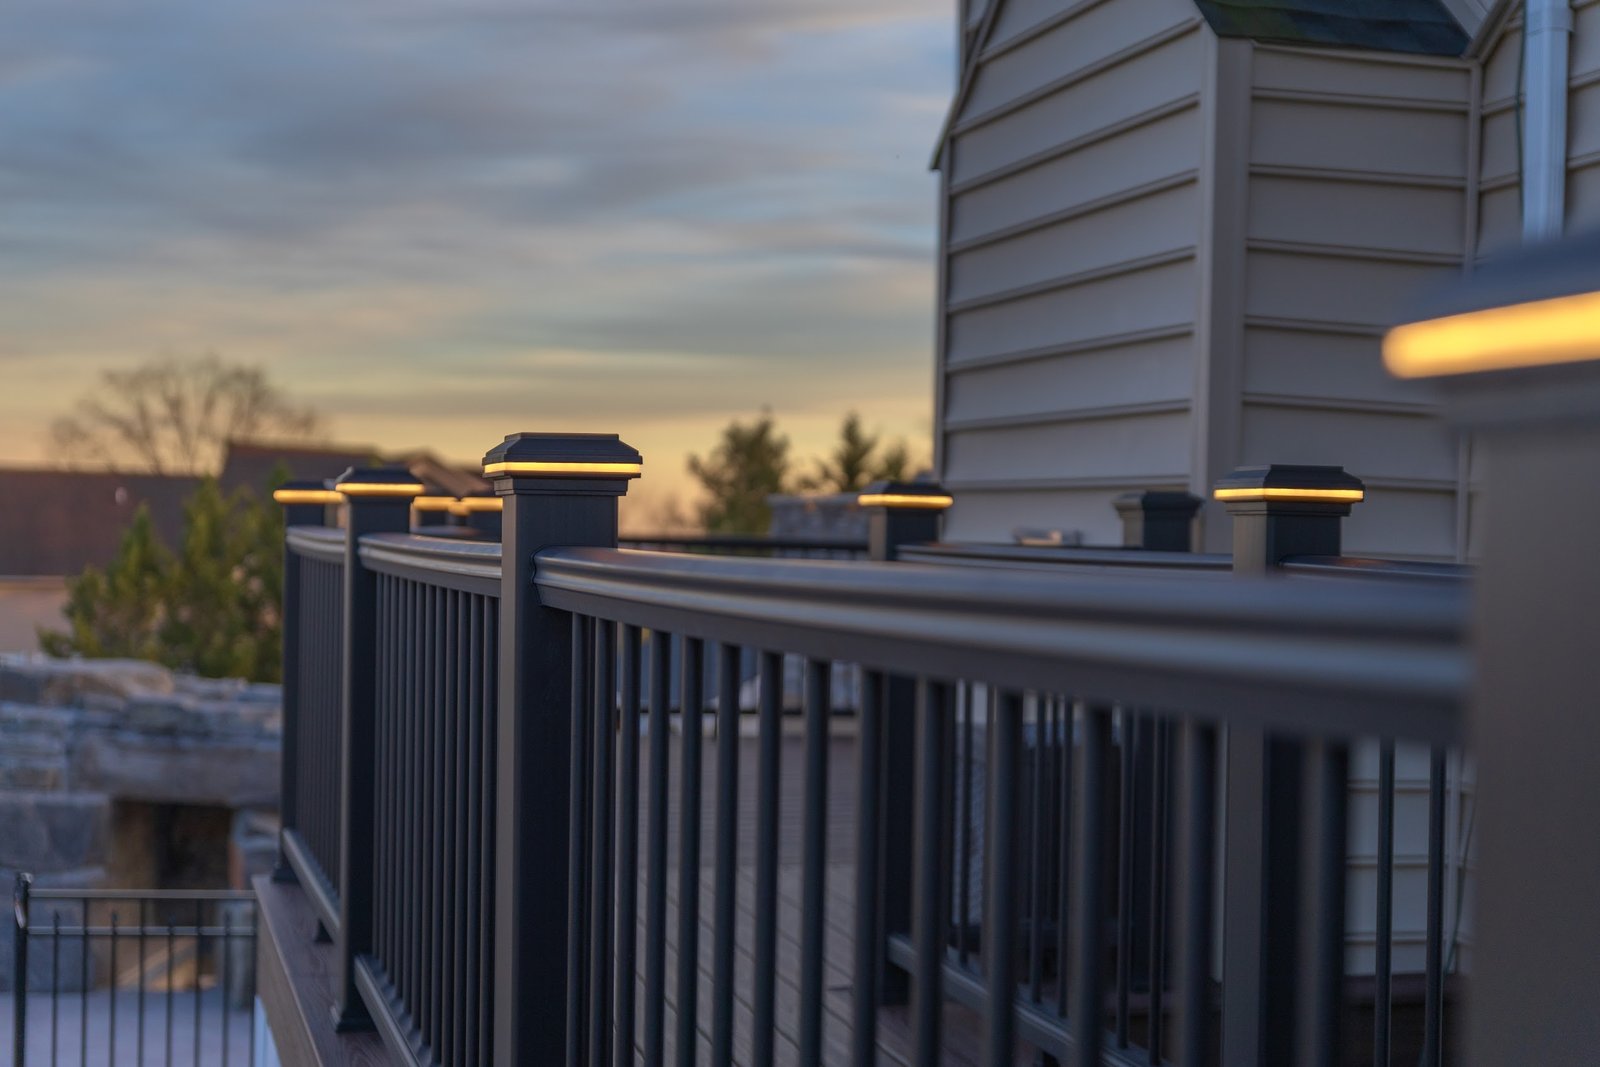
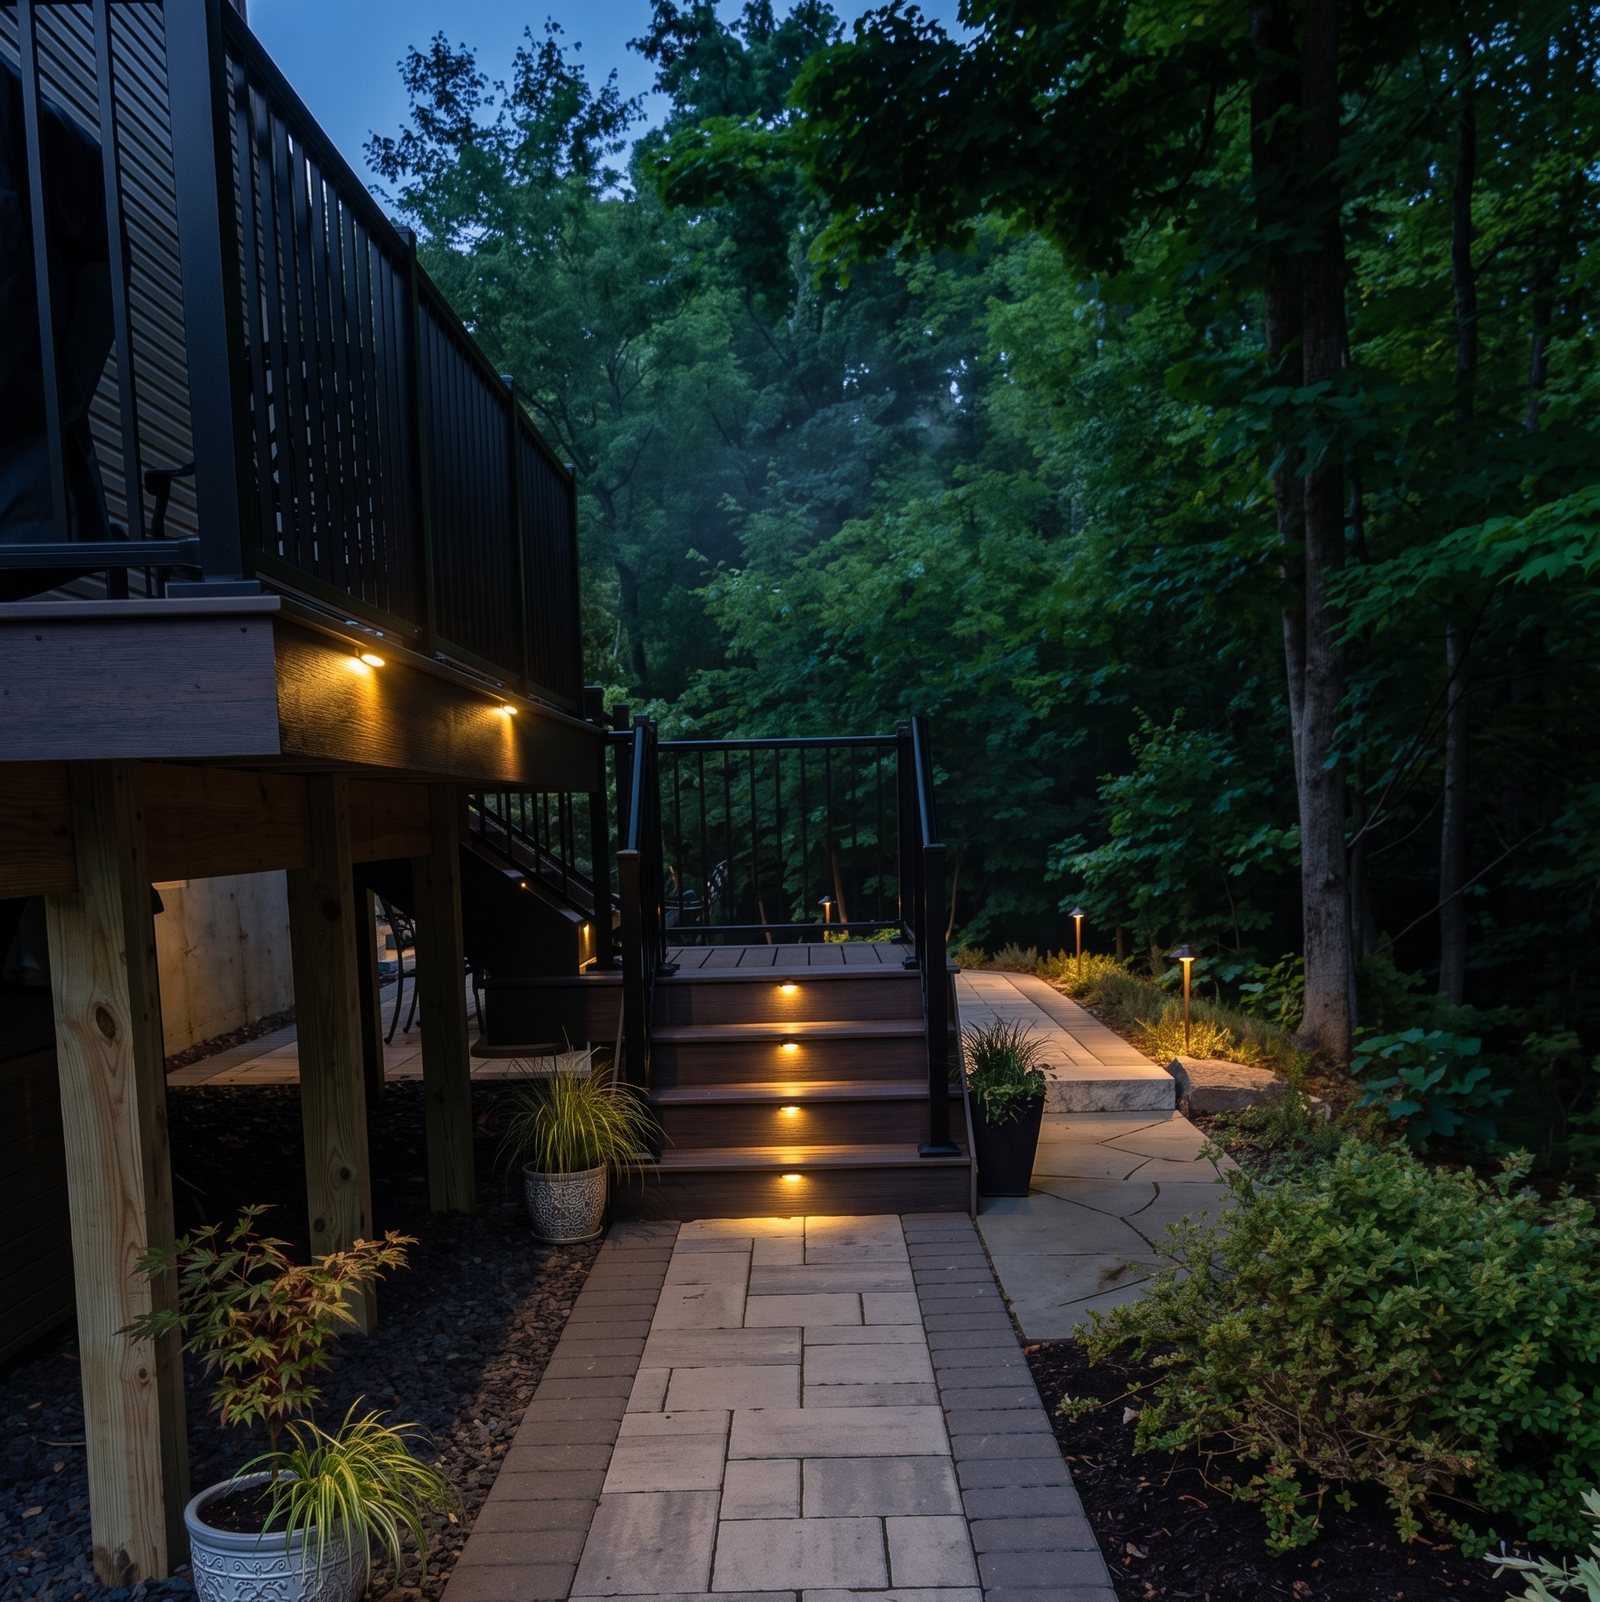
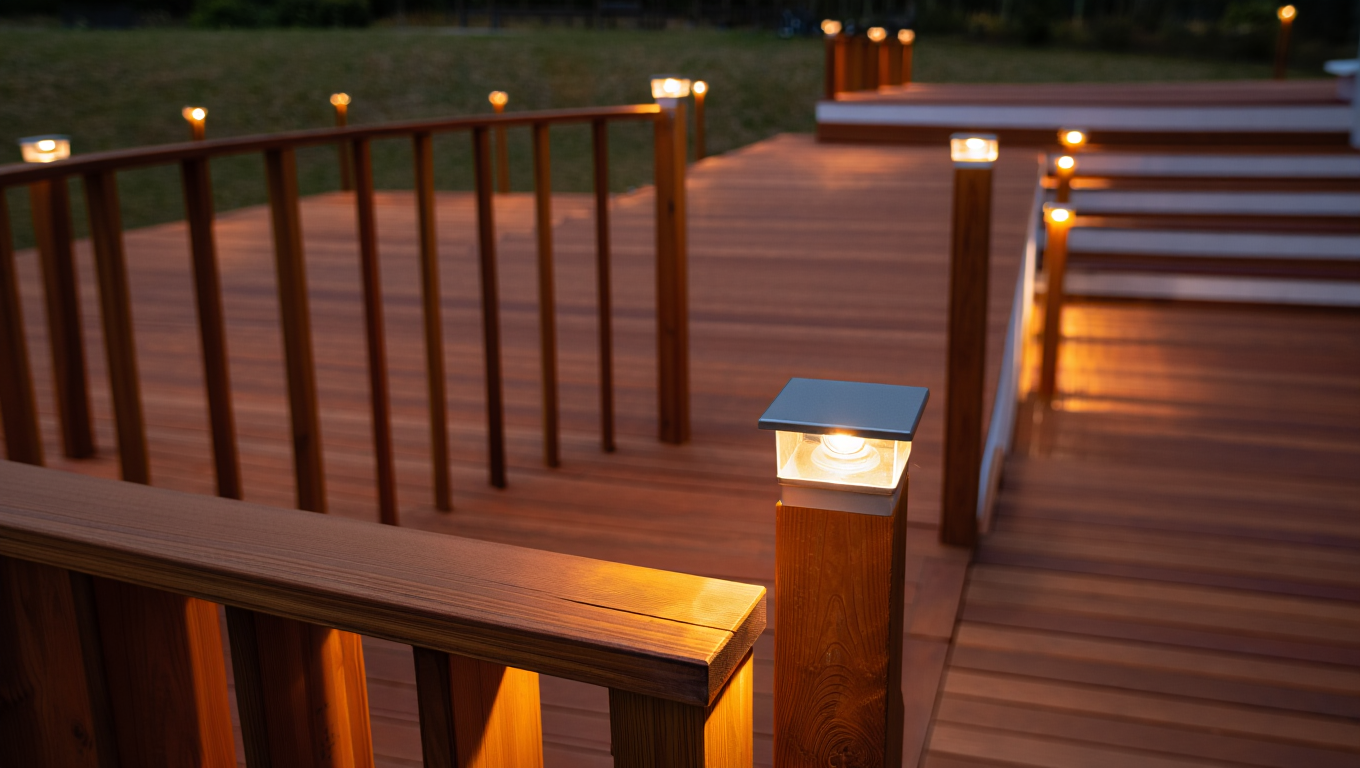
The placement of your lights is just as important as the fixtures themselves.
Having the right tools is crucial for an efficient and professional installation.
| Tool | Purpose | Pro Tip |
| Low-Voltage Transformer | Key to understanding landscape lighting transformers, which power the system safely. | Choose a transformer with enough capacity for your current design, plus a little extra for future additions. |
| High-Quality Drill and Bits | For creating clean and precise holes for wires and fixtures. | Use a spade bit for larger holes and a twist bit for smaller, more delicate work. |
| Wire Strippers and Cutters | Essential for making clean connections. | Invest in a good pair that won’t damage the delicate copper wires. |
| Router | For creating channels to conceal wires. | A plunge router offers the most control and precision for this task. |
One of the biggest challenges in outdoor lighting is ensuring a consistent look and feel between different areas of the yard. That’s where the Tru-Scapes system truly shines. Our deck lighting is designed to work seamlessly with our landscape and hardscape lighting, all running off the same low-voltage transformer and producing the same beautiful 2700K warm white light. This makes it easy to create a unified and professional lighting design that flows from the deck out into the garden and beyond.

By mastering these advanced deck lighting installation techniques, you’re not just selling lights; you’re selling an experience. You’re creating a space where homeowners can relax, entertain, and enjoy their homes to the fullest. A beautifully lit deck is a powerful testament to your skill and attention to detail, leading to happier clients, glowing reviews, and a thriving business.
Ready to take your deck lighting projects to the next level? Explore our range of professional-grade deck lighting and discover the Tru-Scapes difference.
What are your go-to deck lighting techniques? Share your tips and questions in the comments below!
Key Takeaways Outdoor steps are among the most overlooked elements of a deck design — until something goes wrong. A

Key Takeaways Every homeowner who has installed a string of bargain-bin landscape lights knows the frustration: within a single season,