- FREE Shipping on all orders! Limited time!
- support@tru-scapes.com

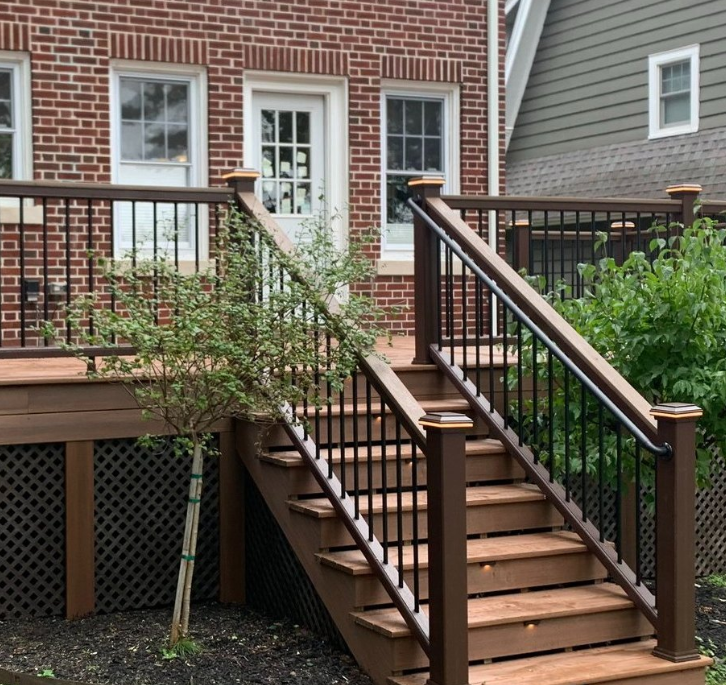
Ever stumbled onto your deck at night, wishing for a warm glow to guide your way? Adding deck lighting solutions can turn your outdoor space into a cozy, inviting retreat – ideal for late-night barbecues or relaxing evenings with a book. In this guide, you’ll learn how to install puck lights on your deck step-by-step, with practical tips to help you achieve a polished, professional look. Whether you’re a DIY beginner or a seasoned homeowner, this article will help you create a beautifully lit deck that enhances your home’s charm.

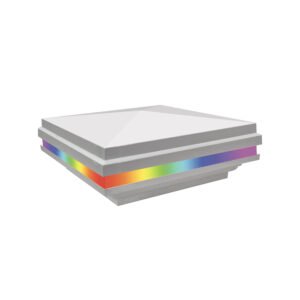
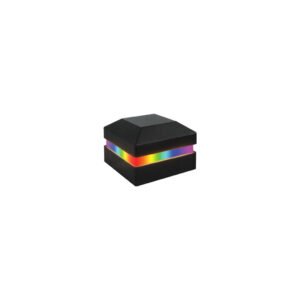
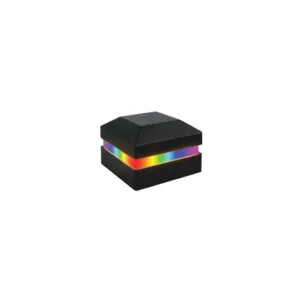
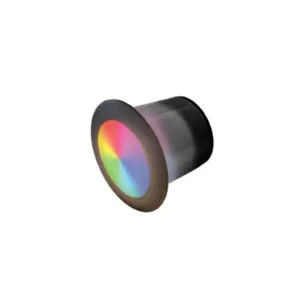
LED puck lights are compact, circular fixtures that provide focused, ambient lighting. Their low-profile design makes them perfect for decks, seamlessly blending into railings, stairs, or under furniture. According to a 2023 Home Depot lighting trends report, 68% of homeowners prefer low-profile options like puck lights for their versatility and visual appeal in outdoor spaces.
Here’s why puck lights are a smart choice for deck lighting:
Ready to get started? Let’s dive into the installation process.
Before you begin, gather these essentials to ensure a smooth installation. Having everything on hand saves time and frustration.
| Item | Purpose |
| LED Puck Light Kit | Provides the lights and wiring (choose a kit from Truscapes for reliable quality). |
| Drill with Bits | For creating pilot holes in wood or composite decking. |
| Measuring Tape | Ensures accurate spacing between lights. |
| Screwdriver | Secures lights and mounting hardware. |
| Wire Strippers | Prepares wires for connection. |
| Waterproof Connectors | Protects wiring from moisture. |
| Low-voltage transformer | Powers the lights safely (included in most kits). |
| Pencil or Marker | Marks drilling spots. |
| Safety Glasses | Protects your eyes during drilling. |
Pro Tip: Check that your puck light kit is rated for outdoor use. Truscapes Deck Lighting offers weather-resistant options tailored for decks, ensuring long-lasting performance.
Follow these steps to install puck lights on your deck. Each step is designed to be simple and actionable, helping you achieve a clean, professional result.
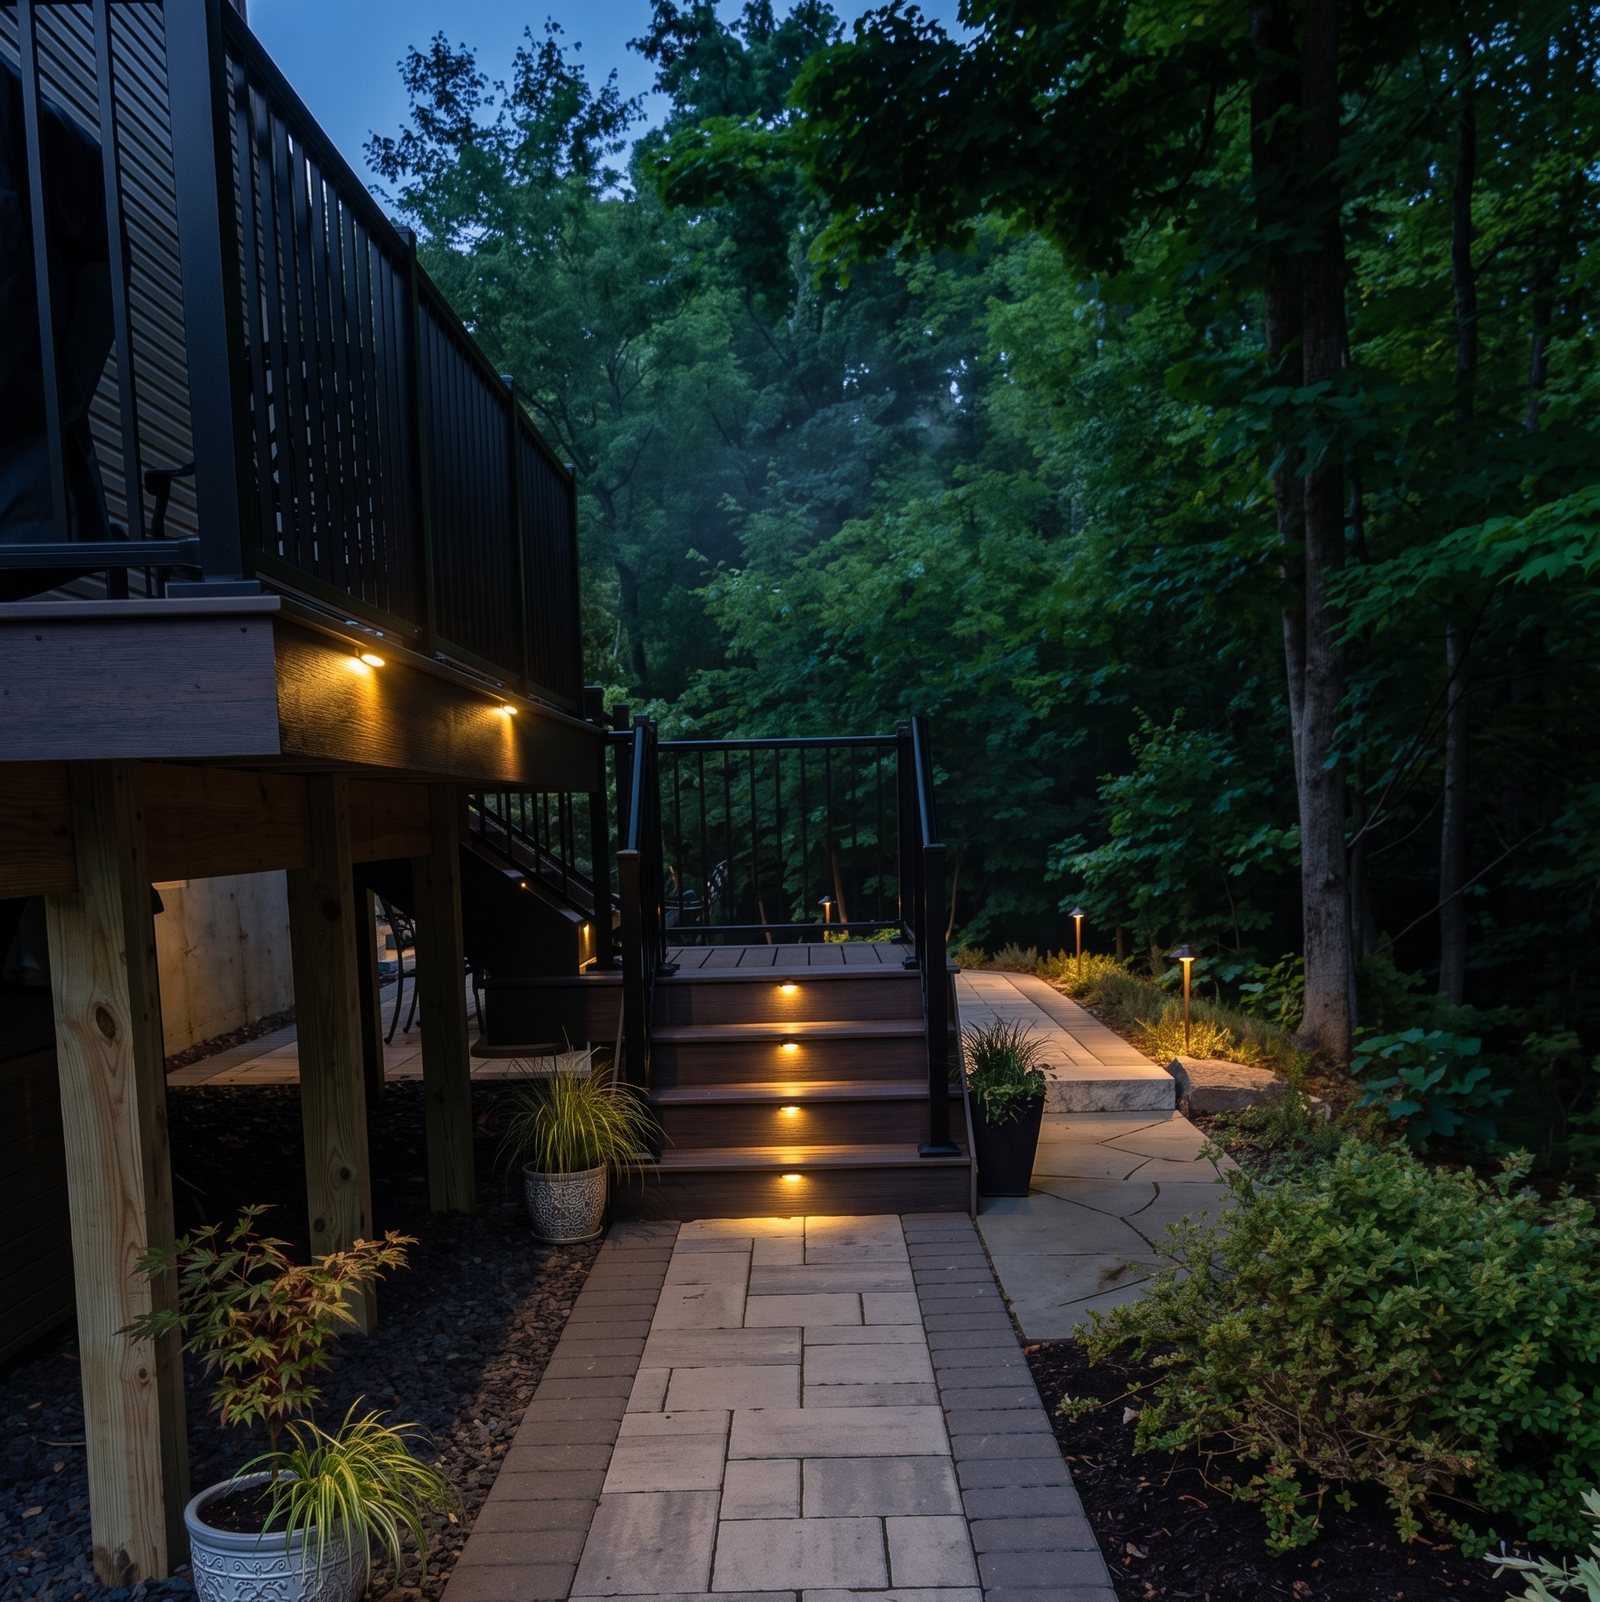
A well-planned layout helps you avoid mistakes. Walk around your deck and decide where strategic lighting placement will have the most visual and functional impact – think stair edges, railings, and benches.
FAQ: How many puck lights do I need for my deck?
For a standard 12×16-foot deck, 6–10 lights usually offer enough coverage. Adjust based on your deck size and how bright you want the space.
Prep the installation area to ensure a secure, lasting fit. For wooden decks, sand rough areas. For composite decking, clean surfaces with a damp cloth.
Use a drill bit slightly smaller than the screws in your puck light kit to create pilot holes. This reduces the risk of splitting wood and helps screws seat properly.
Attach each puck light using the provided screws or mounting hardware. Most Tru-Scapes kits include snap-in brackets for a quick install.
Following electrical safety guidelines ensures safe connections, helping your lights run reliably and efficiently. Use the steps below to connect your puck lights to the transformer.
Safety Note: Always shut off power at the outlet before working with wires. Double-check all connections to avoid shorts.
The transformer reduces household voltage to a safe, low-voltage current for your puck lights. Mount it in a dry, accessible spot – such as under a deck or near an exterior outlet.
Turn on the power and inspect your lights. Walk around the deck to confirm even illumination and reposition any misaligned fixtures.
Table: Common Installation Issues and Fixes
| Issue | Solution |
| Lights flicker | Check wire connections; ensure transformer is compatible with load. |
| Uneven lighting | Reposition lights for consistent spacing. |
| Wires exposed | Use cable clips or conduit to conceal wiring. |
| Lights too dim | Upgrade to a higher-wattage transformer or add more lights. |
To keep your deck lights shining year after year, follow these simple maintenance tips:
FAQ: Can I leave puck lights on all night?
Yes – LED puck lights are energy-efficient and safe for extended use, especially when paired with a timer for added convenience.
At Tru-Scapes Deck Lighting, we specialize in high-quality, outdoor-rated puck lights that are easy to install and built to last. Our kits include everything you need – lights, transformers, and connectors – engineered specifically for American homeowners who value both style and durability. Unlike generic lighting, Tru-Scapes products are made to withstand harsh weather and keep your deck looking its best year-round.

Installing puck lights on your deck is a satisfying DIY upgrade that boosts both beauty and function. With this step-by-step guide, you can achieve a polished, professional-grade setup that enhances your home’s value and charm. From layout planning to final adjustments, each step helps build a deck you’ll love to showcase.
Ready to transform your deck? Grab a Truscapes puck light kit and get started. Share your finished project in the comments or tag us on social media – we’d love to see how your deck glows!
Getting deck lighting transformer sizing right is one of those decisions that sets the tone for your entire outdoor lighting

When the sun goes down, a well-lit deck becomes the centerpiece of your backyard. But achieving that effect requires more