- FREE Shipping on all orders! Limited time!
- support@tru-scapes.com

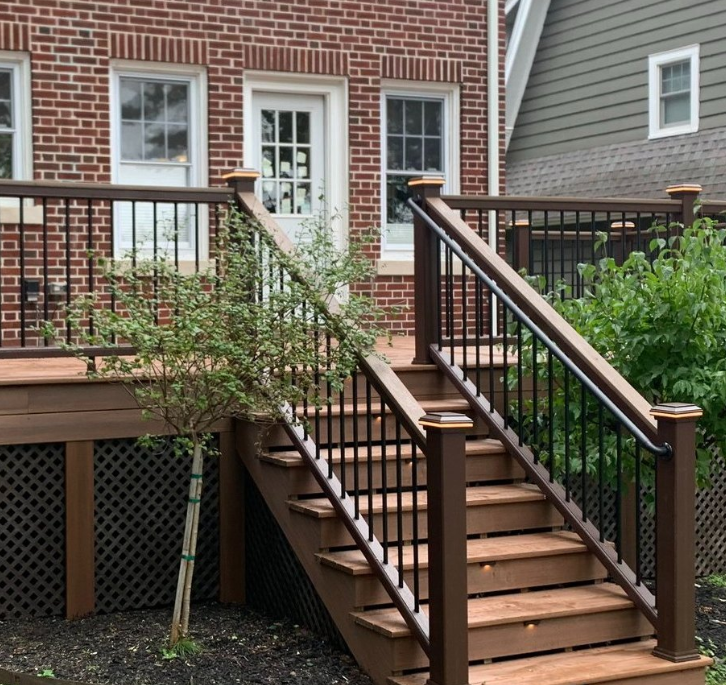
That beautiful deck you invested in shouldn’t disappear when the sun goes down. Too often, homeowners find their outdoor living space becomes unusable after dark, a missed opportunity for quiet relaxation or lively entertaining. What if you could reclaim those hours with an elegant, safe, and surprisingly simple solution?
This is where the magic of low voltage deck lighting comes in. It’s more than just flicking on a switch; it’s about crafting an atmosphere, enhancing safety, and boosting your home’s curb appeal. This guide will walk you through the incredible benefits of these systems and provide a clear, step-by-step installation plan to bring your deck to life after dark.

When you think of deck lights, you might just picture visibility. But a well-designed low voltage system offers so much more. It’s an investment in your home’s beauty, safety, and your own enjoyment.
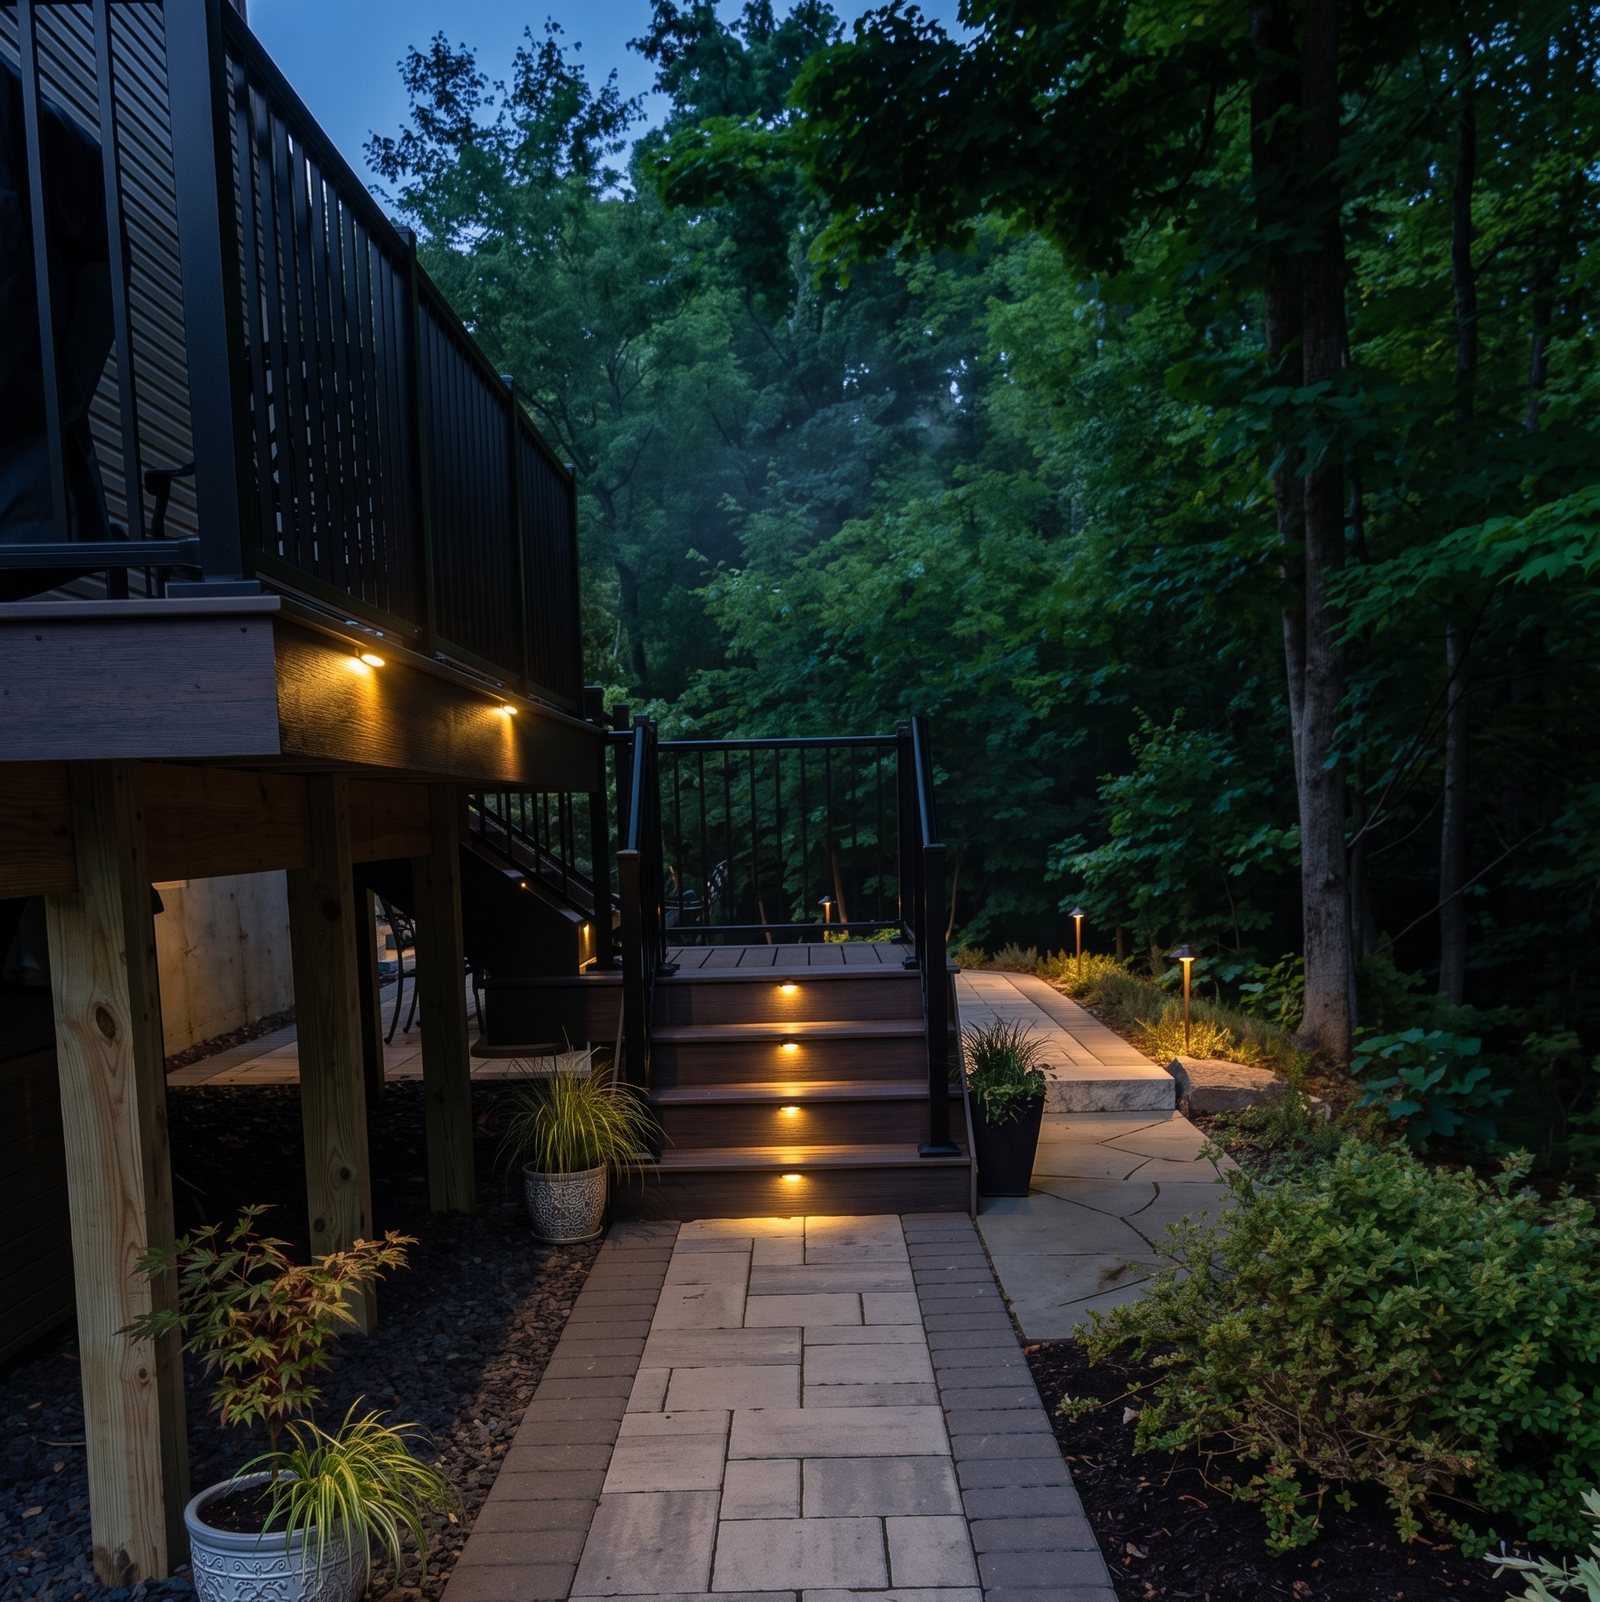
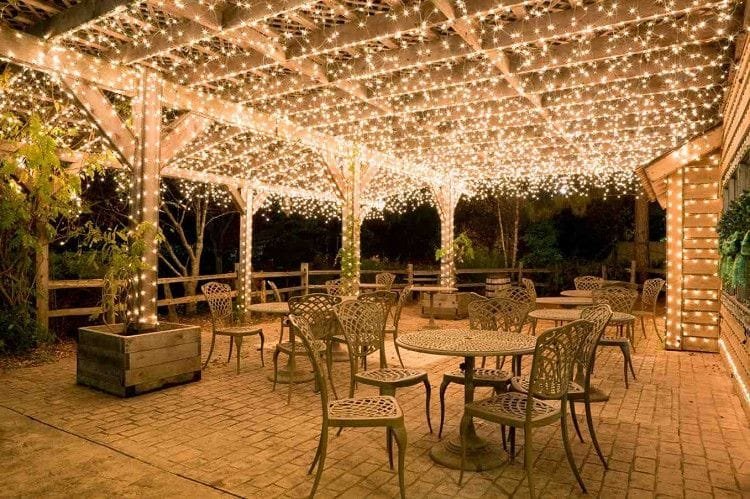
Proper lighting has the power to completely transform an environment. It’s the difference between a harsh, sterile space and a warm, inviting retreat. Low voltage deck lighting allows you to “paint” with light, creating layers of ambiance for any occasion.
You can design soft, ambient light for quiet evenings with a book, create focused task lighting around a grilling station, or use accent lights to highlight beautiful planters or architectural features. The goal is to produce a gentle, indirect glow that feels sophisticated and welcoming, not a blinding glare like a stadium.
A dark deck can be a minefield of unseen hazards. From trip-prone steps to unmarked edges, following our deck lighting safety tips is one of the most effective ways to protect your family and guests.
Beyond illuminating obstacles, the 12-volt system itself is inherently safer than standard 120-volt household electricity. This low voltage system adheres to the highest outdoor electrical safety standards, making it a secure choice for your home and providing peace of mind for families with curious children and pets.
Concerned about your electricity bill? You’ll be happy to know that low voltage lighting systems are incredibly energy-efficient. They use a transformer to step down your home’s standard 120-volt electricity to a much lower 12 volts.
As the U.S. Department of Energy confirms, when paired with modern LED bulbs, the energy consumption is minimal. An entire deck’s worth of LED lights often uses less power than a single traditional 60-watt incandescent bulb. This translates directly to lower energy bills and a more eco-friendly home.
To see the benefits clearly, here’s how a 12V system stacks up against a standard 120V system for deck applications.
| Feature | Low Voltage (12V) | Line Voltage (120V) |
| Safety | Very safe; low risk of electric shock. | Higher risk; requires conduit and junction boxes. |
| Energy Use | Highly efficient, especially with LEDs. | Significantly higher energy consumption. |
| Installation | DIY-friendly; cable can be buried directly. | Complex; often requires a licensed electrician. |
| Cost | Lower installation cost, higher fixture cost. | Higher installation cost, lower fixture cost. |
| Flexibility | Easy to move and add fixtures. | Fixture locations are difficult to change. |
Ready to get started? While a professional installation is always a great option for complex layouts, a basic low voltage deck lighting system is a very manageable DIY project. Here’s how to approach it.
Success starts with a good plan. Don’t just start drilling holes; take a few minutes to map out your vision.
Grab a piece of paper and draw a simple diagram of your deck. Mark the locations of stairs, railings, seating areas, planters, and the perimeter. Now, think about where light would be most effective.
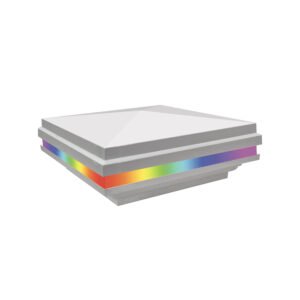
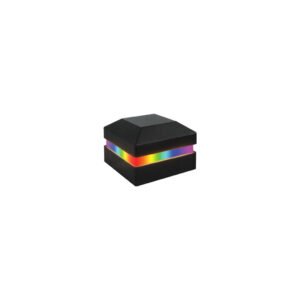
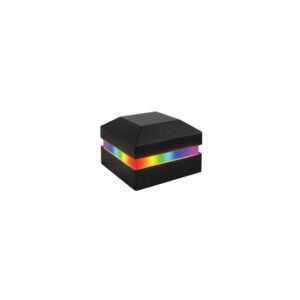
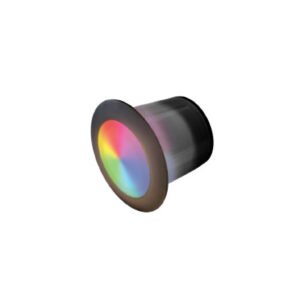
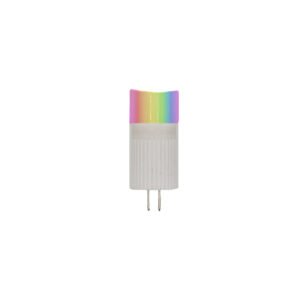
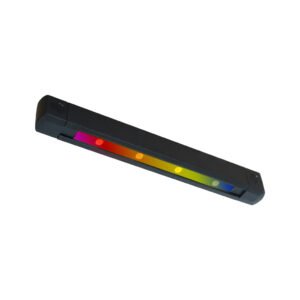
Choosing the right fixtures is the key to a successful design. Different areas of your deck call for different types of lights. Here are some of the most popular options from Tru-Scapes:
You’ll need a complete system to get the job done. A key component is understanding your low voltage transformer, in addition to:
With your plan and materials ready, it’s time to bring your vision to light.
Find a suitable location for your transformer. It needs to be mounted on a wall near a GFCI-protected outdoor electrical outlet. You can learn more about what a GFCI is and why it’s crucial for safety from the experts at the Electrical Safety Foundation International (ESFI). Keep it at least a foot off the ground to protect it from rain splash and snow. Do not plug it in yet!
Starting from the transformer, run the low-voltage cable along the underside of your deck. You can use cable staples to neatly secure it to the joists, keeping it hidden and protected. Run the cable along the path you planned, getting it close to each location where you intend to install a light fixture.
Follow the manufacturer’s instructions for each fixture. This usually involves:
Secure each fixture in place, leaving its wire lead accessible underneath the deck.
This is the most crucial step. For each light, you will connect its wires to the main cable you ran in Step 2. Use waterproof wire connectors for this. These connectors are designed to pierce the insulation of the main cable and create a secure, weather-resistant seal that will last for years. A poor connection is the most common cause of lighting failures.
Once all your lights are connected to the main cable, run the end of the cable back to the transformer. Strip about half an inch of insulation off the two wires and attach them to the designated 12V terminals on the transformer. Now, you can plug the transformer into the GFCI outlet and turn it on. Your deck should light up!
How many lights can I put on one transformer?
This depends on the transformer’s wattage rating and the wattage of your lights. Simply add up the total wattage of all your bulbs. For example, if you have 20 lights that are 2 watts each, you need 40 watts of power (20 x 2 = 40). You should choose a transformer that can handle at least this much, and it’s wise to leave a 20-30% buffer for future additions.
Is this type of lighting difficult to install?
For most homeowners comfortable with basic tools, it’s a very straightforward project. The low voltage system eliminates the major risks associated with line voltage work. However, for large or very complex designs, consulting a professional from Tru-Scapes can ensure a flawless and efficient installation.
What kind of maintenance is required?
Low voltage deck lighting is remarkably low-maintenance. The most you’ll need to do is periodically wipe the lenses of the fixtures to clear away dirt or pollen. Since high-quality LED bulbs can last for 40,000 hours or more, you won’t be changing them often.

A deck without lighting is only half a deck. By adding a well-designed low voltage deck lighting system, you unlock the full potential of your outdoor space, turning it into a safe, inviting, and beautiful extension of your home. The combination of enhanced ambiance, improved safety, and energy efficiency makes it one of the best investments you can make in your property.
Ready to transform your deck? Don’t let another beautiful evening go to waste. Explore our collection of premium low voltage deck lighting at Tru-Scapes and start planning your project today! Have questions? Drop them in the comments below!
Getting deck lighting transformer sizing right is one of those decisions that sets the tone for your entire outdoor lighting
When the sun goes down, a well-lit deck becomes the centerpiece of your backyard. But achieving that effect requires more