- FREE Shipping on all orders! Limited time!
- support@tru-scapes.com

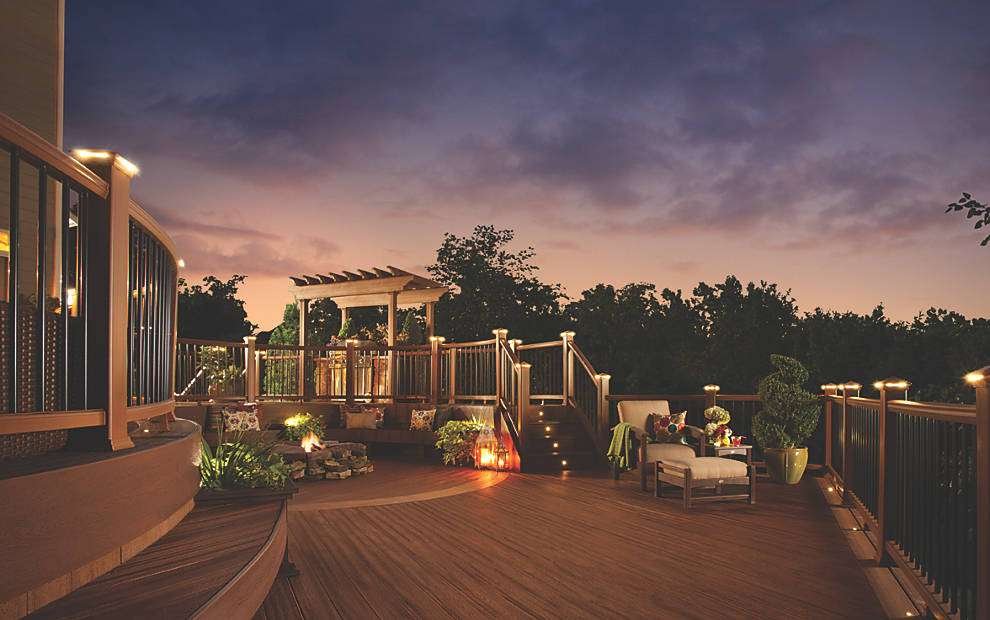
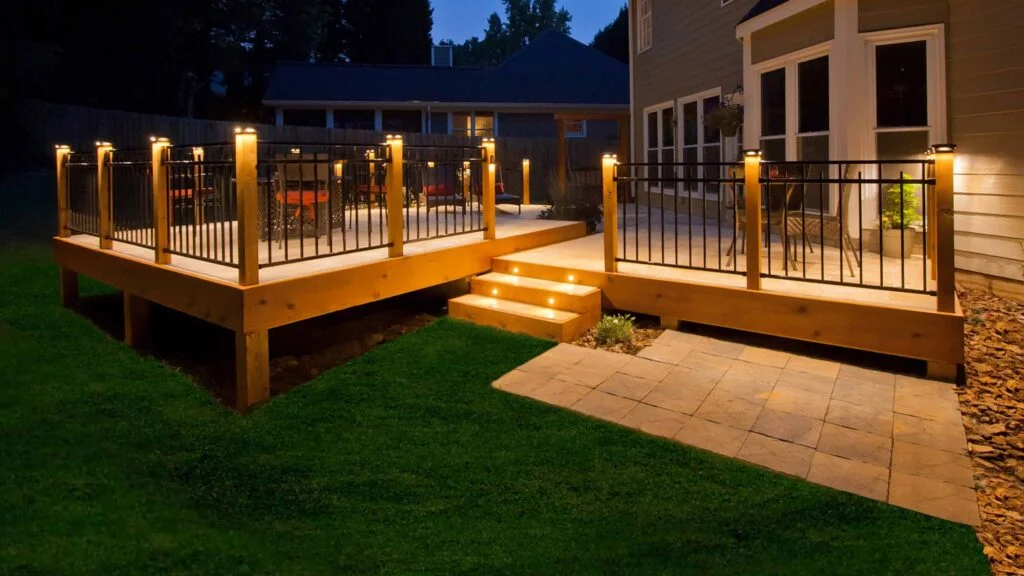
Most homeowners choose composite decking for one reason: they want to stop maintaining a deck and start using it. Then the sun goes down at 7pm and the whole space goes dark. That is where TimberTech deck lighting earns its cost, because a well lit deck adds usable hours to the season rather than just looking good in photos.
This guide covers the fixture types that work with TimberTech rail and post systems, how to size a transformer, where the wire actually goes, and the installation sequence that keeps your decking warranty intact. It also covers the mistakes that force people to pull boards a year later.
Wood decks are forgiving. You can drill, patch, sand, and stain over a mistake. Composite boards are not, and TimberTech capped polymer and capped composite lines have a factory finish that cannot be refinished once you cut into it.
That changes the math in three ways.
Wire routing has to be planned before installation, because there is no attic or crawlspace above your deck to fish a cable through. Every hole is permanent, so fixture placement needs to be decided on paper first. And the heat tolerance of the cap layer means incandescent and halogen fixtures are a bad idea, which is why almost all modern deck lighting fixtures use energy-efficient LED technology anyway.
The upside is that composite is dimensionally stable. Once a fixture is set, it stays flush. Wood shrinks and swells with the seasons and will eventually loosen a light that was perfectly seated in year one.
Different fixtures solve different problems. Most finished decks use three or four types together, not one.
| Fixture Type | Where It Mounts | Main Job | Typical Spacing | Difficulty |
|---|---|---|---|---|
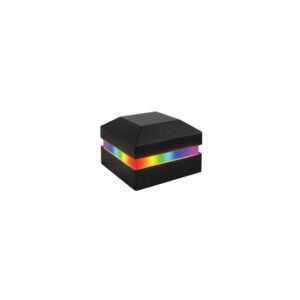
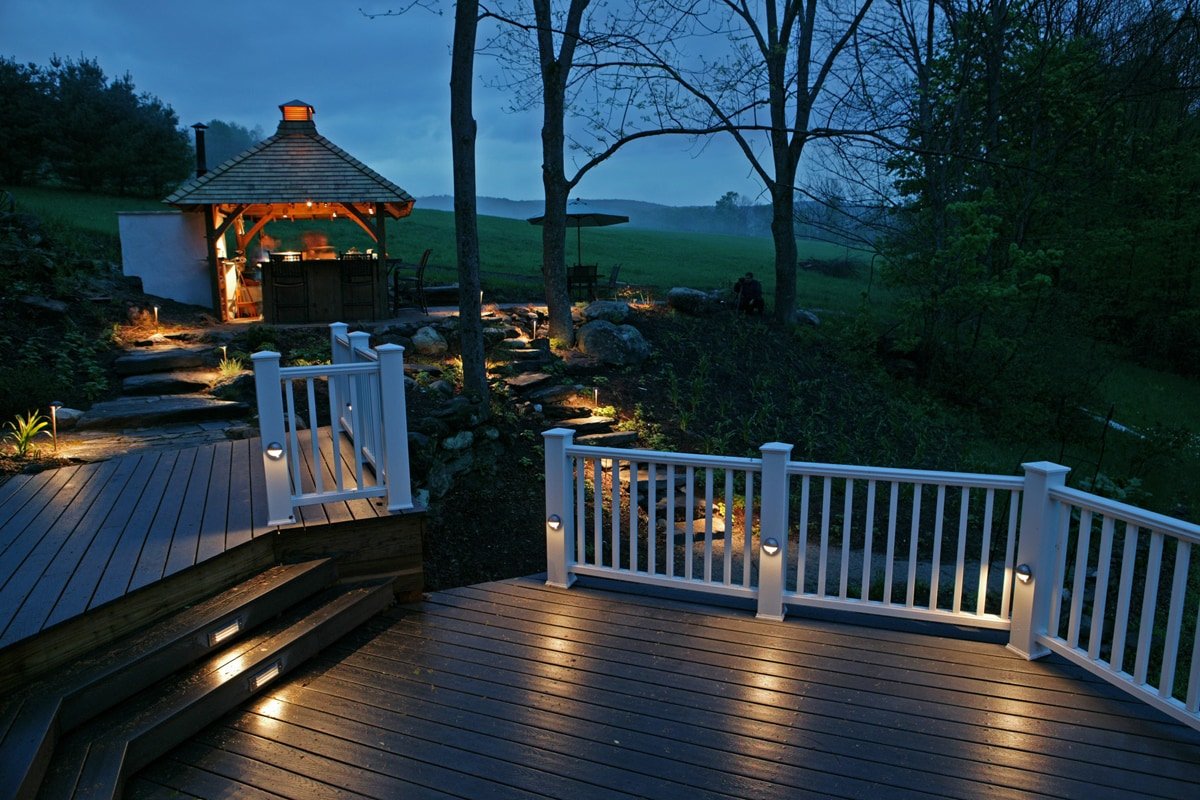
| Deck post cap lights | Top of rail posts | Ambient glow, defines the perimeter | Every post | Easy |
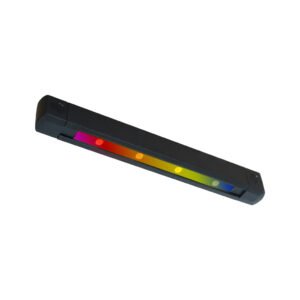
| Deck railing lights (under rail) | Underside of top rail | Even wash across the deck surface | Continuous strip or per section | Moderate |
| Deck step lighting / riser lights | Stair risers | Safety, tread visibility | Every other riser | Moderate |
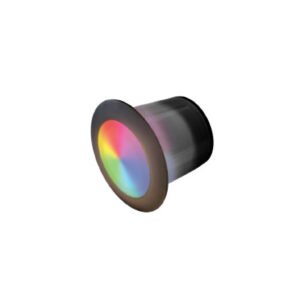
| Recessed fixtures | Flush in boards or posts | Low glare path marking | 4 to 6 feet apart | Hard |
| Under deck lighting | Joists below the deck | Lights the yard or lower patio | Varies | Moderate |
| Downlights on posts | Post face, aimed down | Task lighting for stairs and doors | Key traffic points | Easy |
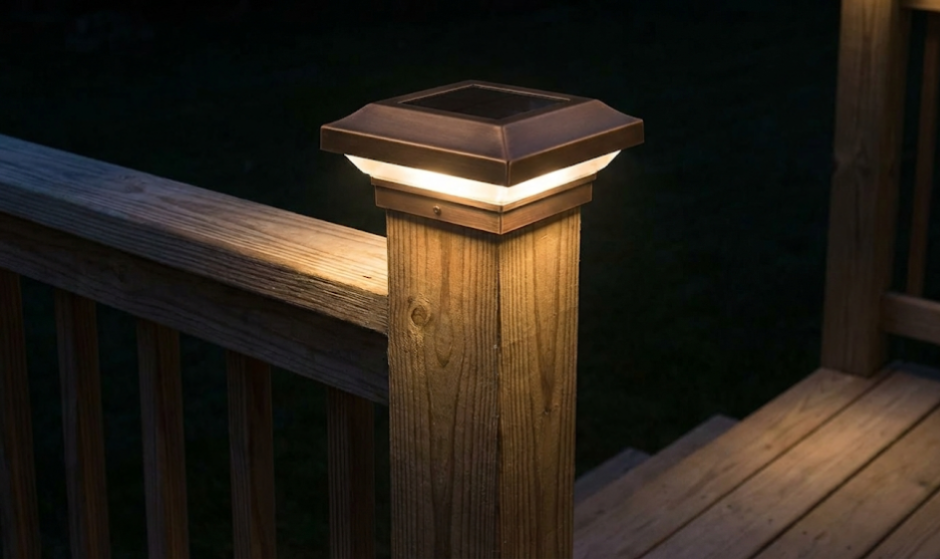
Post cap lights are the fixture most people start with because they install without cutting anything structural. They set the mood but do very little for actual visibility.
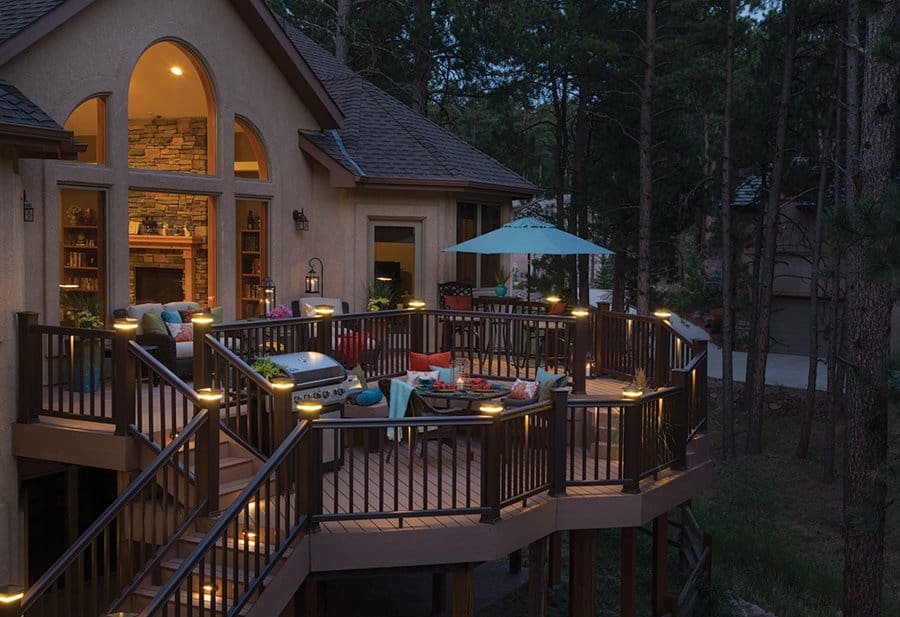
Under rail lights do the heavy lifting on a large deck. Mounted beneath the top rail and aimed down, they wash the floor without shining into anyone’s eyes.
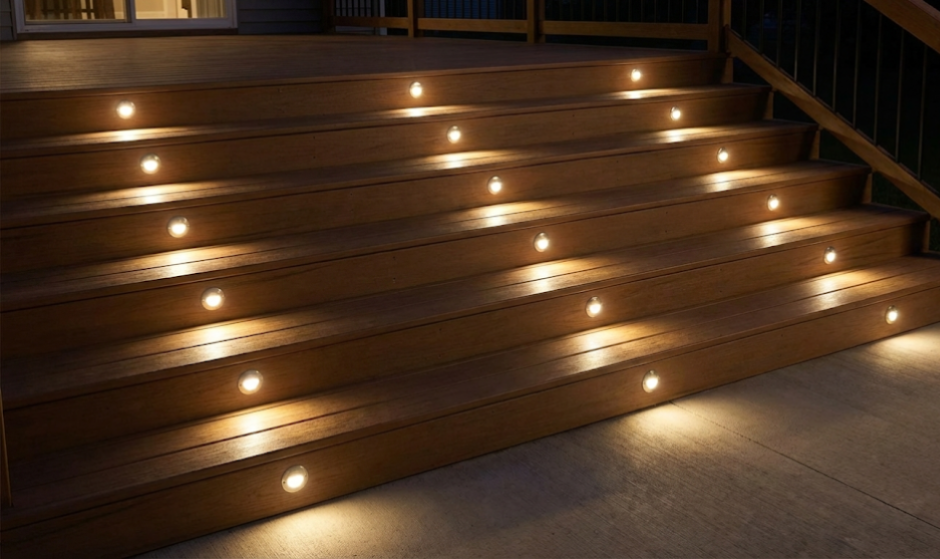
Riser lights are the ones you should not skip. Stairs are where deck injuries happen, and the International Residential Code (IRC) standards address stair illumination for exactly that reason. Check your local amendments, since requirements vary by jurisdiction.
Recessed deck lighting looks the cleanest and is the hardest to add later. Each fixture needs a bored hole and a wire path underneath.
Almost every serious deck lighting system is a 12V low-voltage system. Solar-powered options show up in big box stores and tempt people on price, so it is worth being direct about the trade.
If your deck is a small landing with full southern exposure and you only want a soft glow, solar is defensible. If the deck is your main outdoor living space, go low voltage and stop thinking about it.
This is the sequence that avoids rework. Steps 1 through 4 happen before the decking is fastened down.
If you are lighting an existing TimberTech deck rather than a new build, prioritize fixtures that mount to the rail and post system instead of into the deck surface. Post caps, under rail lights, and surface mounted riser lights can all go in without lifting boards.
A homeowner builds a 400 square foot TimberTech deck with 14 rail posts and one six step stair run. Their first plan is post cap lights only, since it is the cheapest path and requires no cutting. After one season they find the stairs are still dark and guests use phone flashlights coming down.
The fix means adding six riser lights and a run of under rail lighting. Because the wire was never run during construction, the installer has to remove and refasten several deck boards to reach the stair stringers. The added labor costs more than the fixtures.
The lesson is not that post caps are wrong. It is that the wire plan should have covered the full system on day one even if the fixtures were bought in stages.
If your deck is mostly used for evening dining, prioritize under rail lights and a dimmer, because glare matters more than total output when people are sitting still.
If your deck is elevated with a patio underneath, put budget into under deck lighting and downlights, since the space below is usable square footage that most homeowners waste.
If you entertain large groups, add a separate zone for the perimeter so you can light the whole deck for a party and drop back to stair lights only for a quiet night.
Does TimberTech make its own deck lighting?
A: Yes. TimberTech offers integrated deck lighting designed to fit its rail and post systems. Check compatibility against your specific railing line before ordering.
Can I use third party lights on a TimberTech deck?
A: Often yes, as long as the fixture is 12V low voltage, rated for wet locations, and physically fits the rail or post dimensions. Confirm that drilling for the fixture will not affect your decking warranty.
How many deck lights can one transformer run?
A: It depends on total wattage, not fixture count. Add up the wattage of every light and choose a transformer rated at least 30 percent above that number.
Do I need an electrician?
A: The low voltage side is generally homeowner friendly. Installing the GFCI protected exterior outlet that powers the transformer is the part that usually requires a licensed electrician and a permit per the National Electrical Code (NEC).
What color temperature should I choose?
A: Warm white in the 2700K to 3000K range suits most outdoor living spaces. Cooler temperatures read as harsh and commercial on a residential deck.
Are deck lighting kits worth buying?
A: Deck lighting kits are good value for straightforward layouts because the transformer, wire, and fixtures are matched. Complex or multi zone decks usually need components chosen individually.
Can lights be added after the deck is built?
A: Yes, but your options narrow to rail and post mounted fixtures unless you are willing to remove boards.
How long do LED deck lights last?
A: Quality low voltage LED fixtures last many years. Connections and transformers usually fail before the LEDs do.
Will lighting void my TimberTech warranty?
A: Follow the manufacturer’s instructions for approved fixtures and bore sizes. Improvised drilling into capped boards is where warranty problems start.
Low voltage — A 12V electrical system stepped down from household current by a transformer. It is safer to work with and standard for outdoor deck lighting.
Transformer — The device that converts 120V household power to the 12V used by deck lights, rated in watts for total load.
Riser — The vertical face of a stair step. Riser lights mount here to illuminate the tread below.
Wet location rating — A fixture certification indicating it can withstand direct exposure to rain and standing water, as opposed to damp location fixtures that cannot.
Good TimberTech deck lighting is not about buying the most fixtures. It is about deciding early where the wire goes, choosing fixture types that match how the deck actually gets used, and sizing the system with room to grow. The decks that end up lit well are the ones where lighting was part of the build conversation, not an afterthought in year two.
If you are planning a new composite deck or want to add lighting to one you already have, get the layout on paper before anyone picks up a drill. Contact us for a lighting plan built around your specific deck and railing system.
Key Takeaways A deck that goes dark at sunset loses half its value. In Pennsylvania, that problem gets worse, because
Key Takeaways A deck that goes dark at 7 p.m. in October is a deck you only use half the