- FREE Shipping on all orders! Limited time!
- support@tru-scapes.com


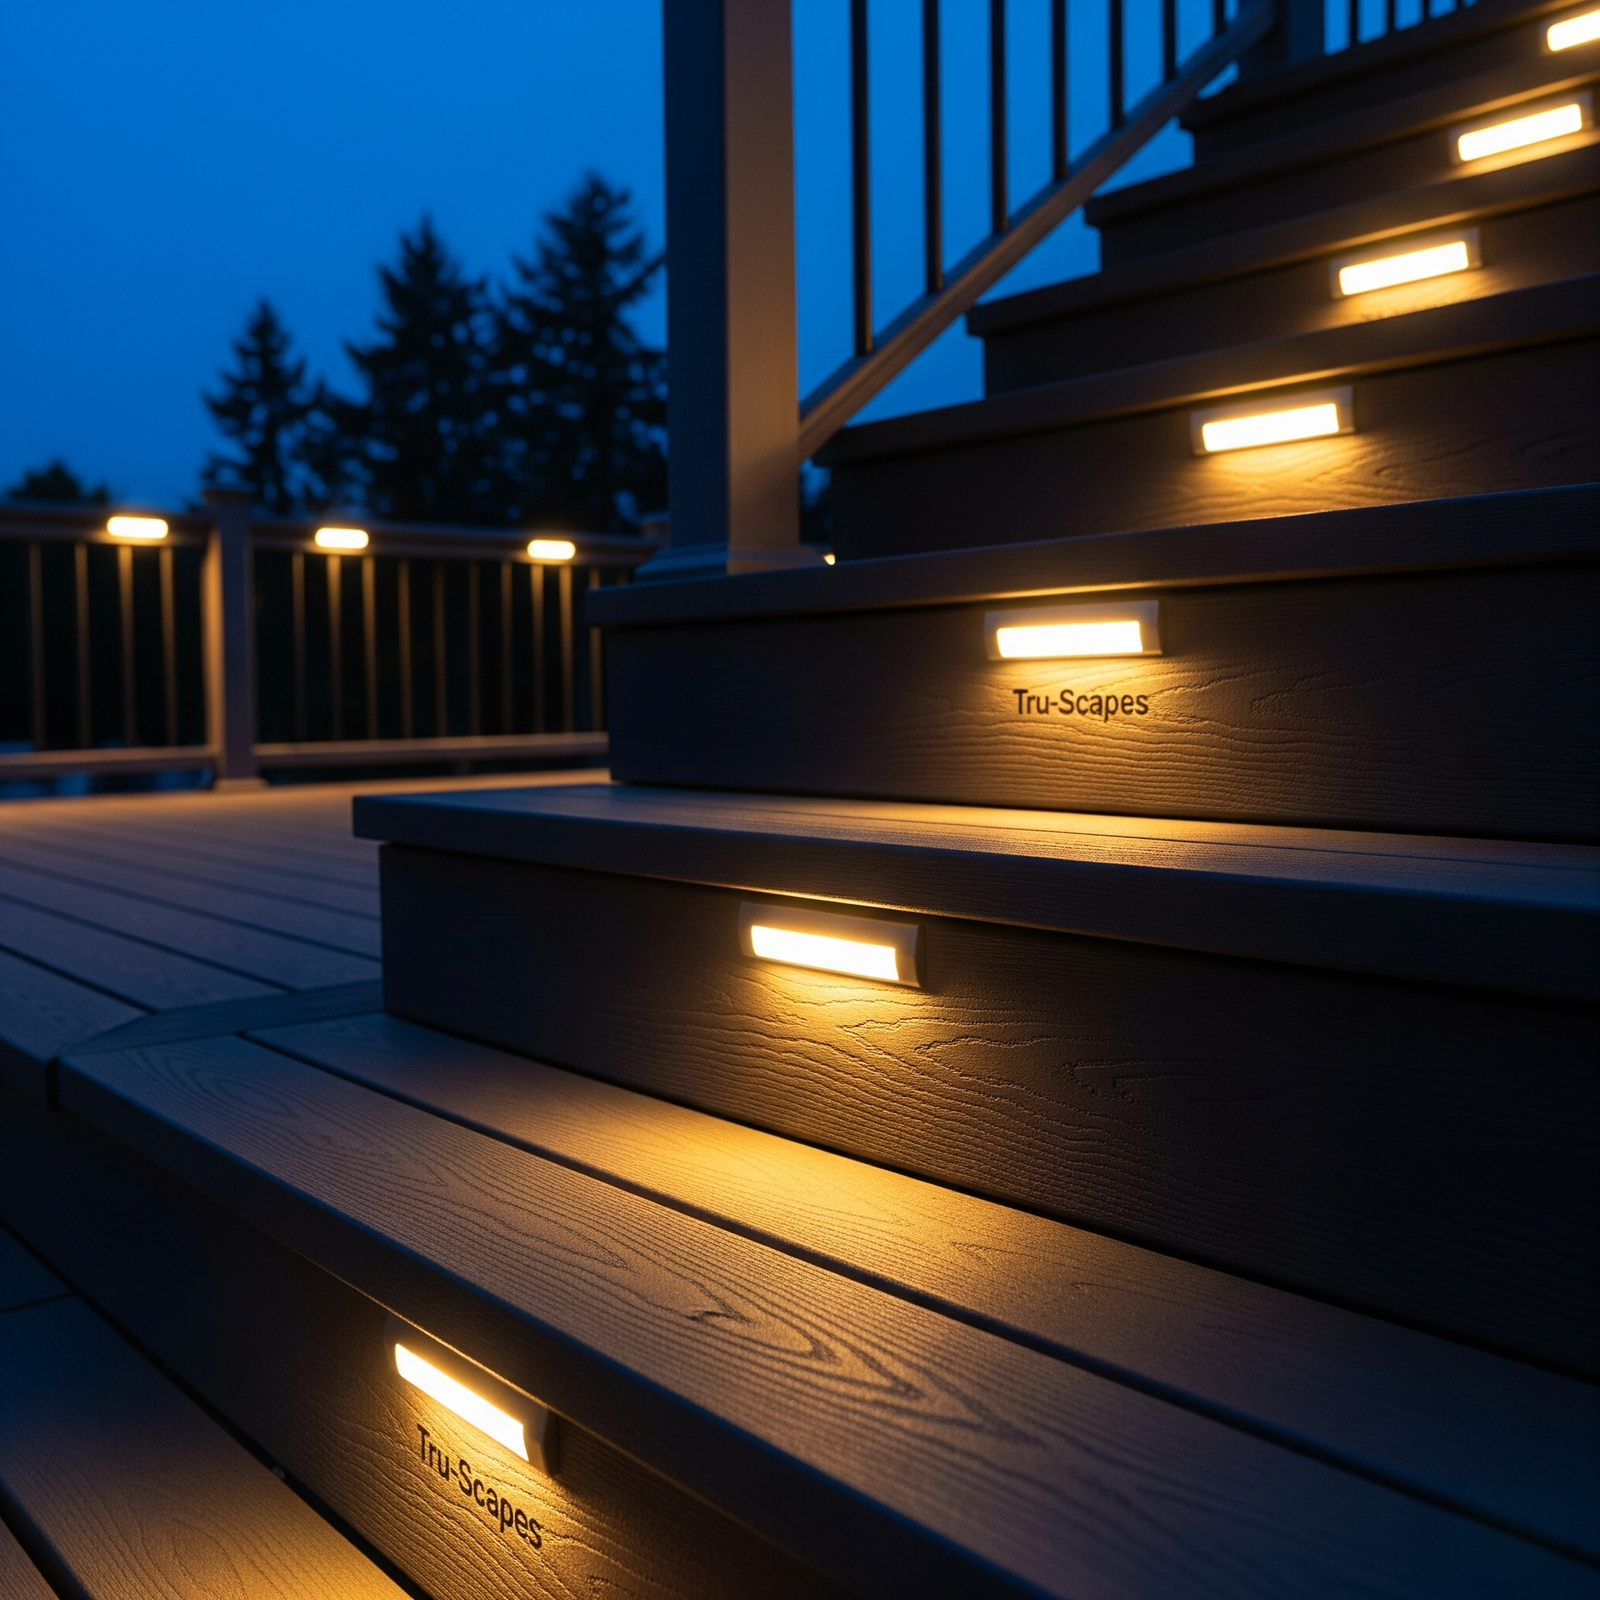
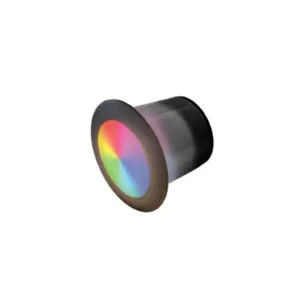
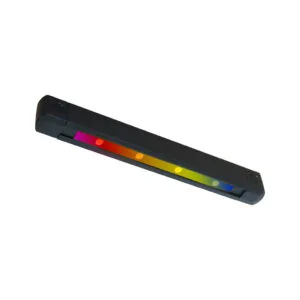
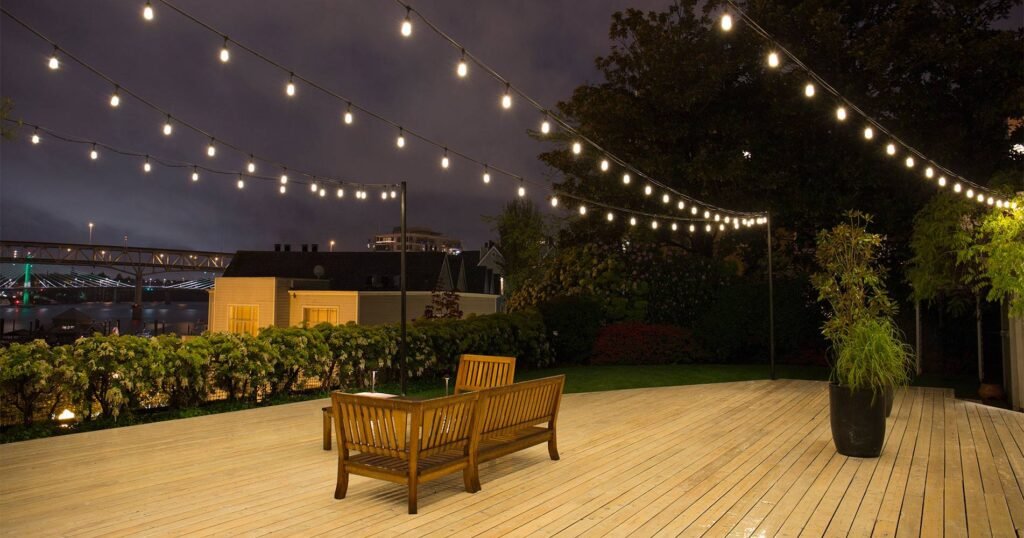
Planning to light up your outdoor deck? Before you pick a fixture style or browse lighting kits, you need a
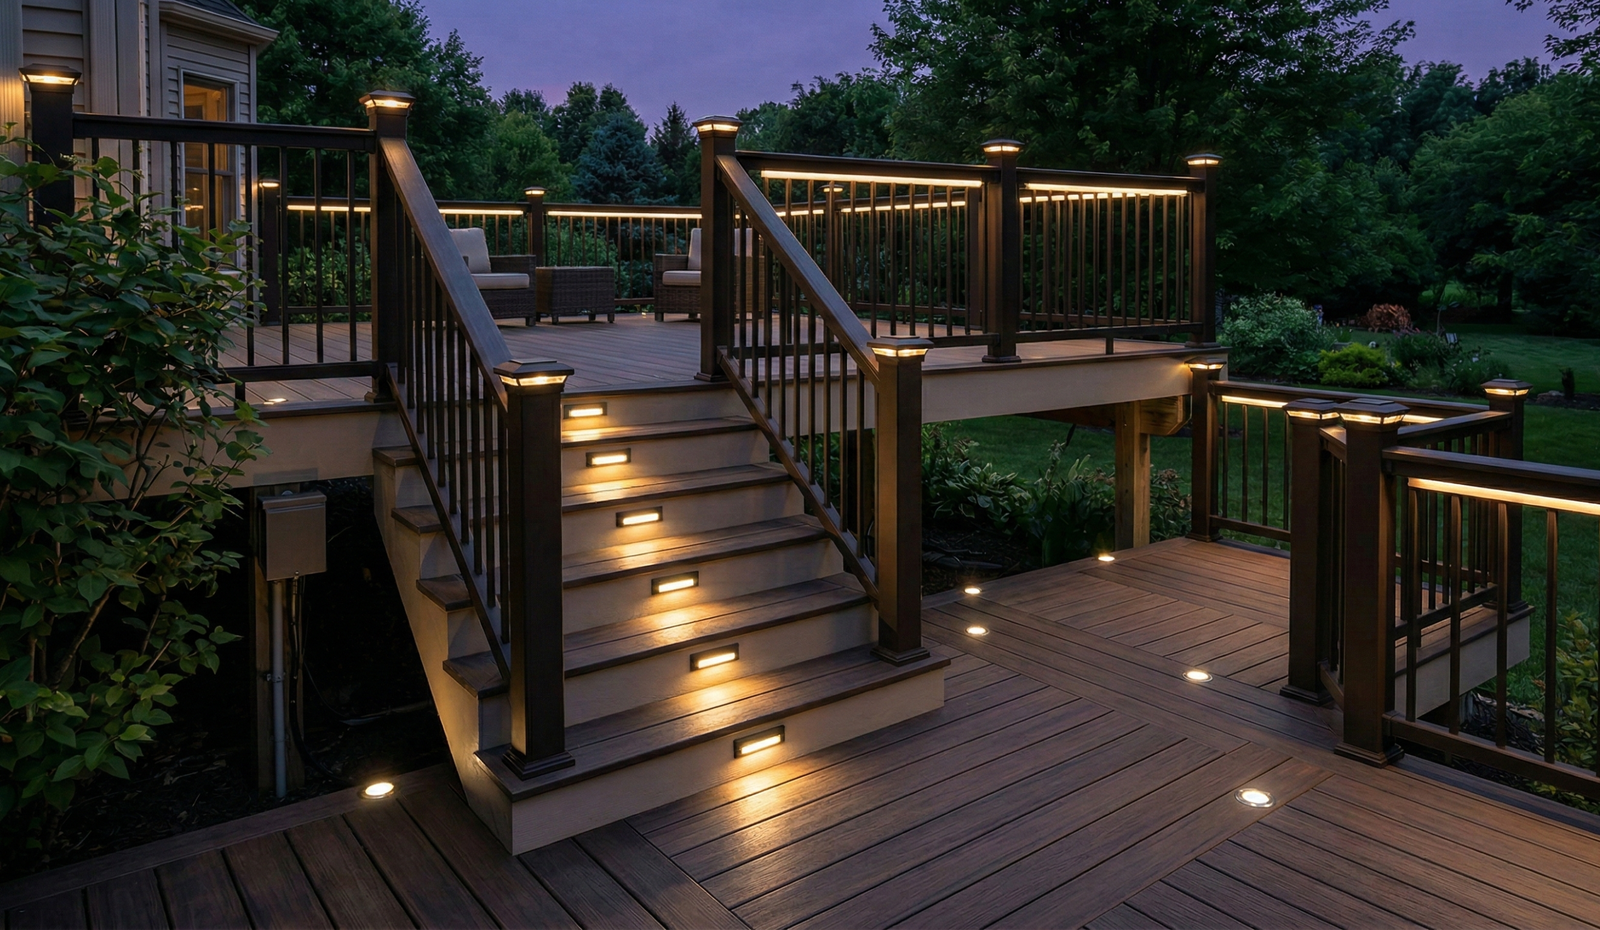
Upgrading your outdoor space doesn’t have to mean hiring an electrician or tearing up your deck boards to run conduit.