- FREE Shipping on all orders! Limited time!
- support@tru-scapes.com

Most homeowners assume a lit deck means trenching, conduit, a transformer, and a licensed electrician. That assumption stops a lot of good projects before they start. The truth is that deck lighting without wiring has caught up fast, and the current generation of solar, battery, and rechargeable fixtures throws real usable light instead of the faint blue glow people remember from a decade ago.
This article walks through seven methods that require no electrical work at all. You will see what each one costs, how long it takes to install, where it performs well, and where it falls short. By the end you will know which combination fits your deck, your sun exposure, and how much maintenance you are willing to do.
Three things changed. Lithium-ion cells replaced the old nickel-cadmium batteries, so runtime went from a couple of hours to most of the night. LED efficiency improved to the point where a small panel can charge enough power for meaningful output. And manufacturers started sealing housings properly, so fixtures survive freeze-thaw cycles instead of filling with water in the first spring.
The Consumer Product Safety Commission and the National Fire Protection Association both publish guidance on outdoor lighting and stair visibility, and both point to the same conclusion: unlit steps are one of the most common causes of home fall injuries. That makes deck step lighting the first thing to solve, not the last.
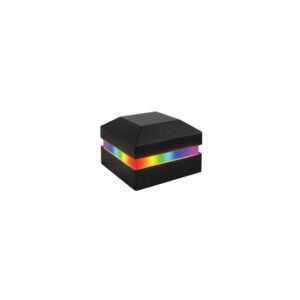
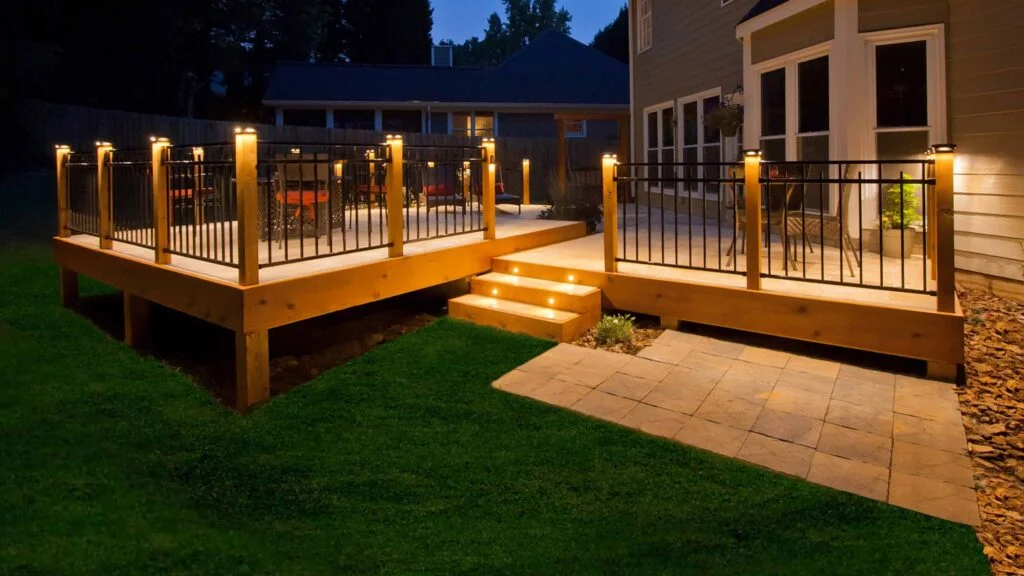
These drop over the top of a 4×4 or 6×6 post and charge from a panel built into the cap. Installation is four screws or, on some models, an adhesive pad. No tools beyond a screwdriver.
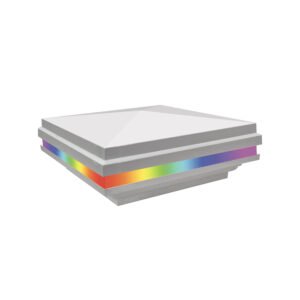
Solar post cap lights give you the classic outline effect where the perimeter of the deck reads clearly at night. Modern versions run 10 to 20 lumens each, which is ambient rather than task lighting. That is fine, because you rarely want a post cap bright enough to look at directly.
Run them along the railing, zigzag them overhead between the house and a pergola, or drape them under an umbrella. A single remote panel mounts wherever the sun hits and the strand can then sit fully in shade.
This is the highest visual payoff per dollar of anything in the category. It is also the least durable, since strands take wind and physical abuse.
These mount to the riser board under each step tread and cast light downward onto the step below. Most run on AA batteries or an integrated lithium cell, and many include a motion sensor so they only fire when someone approaches.
If you do only one thing on this list, do this one. Deck step lighting is the difference between a guest carrying a plate down safely and a guest carrying a plate down by feel.
These clamp or screw to the top or side of the railing and charge over USB. You pull them off, charge them indoors, and put them back. Runtime is typically eight to twelve hours per charge on a medium setting.
The advantage over solar is total independence from weather. A north-facing deck under mature oaks will never charge solar properly, and this is the honest answer for that situation.
Small adhesive or magnetic puck lights mounted on the underside of the top rail wash light down the balusters. The fixtures stay hidden and you see only the effect, which is the mark of good lighting design.
Use a mounting tape rated for outdoor temperature swings, or better, use the small screw that most pucks include. Adhesive alone fails in the second summer.
Technically these use electricity, but they involve no wiring in the sense that matters. A transformer plugs into an existing exterior GFCI outlet, and the cable runs along the joists or under the rail cap held by clips. No junction boxes, no permits in most jurisdictions, no electrician.
This is where plug-in low voltage kits earn their keep. You get consistent brightness every night, dimming control, and a system that lasts ten years instead of three.
Rechargeable lanterns, LED candles, and cordless table lamps move where you need them. They cover the gap that fixed lighting always leaves, which is the actual table where people eat.
Treat these as the finishing layer, never the foundation.
| Method | Typical Cost | Install Time | Brightness | Lifespan | Needs Sun |
|---|---|---|---|---|---|
| Solar post cap lights | $15 to $40 per post | 5 min per post | Low ambient | 2 to 4 years | Yes |
| Solar string lights | $25 to $60 per strand | 30 to 60 min | Low ambient | 2 to 4 years | Panel only |
| Battery stair lights | $12 to $30 per light | 10 min per light | Medium task | 3 to 5 years | No |
| Rechargeable rail lights | $20 to $50 each | 5 min each | Medium | 3 to 5 years | No |
| Stick-on puck lights | $10 to $25 each | 10 min each | Low to medium | 2 to 4 years | No |
| Plug-in low voltage kit | $150 to $600 per kit | 3 to 6 hours | High, adjustable | 8 to 15 years | No |
| Portable lanterns | $20 to $70 each | None | Medium | 3 to 6 years | No |
If your deck gets less than six hours of direct sun, skip solar entirely and go rechargeable or plug-in. Solar fixtures in shade underperform every single night, and no amount of good hardware fixes a charging deficit. This is the single most common reason people conclude that no-wire lighting “does not work.”
If you plan to stay in the home more than five years, put the money into a plug-in low voltage kit and add solar accents around it. The cost per year works out lower than replacing solar strands and post caps repeatedly, and the light quality is not close.
A homeowner with a 400 square foot composite deck faced west, with a large maple shading the north half. Their first attempt was twelve solar post caps, and by October half the deck sat dark by 8 p.m. because the shaded posts never fully charged.
The fix took one Saturday. They kept solar caps on the six sunny posts, added eight battery-powered riser lights on the stairs, and ran a plug-in low voltage strand of under-rail pucks along the shaded north side from an existing GFCI outlet on the exterior wall. Total spend was under $500 and the deck now lights evenly every night regardless of weather. The lesson is that mixing methods by zone beats forcing one method across the whole deck.
A:Yes. Solar, battery, and rechargeable fixtures require no electrical work at all, and plug-in low voltage kits need only an existing exterior outlet.
A: Ambient areas need very little, roughly 10 to 30 lumens per fixture. Stairs need more, around 30 to 60 lumens per step, because that is a safety function.
A: They work but at reduced runtime. Shorter days and low sun angles mean fewer charging hours, so expect four to six hours of output instead of eight to ten.
A: IP65 is the practical minimum for anything exposed to rain. IP67 is better for lights mounted low where snow and standing water collect.
A: Most are water resistant, not submersible. Check the specific IP rating rather than trusting the marketing word on the box.
A: Most run eight to twelve hours on a full charge at medium output. Motion-activated models last far longer because they are only on briefly.
A: Yes. Nothing about a solar or battery install prevents a future low voltage or recessed deck lighting system. Fixtures unscrew and leave only small holes.
A: Yes, though composite requires appropriate screws and sometimes pilot holes. Check the manufacturer guidance for your specific railing brand.
A: Warm white in the 2700K to 3000K range. Anything above 4000K reads clinical and makes wood tones look gray.
A: Partially. Battery and rechargeable pucks work under joists, but access for charging is awkward, so a plug-in kit is usually the better answer there.
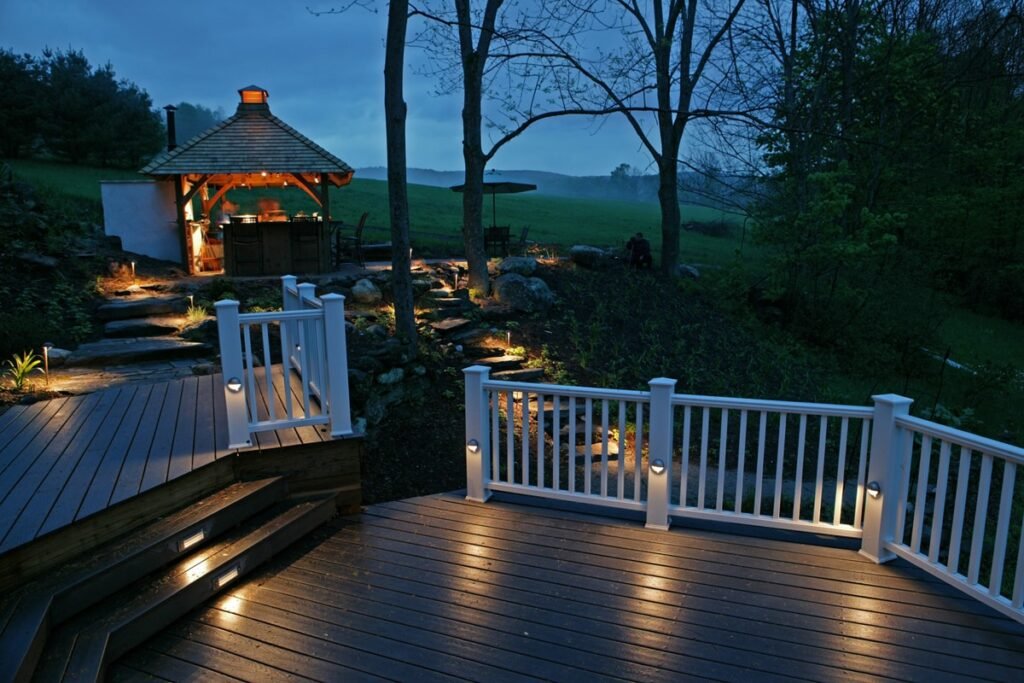
Deck lighting without wiring is no longer a compromise. Between solar post caps, battery riser lights, rechargeable rail fixtures, hidden pucks, plug-in low voltage kits, and portable lanterns, you have enough range to light almost any deck properly in a single afternoon.
The approach that works is layering. Solve the stairs first because that is safety. Add perimeter light so the edges of the deck read clearly. Then layer in ambiance at the table and seating areas. Match your color temperature across every fixture, respect the IP rating, and be honest about how much sun your deck actually gets.
If you would rather have it designed and installed correctly the first time, with fixtures that match your railing and a layout planned around how you actually use the space, reach out for a consultation. A well-lit deck adds usable hours to your home every single evening.
Key Takeaways A deck that goes dark at sunset loses half its value. In Pennsylvania, that problem gets worse, because
Key Takeaways A deck that goes dark at 7 p.m. in October is a deck you only use half the