- FREE Shipping on all orders! Limited time!
- support@tru-scapes.com

A deck that looks incredible at 6 p.m. can turn into a tripping hazard by 9 p.m. That is the real problem most homeowners are solving when they start shopping for deck lighting kits, even if they think they are shopping for ambiance.
The good news is that this project has gotten far more approachable. Modern low voltage systems use plug and play connectors, pre wired fixtures, and transformers that handle the hard part for you. If you can use a drill and read a label, you can finish most installations over a weekend.
This guide walks through the kit types worth your money in 2026, how to size a system correctly, where to place fixtures for the best effect, and the mistakes that cause people to redo the job a year later.
Nearly every consumer grade system on the market uses one of three power approaches.
Low voltage 12V systems use a transformer that steps household current down to 12 volts. The transformer plugs into a standard GFCI outlet, and a main cable runs from it to your fixtures. This is the dominant category, and for good reason. The low voltage cable does not require conduit in most residential applications, and the shock risk is minimal.
Solar systems have no wiring at all. Each fixture carries its own panel and battery. Installation is nearly instant, but output depends on how much direct sun the fixture receives during the day.
Line voltage (120V) systems run on household current. These are brighter and support longer runs, but they generally require a licensed electrician and permitting in most jurisdictions. This falls outside DIY territory for the majority of homeowners.
For the rest of this article, the focus stays on low voltage and solar, since those are the two categories that genuinely support DIY installation.
Most complete kits mix two or three of the following. Understanding what each one does helps you avoid buying twelve of the wrong fixture.
Outdoor deck lighting works best when you combine a functional layer for safety with a decorative layer for atmosphere. Very few kits do both well out of the box, which is why many homeowners buy a core kit and then add a second set of fixtures.
| Kit Type | Typical Fixture Count | Wiring Required | Best For | DIY Difficulty | Longevity |
|---|---|---|---|---|---|
| Low voltage stair kit | 4 to 10 | Yes, 12V cable | Safety on steps | Moderate | High |
| Low voltage railing kit | 6 to 12 | Yes, 12V cable | Ambient deck lighting | Moderate | High |
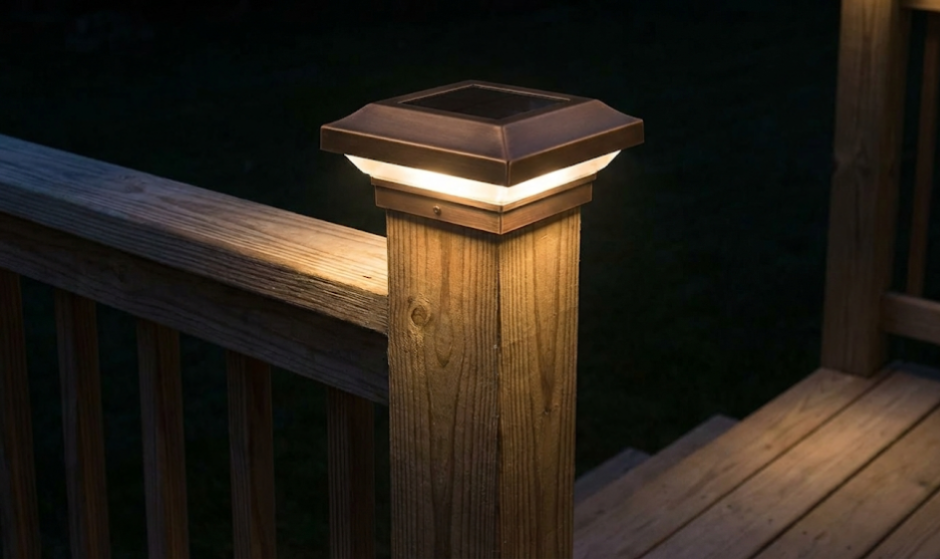
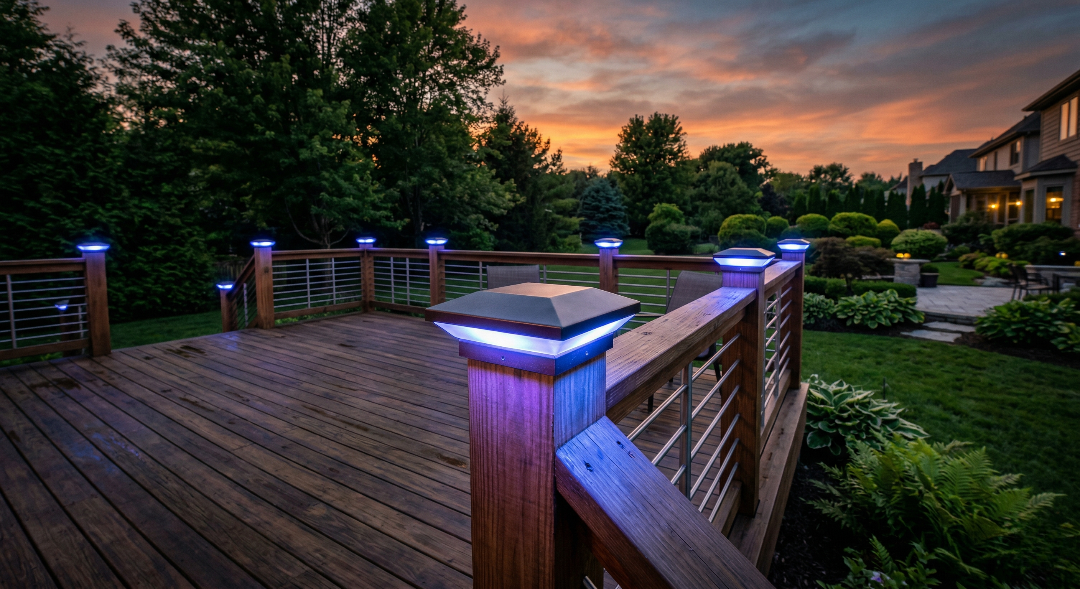
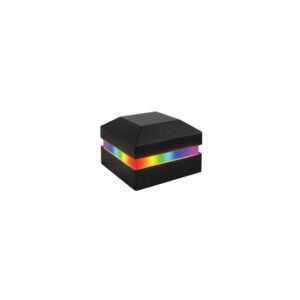
| Post cap kit | 4 to 8 | Yes, 12V cable | Perimeter definition | Easy to moderate | High |
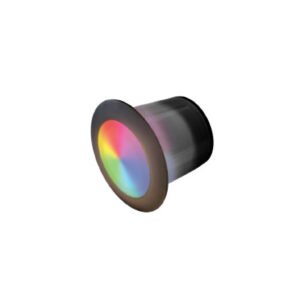
| Recessed deck kit | 6 to 20 | Yes, 12V cable | Minimal, modern look | Advanced | High |
| Solar post or step kit | 2 to 8 | None | Renters, quick upgrades | Very easy | Low to moderate |
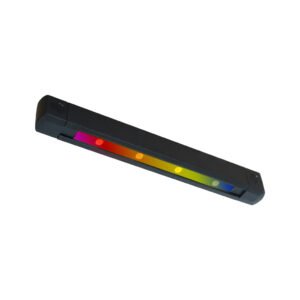
| Under deck strip kit | 1 to 3 runs | Yes, 12V or plug in | Lower level patios | Moderate | Moderate |
Start with how you use the space rather than how many fixtures you want.
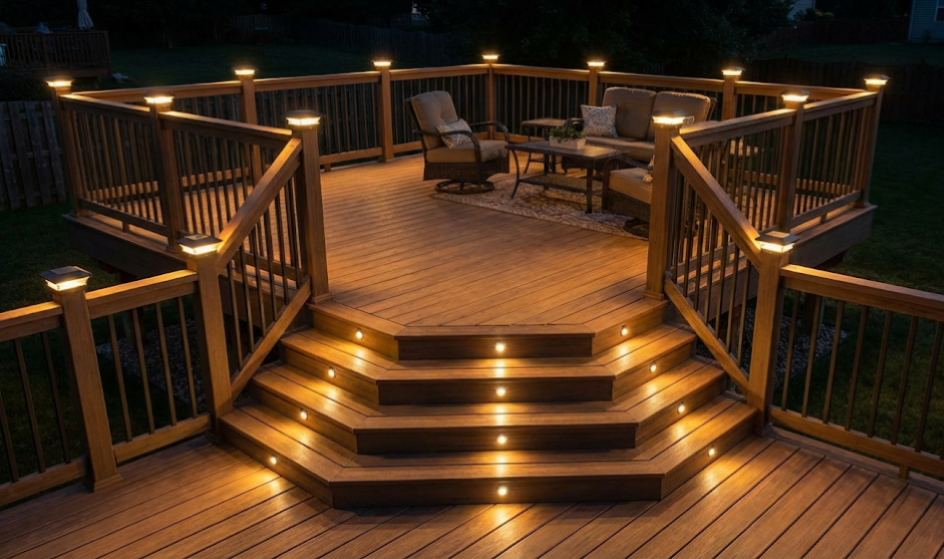
If your deck has more than three steps and you use it after dark, prioritize deck step lighting before anything else. Stairs are the failure point.
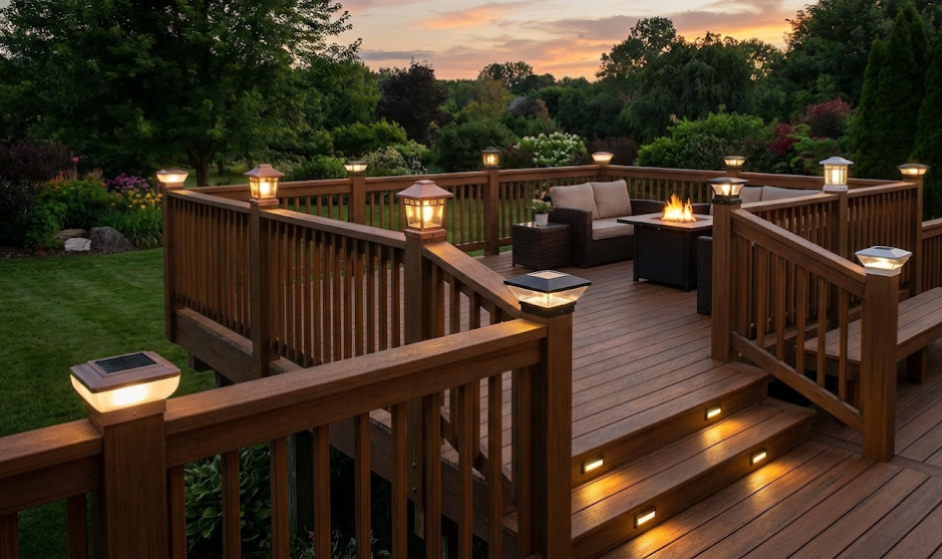
If your deck is large and open with a long railing run, choose a railing focused kit and add post caps second. Post caps alone rarely light the deck surface well enough to walk on comfortably.
If your deck gets less than six hours of direct sun per day, skip solar. Solar fixtures in shaded or north facing locations dim noticeably within a couple of hours after sunset, and that gets worse in winter.
If you rent your home or expect to move within two years, solar or clamp on railing fixtures make more sense than drilling into structural posts.
This is where most first time installations go wrong, so it is worth doing carefully.
Add up the wattage of every fixture in your plan. If you are installing twenty fixtures at 1.5 watts each, your total load is 30 watts. Then add at least 20 percent headroom, which brings you to roughly 36 watts minimum. A 45 or 60 watt transformer gives you room to expand later without replacing hardware. For detailed calculations, see our guide on sizing the transformer correctly.
Two other details matter. Long cable runs cause voltage drop issues, which shows up as dimmer fixtures at the far end of the run. Heavier gauge cable and splitting your layout into two shorter runs from the transformer both help. Second, look for a transformer with a photocell or timer built in so the system turns itself on at dusk.
The American Lighting Association and the National Electrical Manufacturers Association both publish general guidance on residential outdoor lighting practice, and UL safety certifications on the transformer and fixtures are worth verifying before purchase.
A homeowner in the suburbs with a 400 square foot elevated composite deck, a six step staircase, and eight posts. They start by installing a six fixture stair kit and four post cap lights on a 45 watt transformer, using around 18 watts total.
The stairs become safe immediately, which was the actual goal. Two months later they decide the deck surface is still too dark for dinner, so they add eight under rail fixtures. Because the transformer had headroom, the expansion required no new hardware beyond cable and fixtures. Had they bought a 20 watt transformer to save money at the start, the second phase would have meant replacing the transformer and rerunning the main line.
That sequencing, safety first and ambiance second, is the pattern that saves the most money.
A: A common approach is one fixture per stair riser, one per post, and one under rail fixture every four to six feet. Adjust downward if your yard already has ambient light.
A: Low voltage 12V kits generally do not, as long as you have an existing GFCI outdoor outlet. Line voltage systems and new outlet installations do require a licensed electrician.
A: Yes. Most low voltage kits are designed specifically for DIY installation and use tool free waterproof connectors.
A: Total your fixture wattage and add at least 20 percent. A 45 to 60 watt transformer handles most residential decks with room to expand.
A: They work well as decorative markers but are usually too dim to rely on as primary stair lighting, especially in shaded or northern locations.
A: Yes. Recessed fixtures require a clean hole saw cut, and most manufacturers publish specific instructions for composite boards.
A: Quality LED fixtures are commonly rated for tens of thousands of hours, though real world life depends on heat, moisture sealing, and voltage stability.
A: Downward facing, shielded fixtures minimize spill. DarkSky International guidelines publishes general guidance on reducing unnecessary outdoor light pollution.
A: Some transformers support dimming or scene control. Verify compatibility before buying, since not all LED fixtures dim smoothly.
Low voltage An electrical system operating at 12 volts rather than standard 120 volt household current, commonly used for outdoor landscape and deck lighting.
Transformer The device that converts household current into low voltage power for your fixtures, and often controls timing through a built in photocell or timer.
Voltage drop The gradual loss of electrical pressure over a long cable run, which causes fixtures farther from the transformer to appear dimmer.
Color temperature (Kelvin) A measurement describing whether light appears warm or cool. Lower numbers such as 2700K look warm and amber, while higher numbers look bluish white.
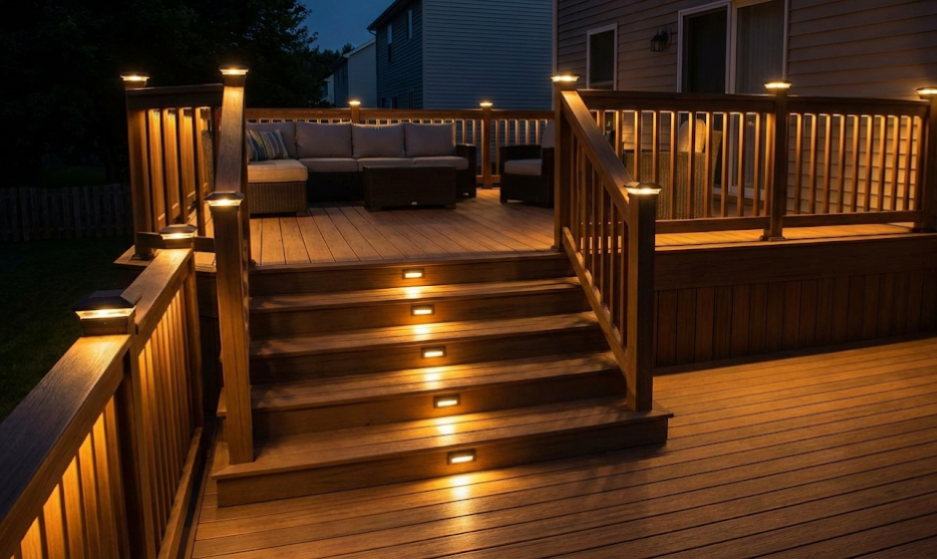
Deck lighting kits deliver two things at once. They remove a genuine safety hazard on stairs and edges, and they extend the hours you actually enjoy the space you already paid for.
The homeowners who are happiest with their systems tend to follow the same pattern. They plan the layout before drilling, size the transformer with room to grow, choose warm downward facing light, and handle stairs before decoration. None of that requires special skill, only a little patience during the planning stage.
If you want a system designed around your specific deck layout rather than a generic kit count, request a custom lighting plan and fixture recommendation tailored to your space.
Homeowners ask the same thing before every deck project: are low voltage systems safe around kids, pets, bare feet, rain,
Most homeowners assume a lit deck means trenching, conduit, a transformer, and a licensed electrician. That assumption stops a lot