- FREE Shipping on all orders! Limited time!
- support@tru-scapes.com

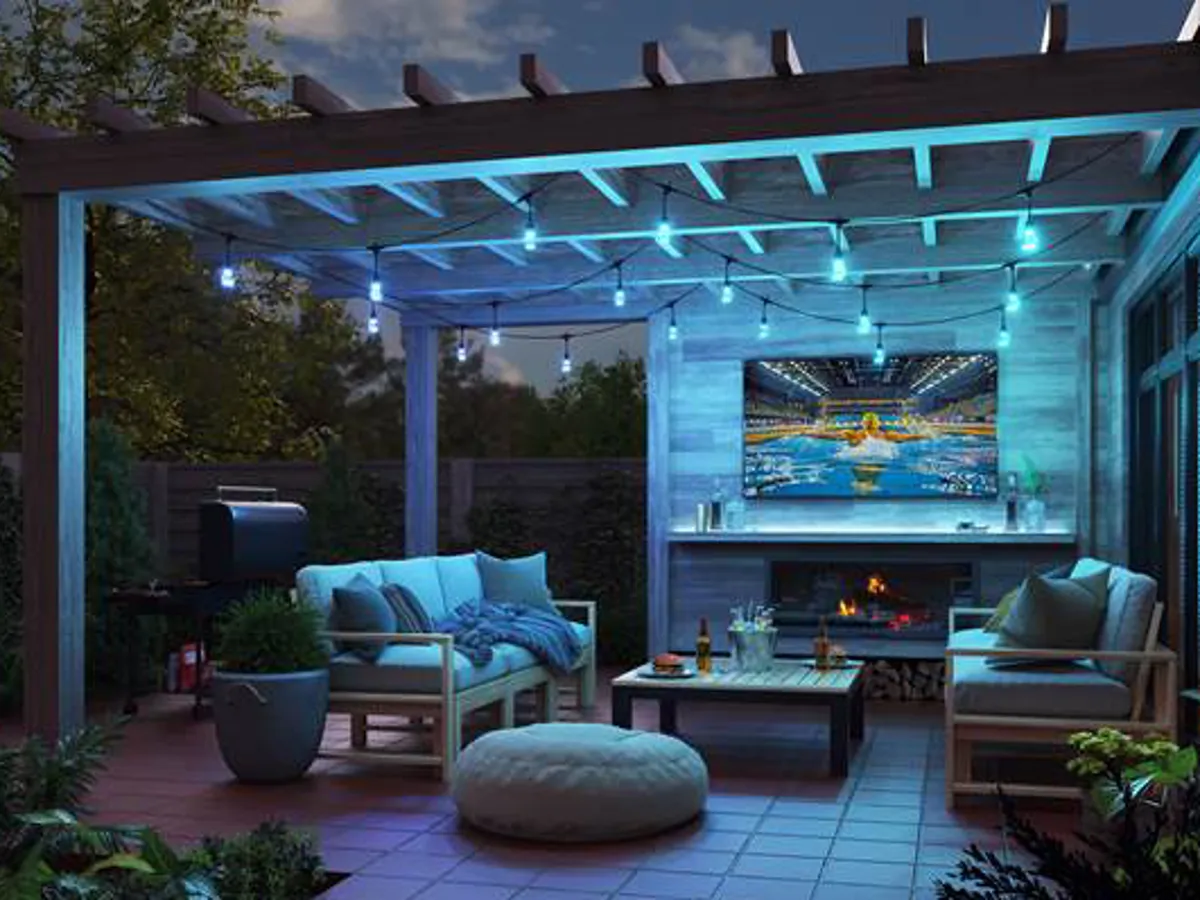
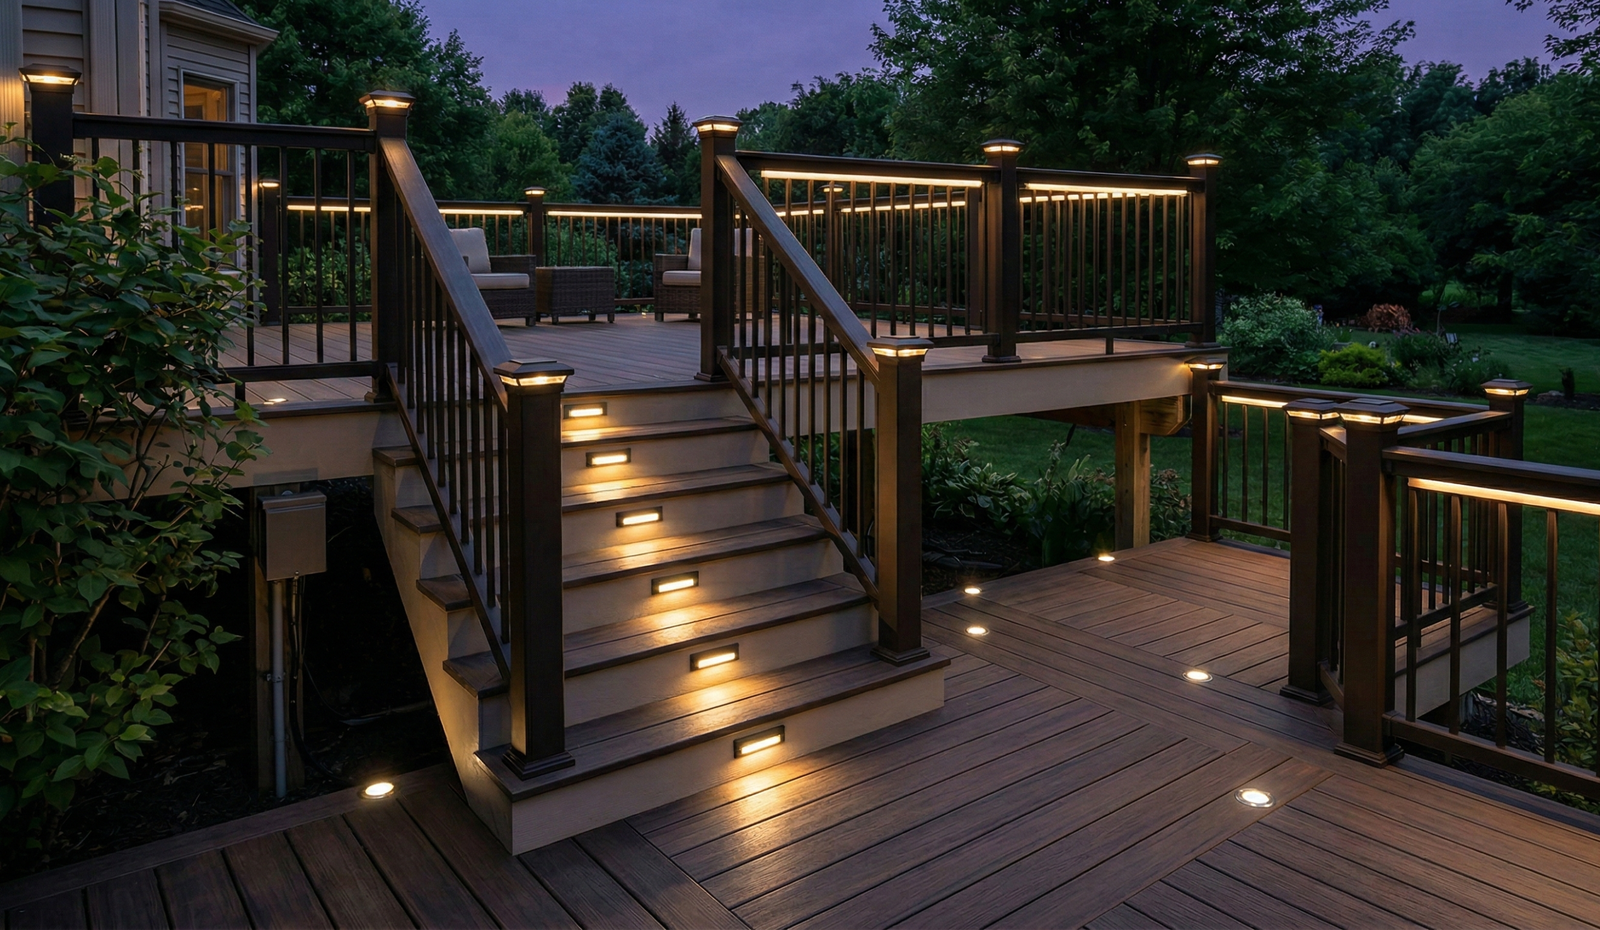
You’ve spent years perfecting your backyard. The path lights guide guests beautifully to the backyard, and the up-lights showcase your favorite Japanese Maple perfectly. But then, everyone steps onto the deck, and the vibe changes. It’s dark. You can barely see your drink on the railing, let alone the steps leading down to the patio.
It is a common scenario for homeowners. You focused on the landscape first, and now the deck feels like an afterthought.
The good news? You don’t need to dig up your entire yard or install a completely separate power source to fix it. Integrating deck lighting into your current setup is often easier than you think. By understanding your transformer’s capacity and using the right wiring techniques, you can seamlessly add deck lights to your existing landscape lighting system.
Here is how to bridge the gap between your garden and your gathering space.

Before you buy a single fixture, you need to visit your landscape lighting transformer. This is the gray or stainless steel box plugged into an outlet on the side of your house or in the garage. It is the heart of your low-voltage system.
Your transformer has a maximum wattage rating—usually 60W, 120W, 300W, or higher. You cannot exceed this number. In fact, for longevity, you generally want to keep the total load around 80% of capacity.
How to calculate your available power:
Since Tru-Scapes lighting utilizes energy-efficient LEDs, you have a lot of wiggle room. A typical LED post cap light might only draw 2 to 3 watts. This means even a modest transformer usually has enough “overhead” to power a full set of deck lights.
Once you know you have the power, you need to find the wire.
Landscape lighting systems typically run a main “trunk” line from the transformer through the yard. You need to locate where this wire runs closest to your deck. This is your tie-in point.
Pro Tip: If your transformer is mounted on the house right next to the deck, you are in luck. You can run a new wire directly from the transformer to the deck, which is often cleaner than splicing into a buried line.
When you add deck lights, you aren’t just adding visibility; you are adding architectural detail. The goal is to match the color temperature (usually 2700K warm white) of your existing landscape lighting system so the deck and yard feel like one cohesive space.
Here are the heavy hitters for deck illumination:
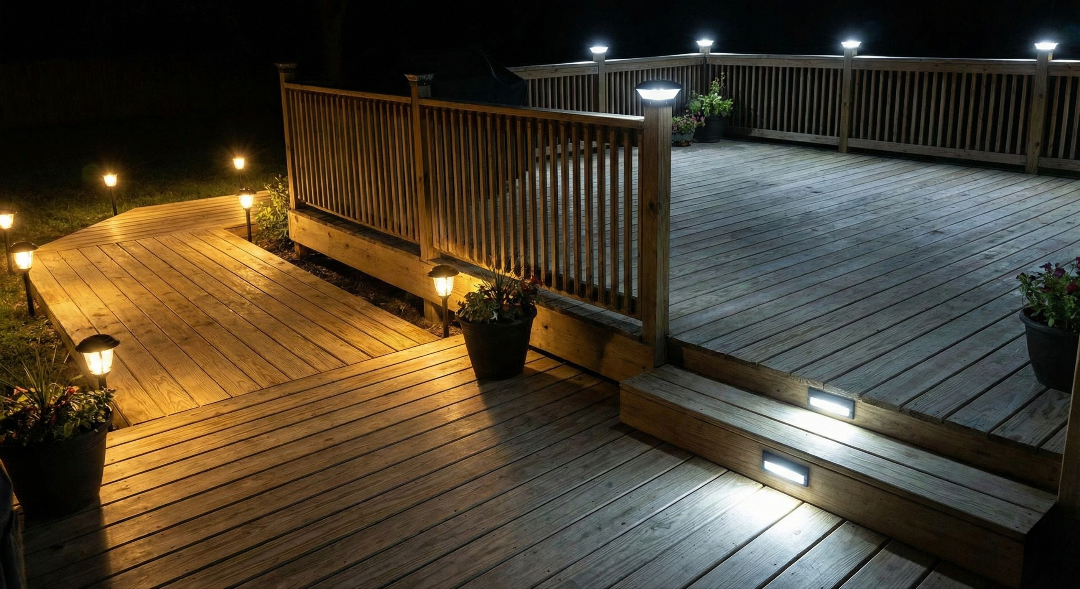
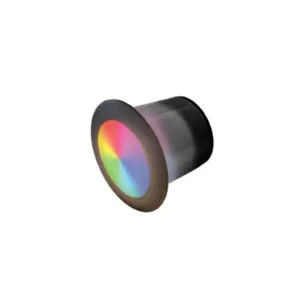
Post Cap Lights sit on top of your railing posts. They provide a soft, downward glow that highlights the perimeter of your deck without shining in anyone’s eyes. They are the most visible fixtures during the day, so choosing a design that matches your railing style is key.
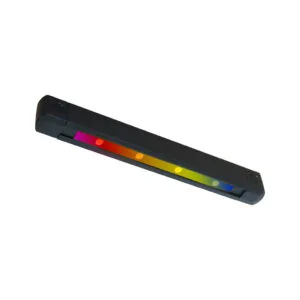
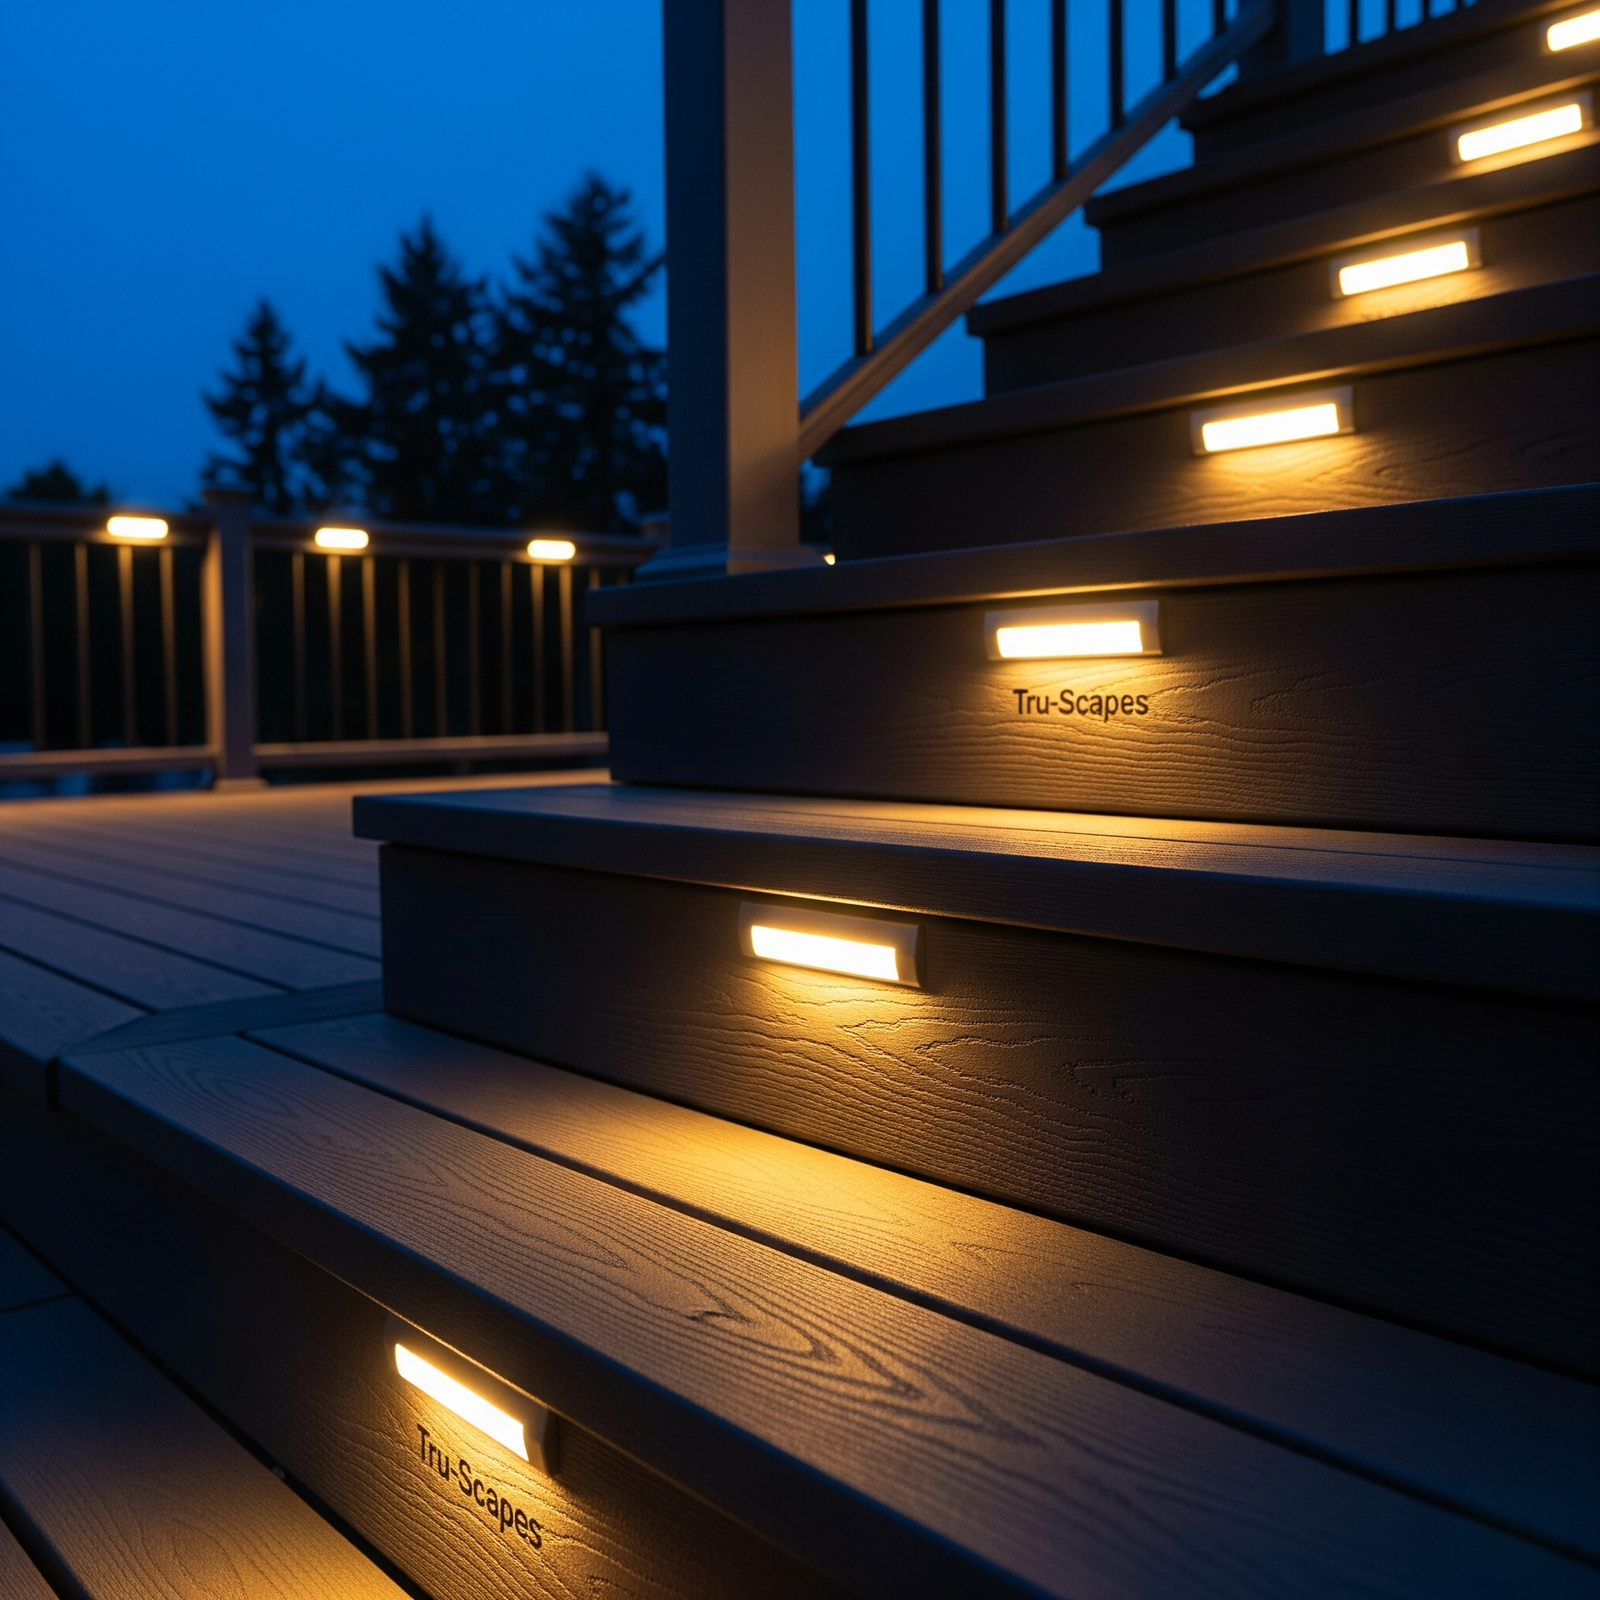
Riser (Step) Lights are non-negotiable for safety. Mounted on the vertical riser of your stairs, they cast light directly onto the tread below. This prevents trips and falls while creating a high-end, resort-style look.
If you cannot run wires inside your posts, surface-mounted lights are a great alternative. They attach to the side of the post and shine downward.
| Fixture Type | Best Application | Installation Difficulty |
| Post Cap Lights | Perimeter lighting & ambiance | Moderate (Requires drilling posts) |
| Riser Lights | Stair safety & visibility | Moderate (Requires drilling stairs) |
| Recessed Deck Lights | Marking perimeters on the floor | High (Requires precise cutting) |
| Under-Rail Lights | Subtle, indirect glow | Low to Moderate |
This is where many homeowners get nervous, but low-voltage wiring is very forgiving. Unlike high-voltage house wiring, there is no risk of serious shock, and you don’t need a license to work on it in most areas.
There are two main ways to wire your new deck lights:
This is the most common method for deck lighting. You run a wire from your source to the first light, then from that light to the next, and so on.
You run a main wire to a central point under the deck (a hub) and run individual wires to each light from there.
Connecting to the Landscape System: To physically connect your new deck wire to the old landscape wire, use waterproof silicone-filled wire nuts. Do not use electrical tape. Buried or outdoor connections are exposed to moisture, and tape will eventually fail, causing your lights to flicker or short out. Waterproof connectors ensure a tight seal that lasts for years.
Even with a solid plan, you might run into a few hiccups. Here is how to handle them.
This is called voltage drop. It happens when the wire run is too long or the wire gauge is too thin.
Hiding wires on an existing deck is trickier than on a new build.
You bought “warm white” deck lights, but they look yellow compared to your crisp white path lights.
When you successfully add deck lights to your existing landscape lighting system, you create a “flow” to your property.
Imagine looking out your back window. Instead of seeing a dark void where the deck is and bright spots in the distance, you see a continuous layer of light. The post caps frame the view, the step lights lead the eye downward, and the path lights take over from there. It makes your property look larger and more intentionally designed.
Plus, managing one timer or smart plug for the whole backyard is far more convenient than managing two or three separate systems.

Updating your outdoor space doesn’t always require a demolition crew. With a little planning and the right fixtures, you can tap into the power you already have. It is about working smarter, not harder.
If you are ready to brighten up your evenings, take a look at your transformer today. Check that wattage rating. If you have the capacity, you are halfway to a beautiful, illuminated deck.
Ready to find the perfect match for your home? Browse our collection of professional-grade post caps and step lights at Tru-Scapes Deck Lighting and see how easy it is to upgrade your view.
Upgrading your outdoor space doesn’t have to mean hiring an electrician or tearing up your deck boards to run conduit.
The short answer is: it depends. Deck lighting has come a long way. Today you can buy plug-and-play solar deck