- FREE Shipping on all orders! Limited time!
- support@tru-scapes.com
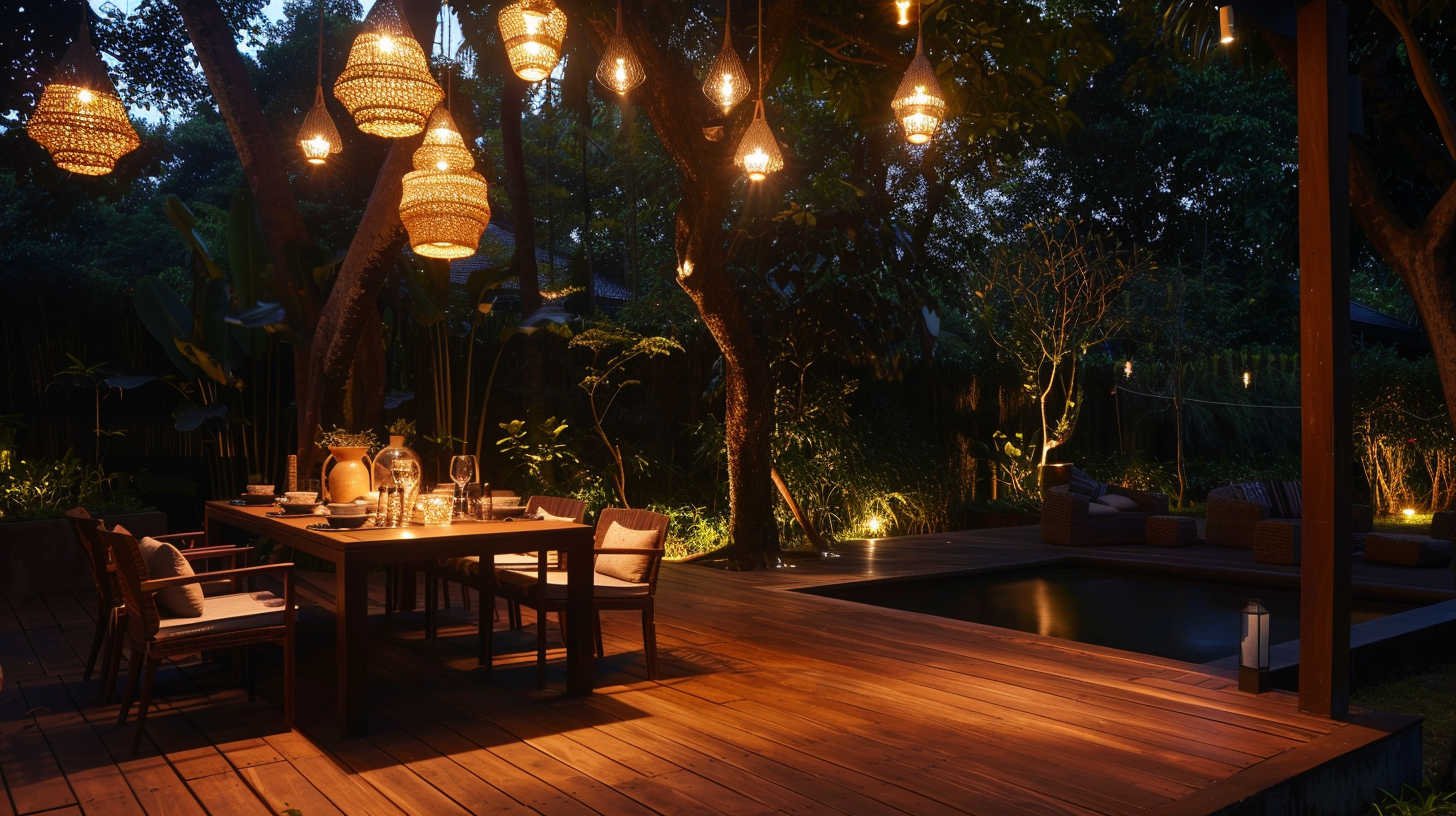
Low voltage deck lighting kits are one of the most rewarding home improvement projects a homeowner can tackle. They turn a plain wood or composite deck into a welcoming outdoor room that stays usable after sunset — and they do it without shocking your electricity bill or requiring an electrician for every connection.
Unlike line-voltage systems (120V), low voltage deck lighting runs on a safe 12V transformer plugged into a standard outdoor GFCI outlet. That small step-down in voltage is the difference between a project that is genuinely DIY-friendly and one that should be left to a licensed electrician. Many homeowners report completing a full deck lighting installation in a single weekend, including planning, wiring, and final adjustments.
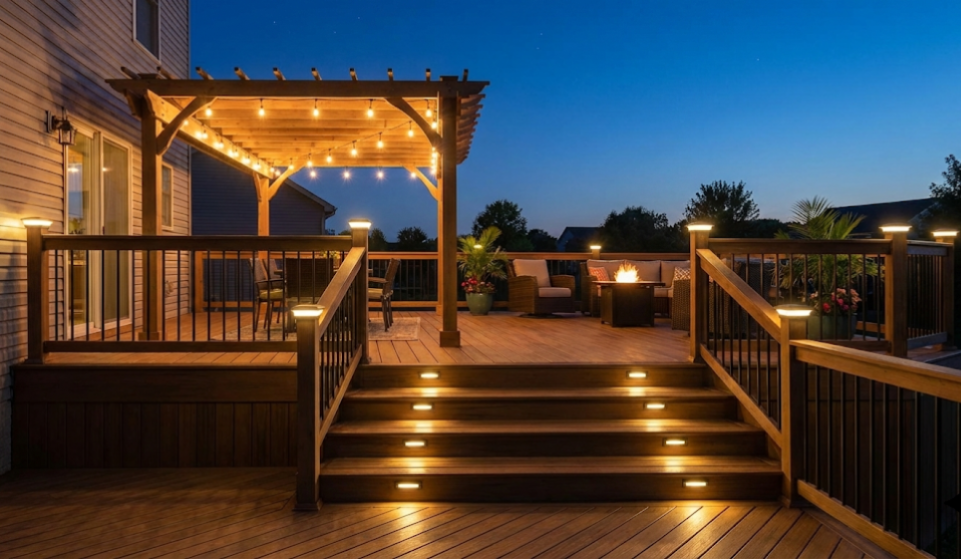
In this guide you will learn how to select the right outdoor deck lighting fixtures, size your transformer correctly, run cable without creating trip hazards, and maintain your system for years of reliable performance. Whether you want to prioritize deck step lighting for safety, dramatic recessed deck lighting for atmosphere, or decorative deck post cap lights for curb appeal, the fundamentals are the same.

Key Takeaways
A low voltage outdoor deck lighting system has four core components: a transformer, low-voltage cable, connectors, and fixtures. The transformer steps household current (120V AC) down to 12V AC or DC. Cable runs from the transformer out to each fixture. Quick-connect or wire-nut connectors join the cable to fixture leads, and the fixtures — whether deck railing lights, under deck lighting panels, or recessed deck lighting pucks — produce the actual illumination.
Most kits sold by major brands include all four components sized to work together. Buying a kit simplifies the job because the transformer wattage is already matched to the included fixtures.
| Fixture Type | Best Location | Typical Wattage | IP Rating Needed |
|---|---|---|---|
| Deck Step Lighting | Stair risers, step faces | 1–3W per fixture | IP65+ |
| Deck Railing Lights | Top/bottom rails | 2–5W per fixture | IP65+ |
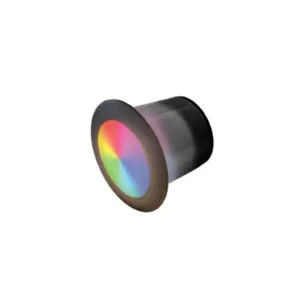
| Recessed Deck Lighting | Deck boards, fascia | 1–4W per fixture | IP67+ |
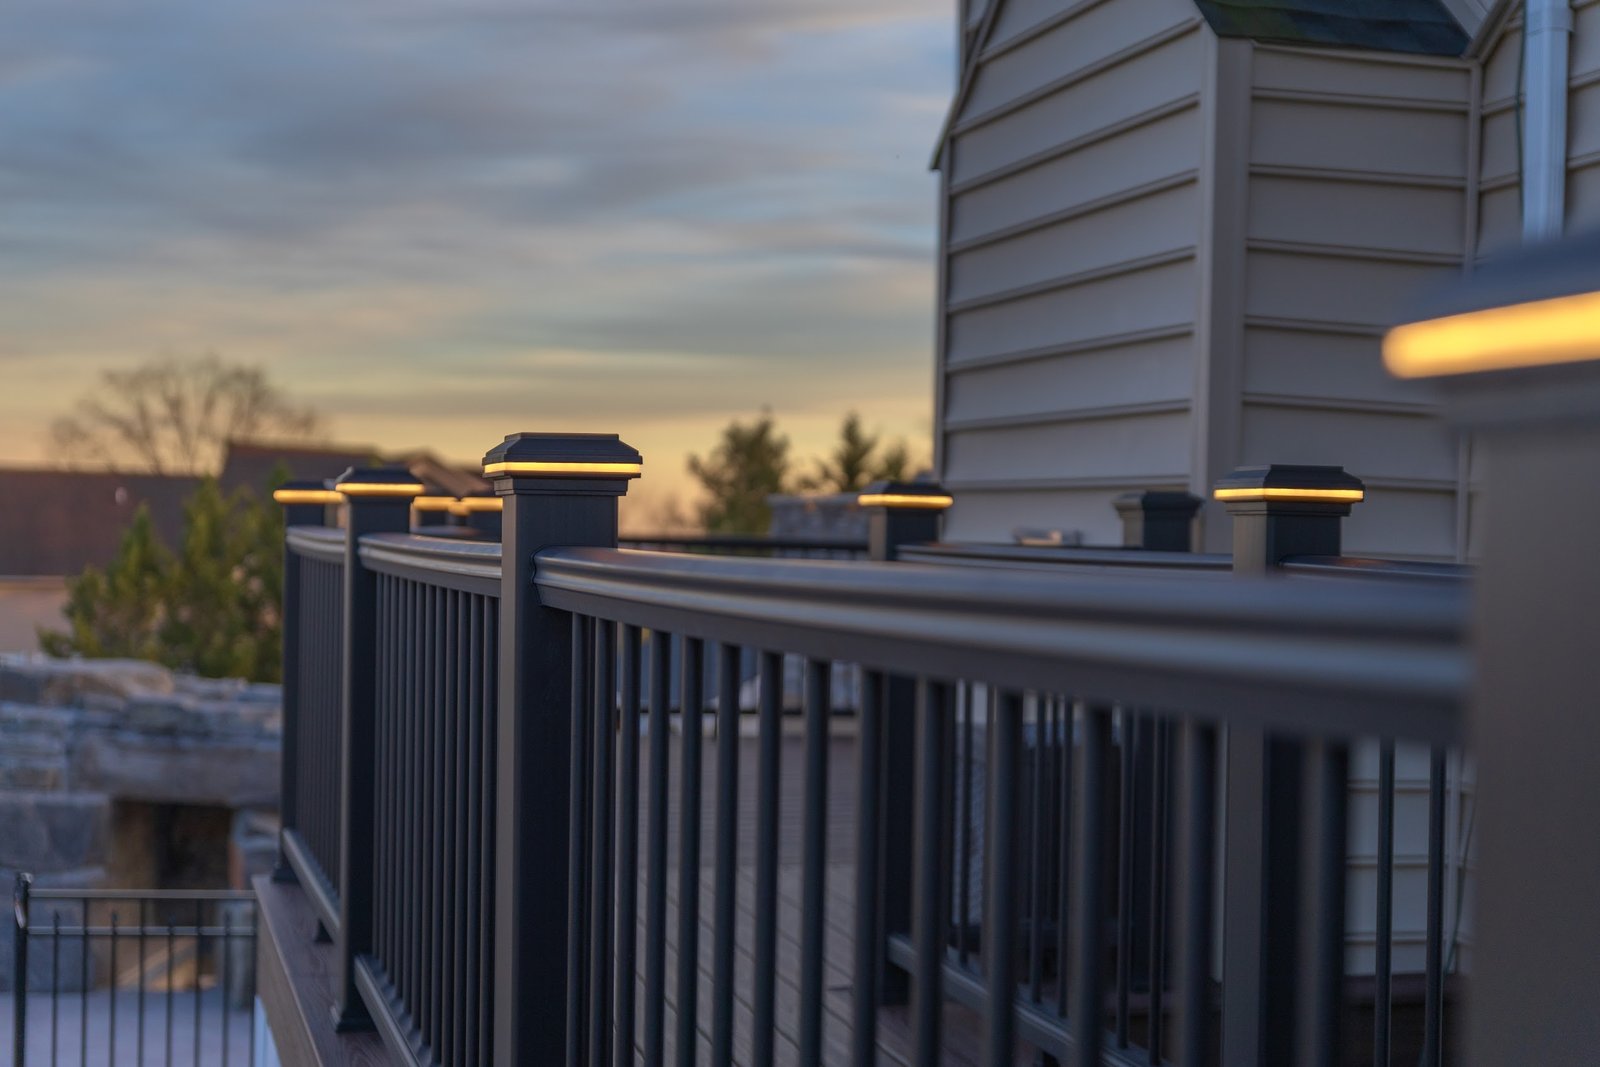
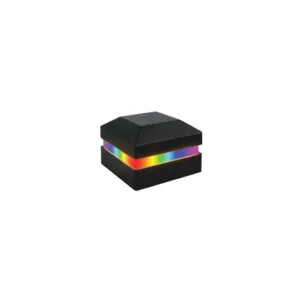
| Deck Post Cap Lights | Corner and line posts | 3–7W per fixture | IP44+ |
| Under Deck Lighting | Ceiling of lower level | 5–15W per zone | IP65+ |
Start by sketching your deck to scale on graph paper. Mark where you want each type of fixture: deck step lighting on every riser, deck railing lights every 4–6 feet, and plan to install recessed puck lights flush with the boards between seating areas. Count total fixtures, note each one’s wattage from the product spec sheet, and add those numbers together. This total wattage figure drives your transformer choice.
A transformer should be loaded to no more than 80% of its rated capacity. For example, if your total fixture load is 80 watts, purchase at least a 100-watt transformer. Industry experts suggest selecting the right low-voltage transformer with a built-in timer or photocell so the system turns on automatically at dusk and off at dawn — a feature that extends bulb life considerably.
If you are lighting a single-zone deck (under 150 sq ft), a starter kit with 8–12 fixtures and a 150W transformer is typically sufficient. If your deck spans multiple levels or exceeds 300 sq ft, consider a multi-zone transformer with two or more independent circuits so you can set different brightness and timing for each area.
Secure the transformer on an exterior wall or post within 6 feet of a GFCI-protected outdoor outlet. Most transformers include a mounting bracket. Keep the unit at least 12 inches off the ground to minimize moisture exposure. Plug it in temporarily to confirm the outlet is working before routing any cable. Ensure your setup meets the current NEC safety requirements published by the National Fire Protection Association.
Run the main 12-gauge or 14-gauge cable from the transformer to your first fixture location. For deck installations, staple cable along the underside of joists using UV-rated cable staples rated for outdoor use. Avoid running cable across walkways where foot traffic could cause wear. Leave 12 inches of slack at each connection point. If you want to run your low-voltage cable like a pro, ensure you follow best practices for avoiding voltage drop and protecting wires from physical damage.
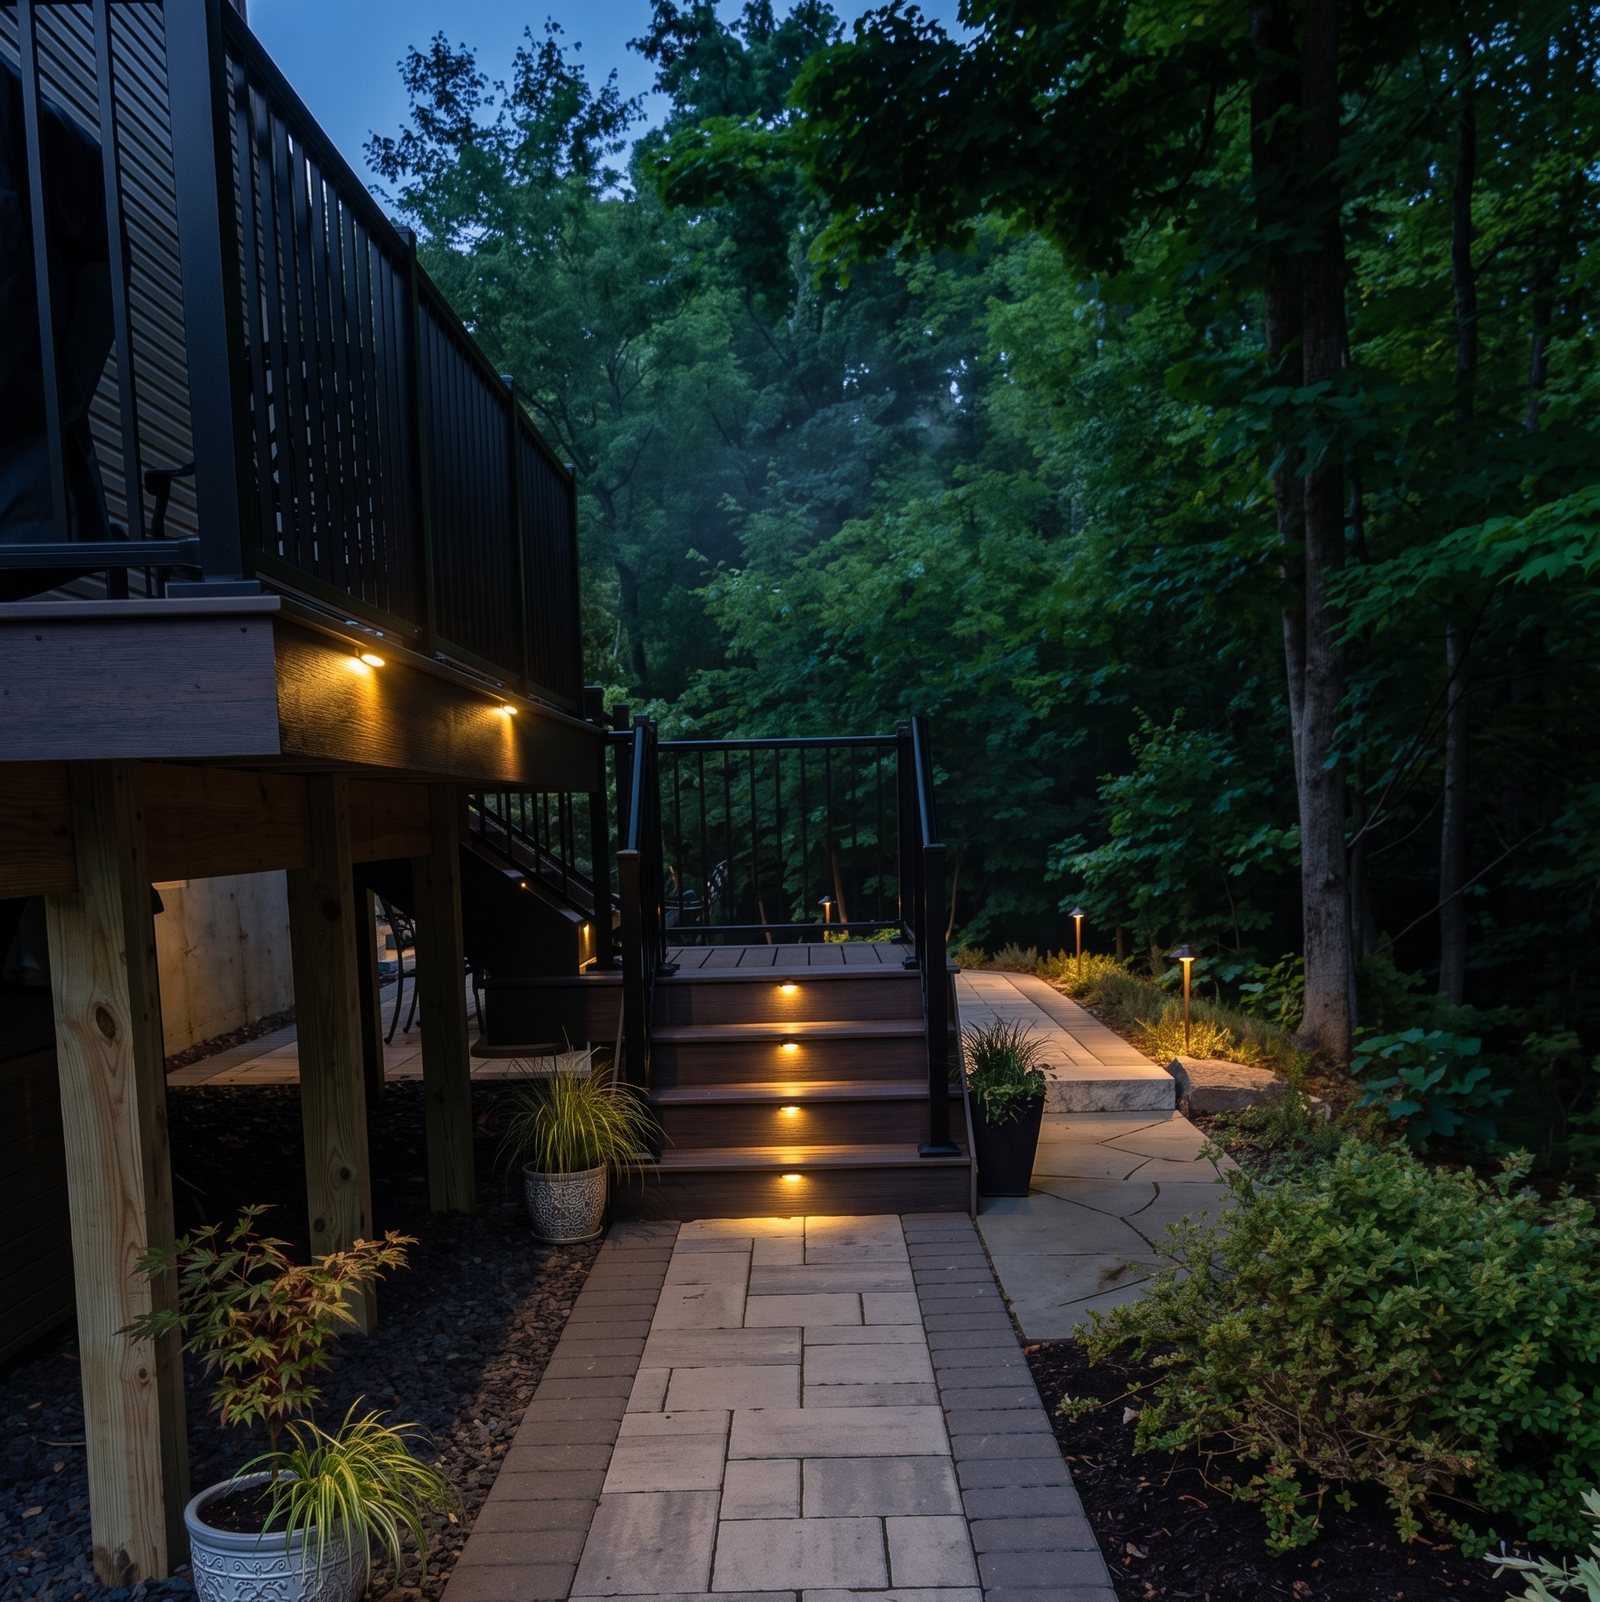
Follow the specific instructions for each fixture type. Recessed deck lighting pucks require drilling a hole to the manufacturer’s specified diameter — typically 2 inches — and snapping or screwing the fixture in from above. Deck step lighting units often mount with two screws on the face of the riser. Deck railing lights may clip directly onto the rail or screw-mount to a backing plate. For a clean, modern aesthetic, explore our guide on installing recessed deck lighting flush with your boards.
Always read the waterproofing instructions. Many fixtures require a bead of clear silicone caulk around the mounting flange before final installation to prevent moisture intrusion. Using waterproof deck lights rated IP65 or higher is essential for withstanding exposed outdoor environments.
Most low voltage deck lighting kits use a tool-free pierce-point connector that you press onto the cable. The connector’s metal teeth pierce the insulation and make contact with both conductors. While convenient, these connectors can fail over time in wet climates. For greater long-term reliability, industry professionals recommend using wire-nut connections housed in waterproof junction boxes, especially in regions with heavy rainfall or freeze-thaw cycles.
Power on the transformer and check every fixture. A fixture that does not illuminate usually indicates a failed connection or a polarity reversal. Many low voltage LED fixtures are polarity-sensitive — if a fixture stays dark, reverse the two leads. Adjust the transformer timer to your preferred on/off schedule, and do a final walk-around after dark to confirm no dark spots remain.
Pros
Cons
Do
Don’t
Consider a homeowner in the Pacific Northwest with a two-level composite deck measuring approximately 400 square feet total. The upper level features a dining area and the lower level a lounge space. The homeowner chose:
Total load: 28W + 54W + 12W + 20W = 114W. The homeowner purchased a 150W transformer (76% load — safely under 80%). Cable was routed under the deck joists and connected with waterproof wire-nut splices in junction boxes. The entire project took approximately 10 hours across one weekend and required no licensed electrician. This scenario reflects a typical residential deck lighting project scope as described in the industry best practices from NADRA (North American Deck and Railing Association).
What is the difference between low voltage and line voltage deck lighting? Low voltage deck lighting runs on 12V via a step-down transformer, making it safer for DIY installation and less expensive to operate. Line voltage systems run on 120V and typically require a licensed electrician for installation.
How many fixtures can I connect to one transformer? Add up the wattage of all fixtures you plan to connect. The total should not exceed 80% of the transformer’s rated capacity. A 150W transformer, for example, can safely handle up to 120W of fixtures.
Do I need waterproof deck lights for a covered deck? Yes. Even covered decks experience humidity, condensation, and occasional wind-driven rain. Fixtures rated IP44 (splash-proof) are the minimum for covered areas; IP65 is recommended for most residential outdoor deck lighting.
What causes voltage drop in a low voltage deck lighting system? Voltage drop occurs when cable length is too long or wire gauge is too thin. Running a 100-foot cable with 16-gauge wire causes significantly more drop than a 50-foot run of 12-gauge. Use a heavier gauge cable for long runs, or use a hub-and-spoke cable layout from the transformer.
Can I install recessed deck lighting in composite decking? Yes. Most composite decking manufacturers approve recessed deck lighting installation as long as the fixture is rated for the application and the hole is cut to specification. Always check your decking manufacturer’s warranty terms before drilling.
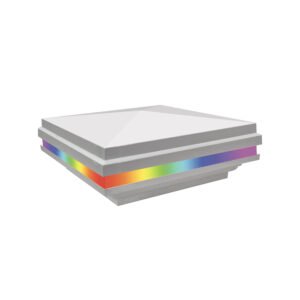
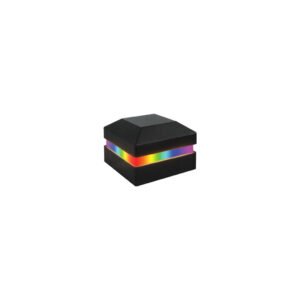
Are low voltage deck lighting kits compatible with smart home systems? Many newer transformers allow you to connect to your smart home system, enabling control via apps like Amazon Alexa or Google Home. Check the transformer’s spec sheet for smart home compatibility before purchasing if this feature is important to you.
How long do LED deck lighting fixtures last? According to U.S. Department of Energy data, quality LED fixtures are rated for 25,000 to 50,000 hours of operation. At four hours of nightly use, that translates to 17 to 34 years of service — far longer than halogen or incandescent alternatives.
What is the best way to prevent corrosion in deck lighting connectors? Use dielectric grease at every connector joint to displace moisture. In coastal environments or wet climates, waterproof wire-nut connections inside IP-rated junction boxes outperform pierce-point connectors for long-term reliability.
Low Voltage: An electrical system operating at 12 volts AC or DC, stepped down from standard household current (120V) by a transformer. Low voltage systems are considered safe for DIY work in most jurisdictions because the shock hazard is minimal.
IP Rating (Ingress Protection): A two-digit code defined by the International Electrotechnical Commission (IEC) that describes how well an enclosure protects against solid particles (first digit) and water (second digit). IP65 means dust-tight and protected against water jets.
Voltage Drop: The reduction in electrical voltage that occurs as current travels through a wire over distance. In low voltage deck lighting systems, excessive voltage drop causes fixtures to dim or flicker at the far ends of long cable runs.
GFCI (Ground Fault Circuit Interrupter): A safety device required by the National Electrical Code (NEC) for all outdoor outlets. A GFCI outlet cuts power within milliseconds if it detects a ground fault, protecting users from electric shock.

Low voltage deck lighting kits offer homeowners an achievable, affordable way to extend the usable hours of their outdoor space while dramatically improving safety and curb appeal. By following a structured plan — calculating your load, choosing the right fixtures for each location, running weather-rated cable, and using waterproof connections — you can complete a professional-quality installation without hiring an electrician.
The variety of available fixtures means there is no single right answer for every deck. If safety is the top priority, start by ensuring you prioritize deck step lighting on every riser. If atmosphere matters most, recessed deck lighting and deck post cap lights deliver the most visual impact. And if you want both, a multi-zone transformer lets you control each circuit independently.
Ready to get started? Browse our curated selection of outdoor deck lighting fixtures and complete deck lighting kits to find the right system for your space. Your deck after dark will never look the same again.
Key Takeaways Outdoor steps are among the most overlooked elements of a deck design — until something goes wrong. A

Key Takeaways Every homeowner who has installed a string of bargain-bin landscape lights knows the frustration: within a single season,