- FREE Shipping on all orders! Limited time!
- support@tru-scapes.com
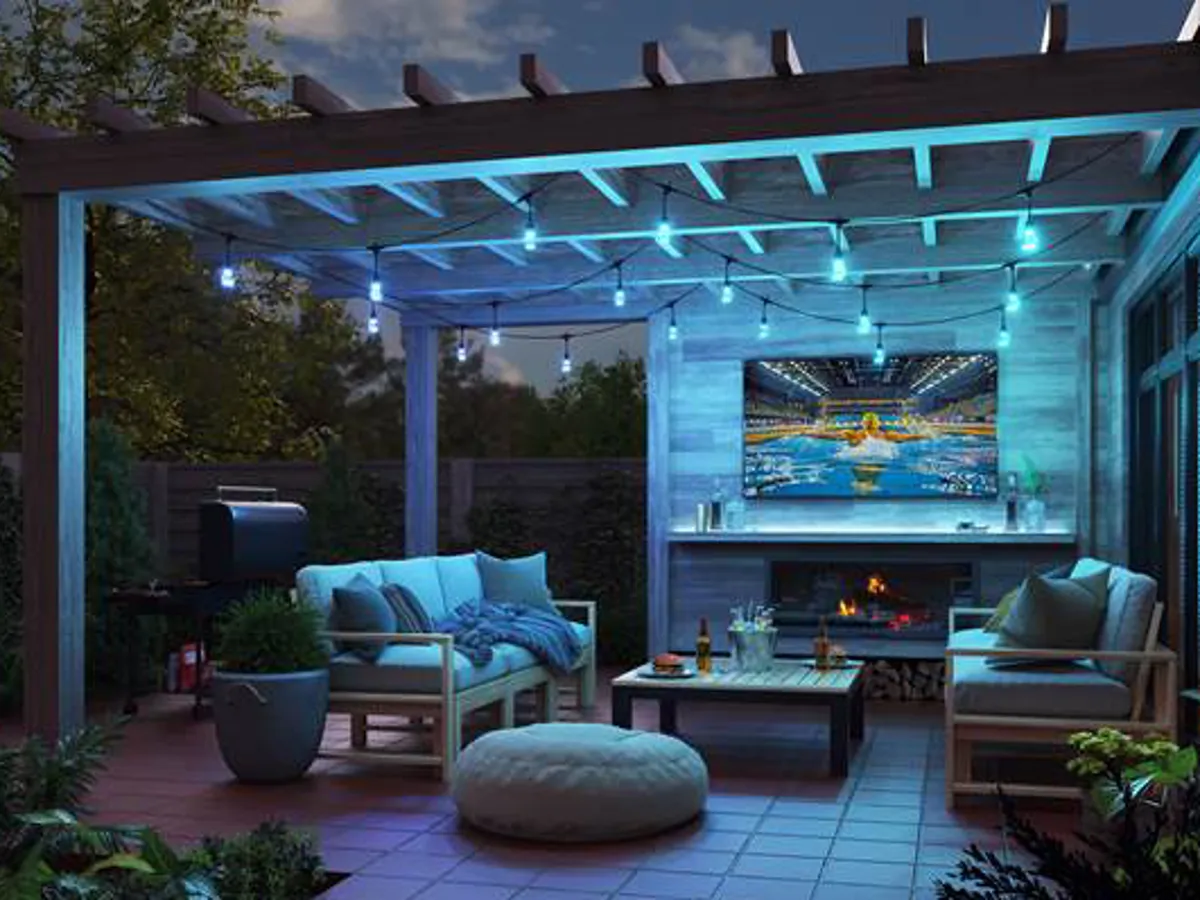
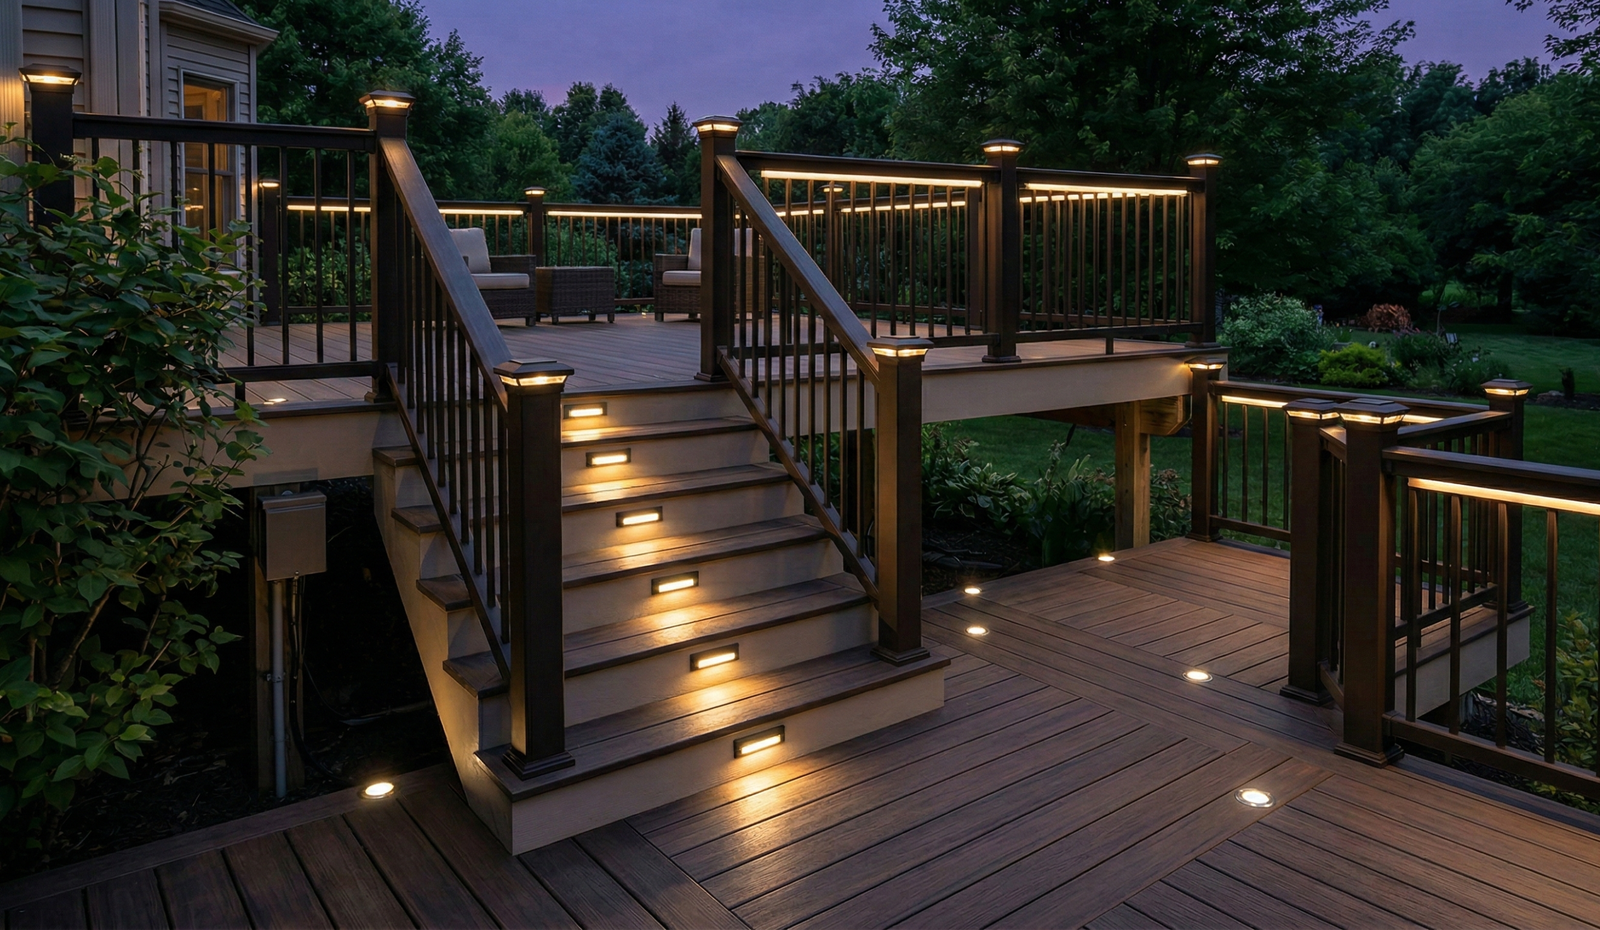
A beautiful deck is the heart of your outdoor living space, but as the sun sets, does it simply fade into the darkness? The magic of a well-lit deck extends its use and beauty long into the evening. But the secret to that stunning, professional glow isn’t just the fixtures themselves—it’s in the wiring.
This guide will walk you through the essential steps to properly wire deck lighting, ensuring a safe, durable, and truly seamless installation. You’ll learn the planning, tools, and techniques required for a safe, beautiful, and long-lasting installation that will elevate your outdoor living space.

Before you touch a single wire, a solid plan is your most important tool. Rushing this stage is the number one mistake people make. Taking the time to plan ensures your lighting looks intentional and functions perfectly.
First, walk your deck and think about how you use the space. The goal is to layer light for safety, ambiance, and functionality.
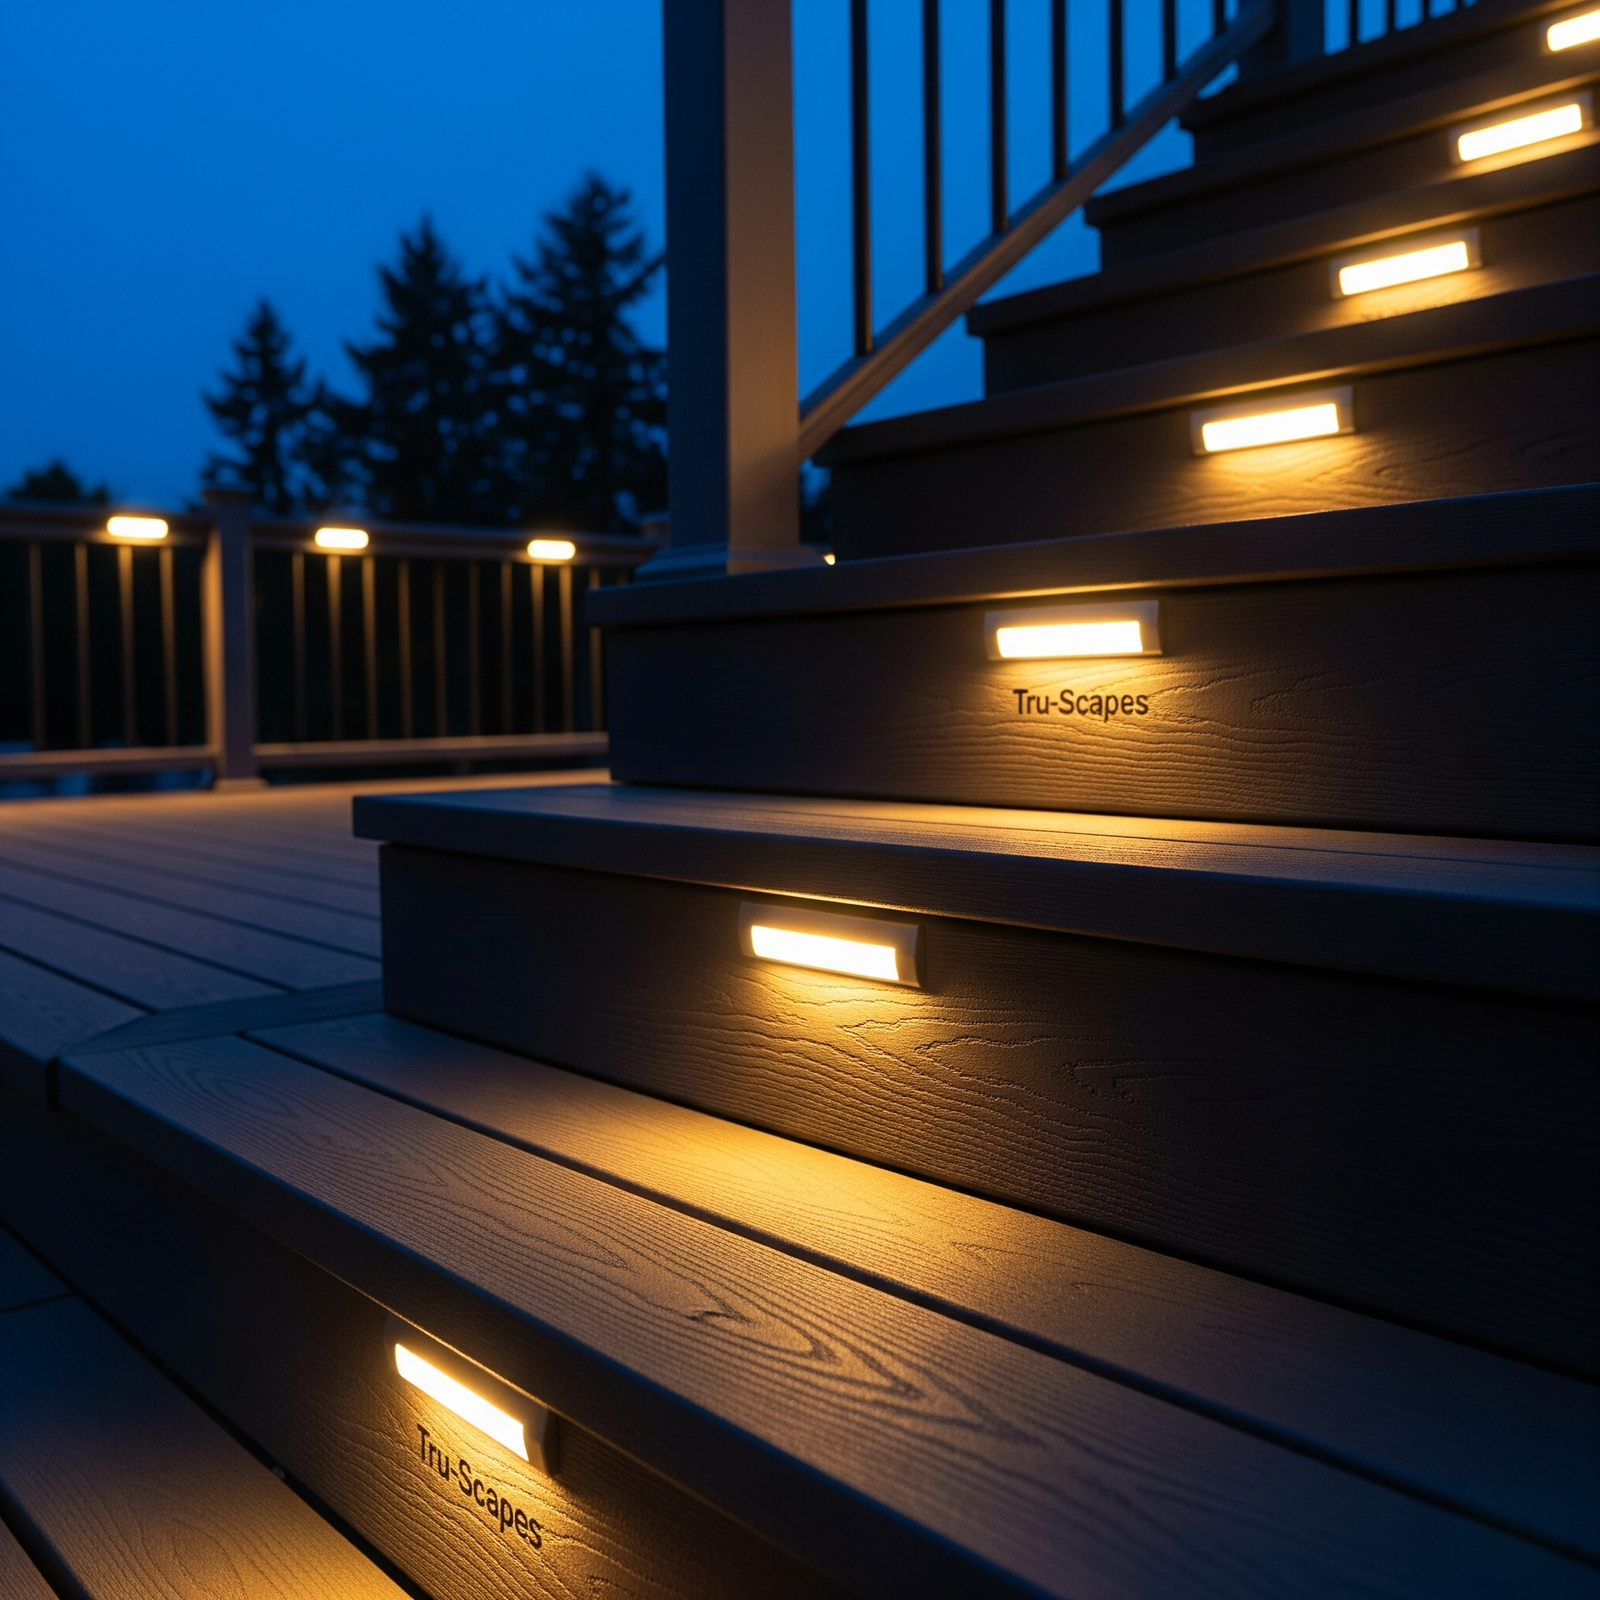
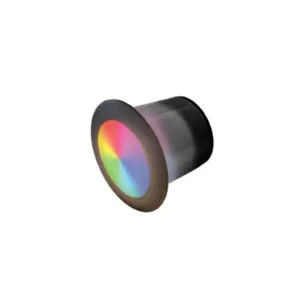
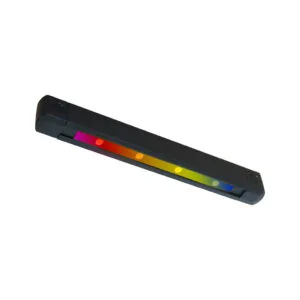
The type of low-voltage LED fixture you choose will dictate the effect.
Your low-voltage transformer is the heart of the system. It plugs into a GFCI-protected outdoor outlet and converts your home’s 120-volt power to a safe 12-volt current. Plan to place it in an accessible but inconspicuous spot, like behind a bush or on the side of the house near the deck.
From the transformer, sketch out the most efficient path for the main low-voltage cable. The goal is to use one continuous “home run” cable if possible, running it along the underside of the deck joists. Planning the route now helps you calculate how much wire you’ll need and minimizes visible cables later.
Having the right tools makes the job smoother, safer, and more professional. You don’t need a truck full of equipment, but a few key items are non-negotiable.
Essential Tools & Materials:
The most common question is about wire size. Using a wire that’s too thin for your layout can lead to “voltage drop,” where the lights at the end of the line are noticeably dimmer than those near the transformer.
| Wire Gauge | Recommended Max. Wattage Load | Best For… |
| 12-Gauge | Up to 200 Watts | Medium-sized decks with standard lighting plans. The most common choice. |
| 10-Gauge | Over 200 Watts | Large, complex layouts with long wire runs to prevent voltage drop and ensure consistent brightness. |
With your plan made and tools gathered, it’s time for the installation. Work methodically and focus on creating clean, secure connections.
Securely mount your transformer to the house wall, at least one foot above the ground, near your chosen GFCI outlet. Don’t plug it in yet! The power should remain off throughout the installation process.
Starting from the transformer, run your main low-voltage cable along the planned path underneath the deck. Use your cable staples or clips to secure the wire neatly along joists. This prevents the wire from sagging or getting snagged later on. Leave a little extra slack at both ends.
Place your light fixtures in their designated locations. For post caps, this may just involve securing them to the post. For riser or flush-mount lights, you’ll need to drill holes according to the manufacturer’s instructions to mount the fixture and pass its wire through to the underside of the deck.
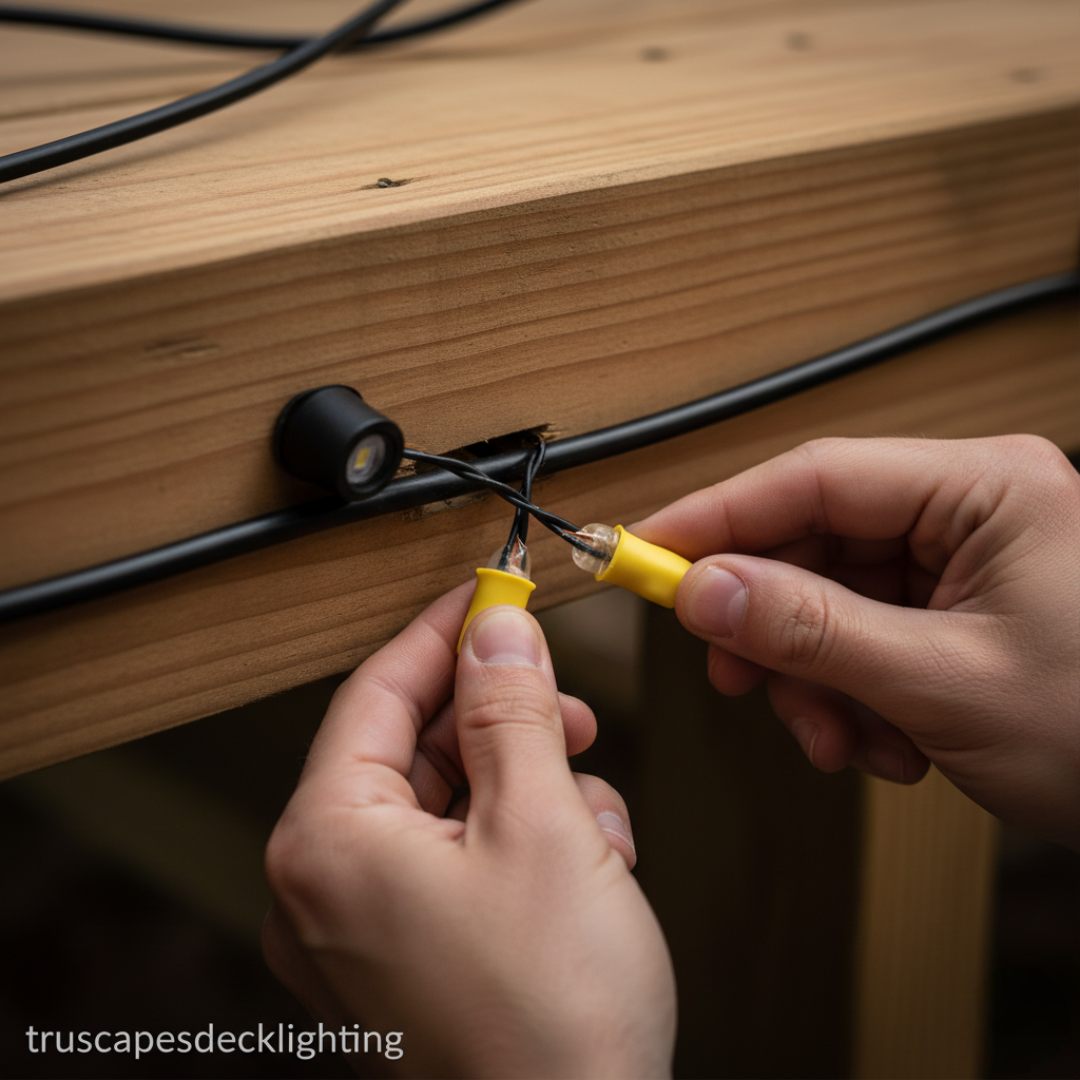
This is the most crucial step to wire deck lighting correctly. You need to connect the pigtail wire from each light fixture to the main cable you ran in Step 2.
Think of the main cable as the main track and each light as a small station branching off. For the most reliable, long-lasting connection:
Once all your lights are connected, attach the main cable to the terminals on your transformer. Now, you can plug it in and turn it on. Walk around and check that every single light is working. This is also a good time to use a multimeter to check the voltage at the last light in the run to ensure it’s within the fixture’s acceptable range (usually 10-14V).
Following the steps above will give you a functional system. Following these pro tips will give you a system that looks and performs like it was professionally installed.
The difference between a DIY and a pro job is often in the details. To hide wires, consider drilling a small hole through the center of deck posts to run the wire internally. For surface-mounted lights, you can often carve a small channel on the back of a post or rail to recess the wire, making it virtually invisible.
As mentioned, voltage drop causes lights to dim the further they are from the transformer. If your test in Step 5 shows a significant drop, the best solutions are to either use a thicker gauge wire (10-gauge), split your lights into two separate runs from the transformer, or use a transformer with a higher voltage tap (e.g., a 15V tap).
Moisture is the number one enemy of any outdoor electrical system, even low-voltage ones. The quick-clip connectors that come in some kits can be tempting, but they are notorious for failing over time as moisture seeps in. Taking the extra minute to strip and use silicone-filled nuts ensures your connections will last as long as your deck.
What’s the difference between low-voltage and line-voltage lighting?
Low-voltage systems, which use a transformer to reduce standard 120V household power to a safe 12V, are the standard for landscape and deck lighting. They are safer to work with and more energy-efficient. Line-voltage (120V) systems require conduit, junction boxes, and should only be installed by a licensed electrician.
How many lights can I put on one transformer?
To figure this out, add up the total wattage of all the light fixtures you plan to install. Your total wattage should not exceed about 80% of your transformer’s maximum rating. For example, if you have 20 lights that are 3 watts each, your total is 60 watts. A 100-watt transformer would be a perfect choice.
Can I wire deck lighting myself?
Absolutely. For homeowners comfortable with basic wiring and tools, it’s a very manageable project. However, achieving that truly high-end, seamless look requires careful planning and attention to detail. A professional installer brings experience in hiding wires, preventing voltage drop, and designing a layout that truly enhances your space.
Where is the best place to hide the transformer?
The best spot is one that’s protected from direct weather, close to a GFCI outlet, and out of direct sight. Behind mature shrubs, on the side of the house, or tucked under the deck (as long as it remains accessible and well above ground) are all excellent options.

Properly planning and installing your system is the key to a successful deck lighting project. By using quality materials, focusing on waterproof connections, and taking the time to hide your wires, you can create an outdoor space that’s safe, inviting, and stunningly beautiful after dark.
Feeling inspired but want a perfect, worry-free result? The experts at Tru-Scapes design and install breathtaking custom deck lighting systems. Contact us today for a consultation and let us bring your outdoor vision to life!
Planning to light up your outdoor deck? Before you pick a fixture style or browse lighting kits, you need a
Upgrading your outdoor space doesn’t have to mean hiring an electrician or tearing up your deck boards to run conduit.