You’ve built a stunning deck. The materials are perfect, the cuts are clean, and you’re ready for the final touch: deck lighting. But then you’re left holding a spool of wire, looking at your pristine new posts, and wondering… how do you get the power there without ugly, exposed wires ruining the entire look?
You don’t need to be a master electrician to solve this. You just need the pro’s trick.
This guide will show you exactly how to wire a deck post from underneath. We’ll focus exclusively on low-voltage (12V) lighting systems, which are the standard for safety, efficiency, and stunning results. We will cover planning, the right tools, and the step-by-step process for hiding every single wire, whether you’re building new or retrofitting an existing deck.
Why Hide Your Deck Light Wires?
It might seem like a lot of extra work, but concealing your deck wiring is a non-negotiable step for a high-quality installation. The benefits go far beyond just looking good.
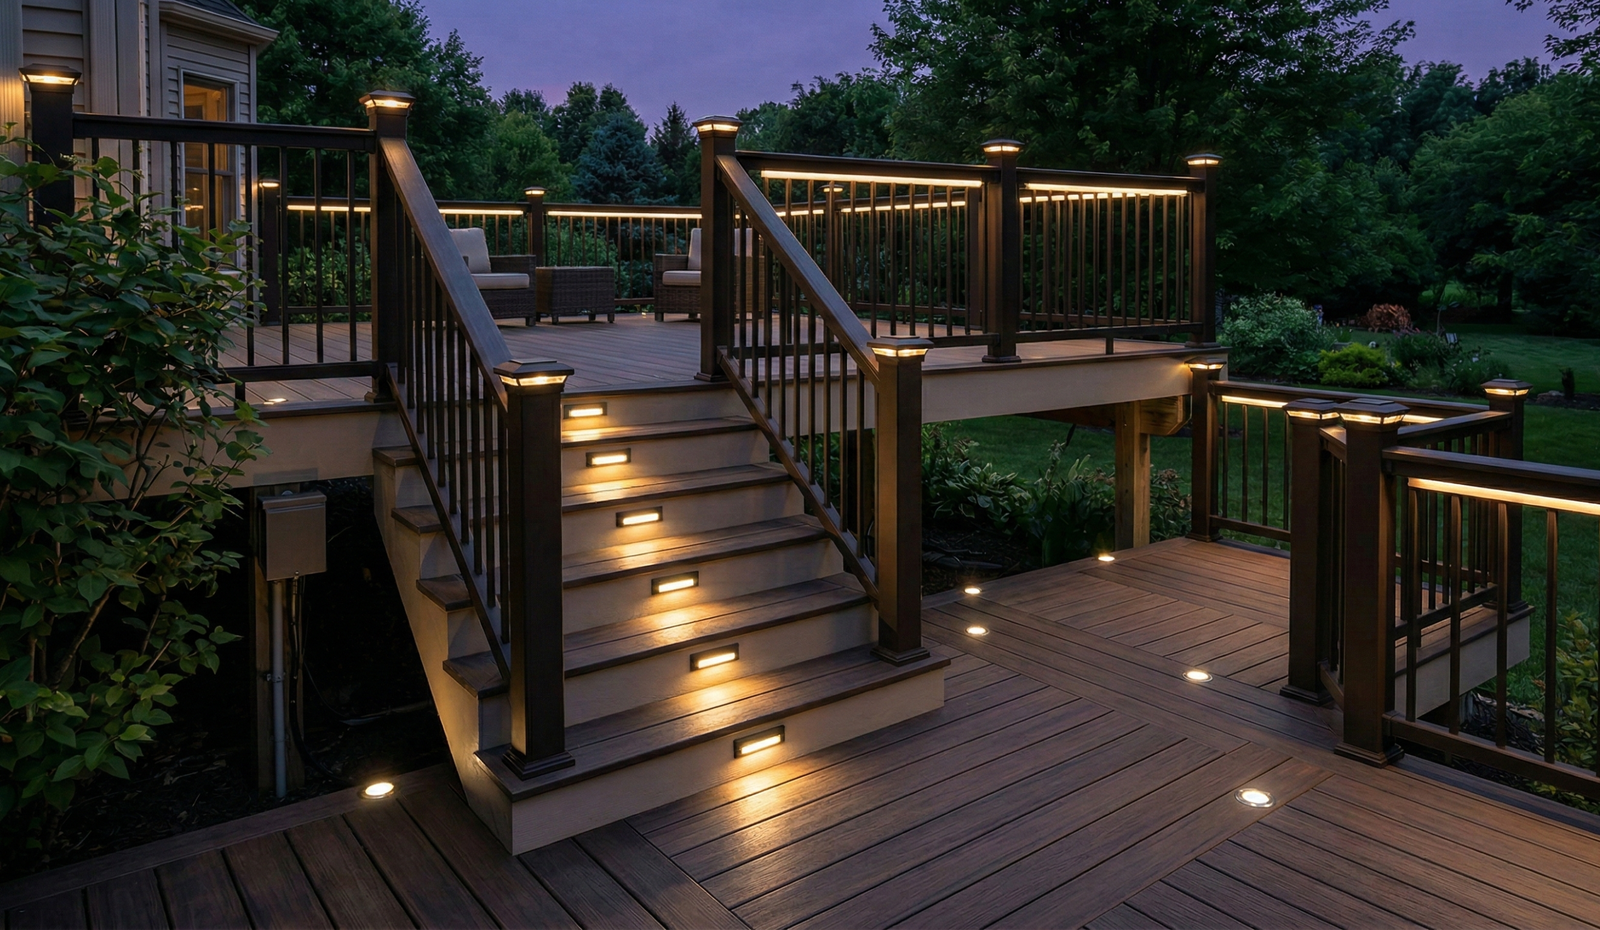
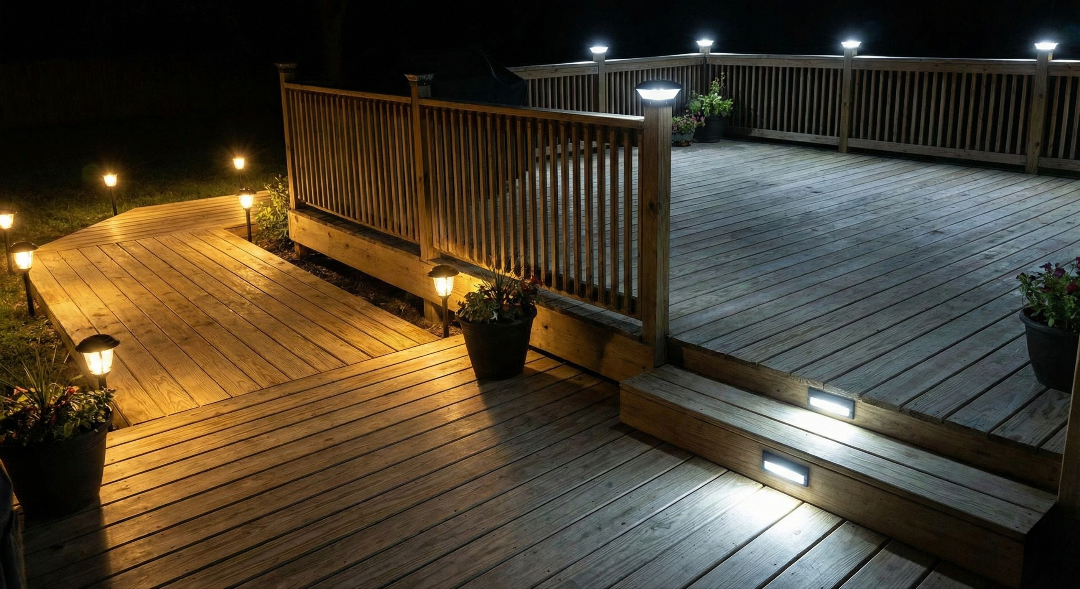
Aesthetics: This is the most obvious win. The magic of deck lighting comes from the glow, not the source. Hidden wires create a seamless, floating effect that makes your post cap lights and rail lights look like they were built into the deck from day one.
Safety: Wires looped on top of or stapled along the outside of a deck are a tripping hazard. This is especially true in high-traffic areas like stairs and seating zones. Tucking them away eliminates this risk. Following proper outdoor electrical safety guidelines and reviewing electrical safety basics is crucial for any outdoor project.
Protection & Durability: Low-voltage wire is tough, but it’s not invincible. When exposed, it’s vulnerable to:
UV Rays: Sunlight will degrade the wire’s insulation over time.
Pests: Squirrels, rabbits, and even pet dogs are notorious for chewing on exposed wires.
Landscaping Tools: A weed whacker or lawn edger can slice through an exposed wire in a split second, cutting power to your entire system.
Weather: Ice buildup and water pooling can strain connections.
Hiding the wire underneath the deck structure protects your investment and ensures your lights stay on, season after season.
The Pro’s Toolkit: Gathering Your Supplies
Before you crawl under the deck, let’s get your tools and materials in order. Having everything ready makes the job go twice as fast. You don’t need a truck full of tools, just the right ones.
Tools
Safety Glasses: A must-have. You will be drilling overhead, and sawdust in the eye is a guaranteed way to ruin your day.
Power Drill: A good cordless drill is your best friend here.
Drill Bits: You’ll need a few.
Long Auger or Spade Bit (1/2″ to 3/4″): This is for drilling up through the deck framing into the post. The extra length is key.
Small Bit (1/4″ or 3/8″): For the small “exit” hole where the light’s wire pokes out.
Flexible Drill Bit (Optional but amazing): A 36″ or 48″ flexible bit with a guide tip is the ultimate “pro trick” tool. It allows you to drill curved paths inside walls or posts where a rigid bit can’t go.
Fish Tape or “Glow Rods”: This is essential for retrofitting. It’s a stiff-but-flexible wire or rod used to “fish” wires through walls and cavities. (In a pinch, a straightened wire coat hanger will work, but it’s much more difficult).
Wire Strippers/Cutters: For making clean connections.
Exterior-Grade Silicone Caulk: To seal your drill holes.
Materials
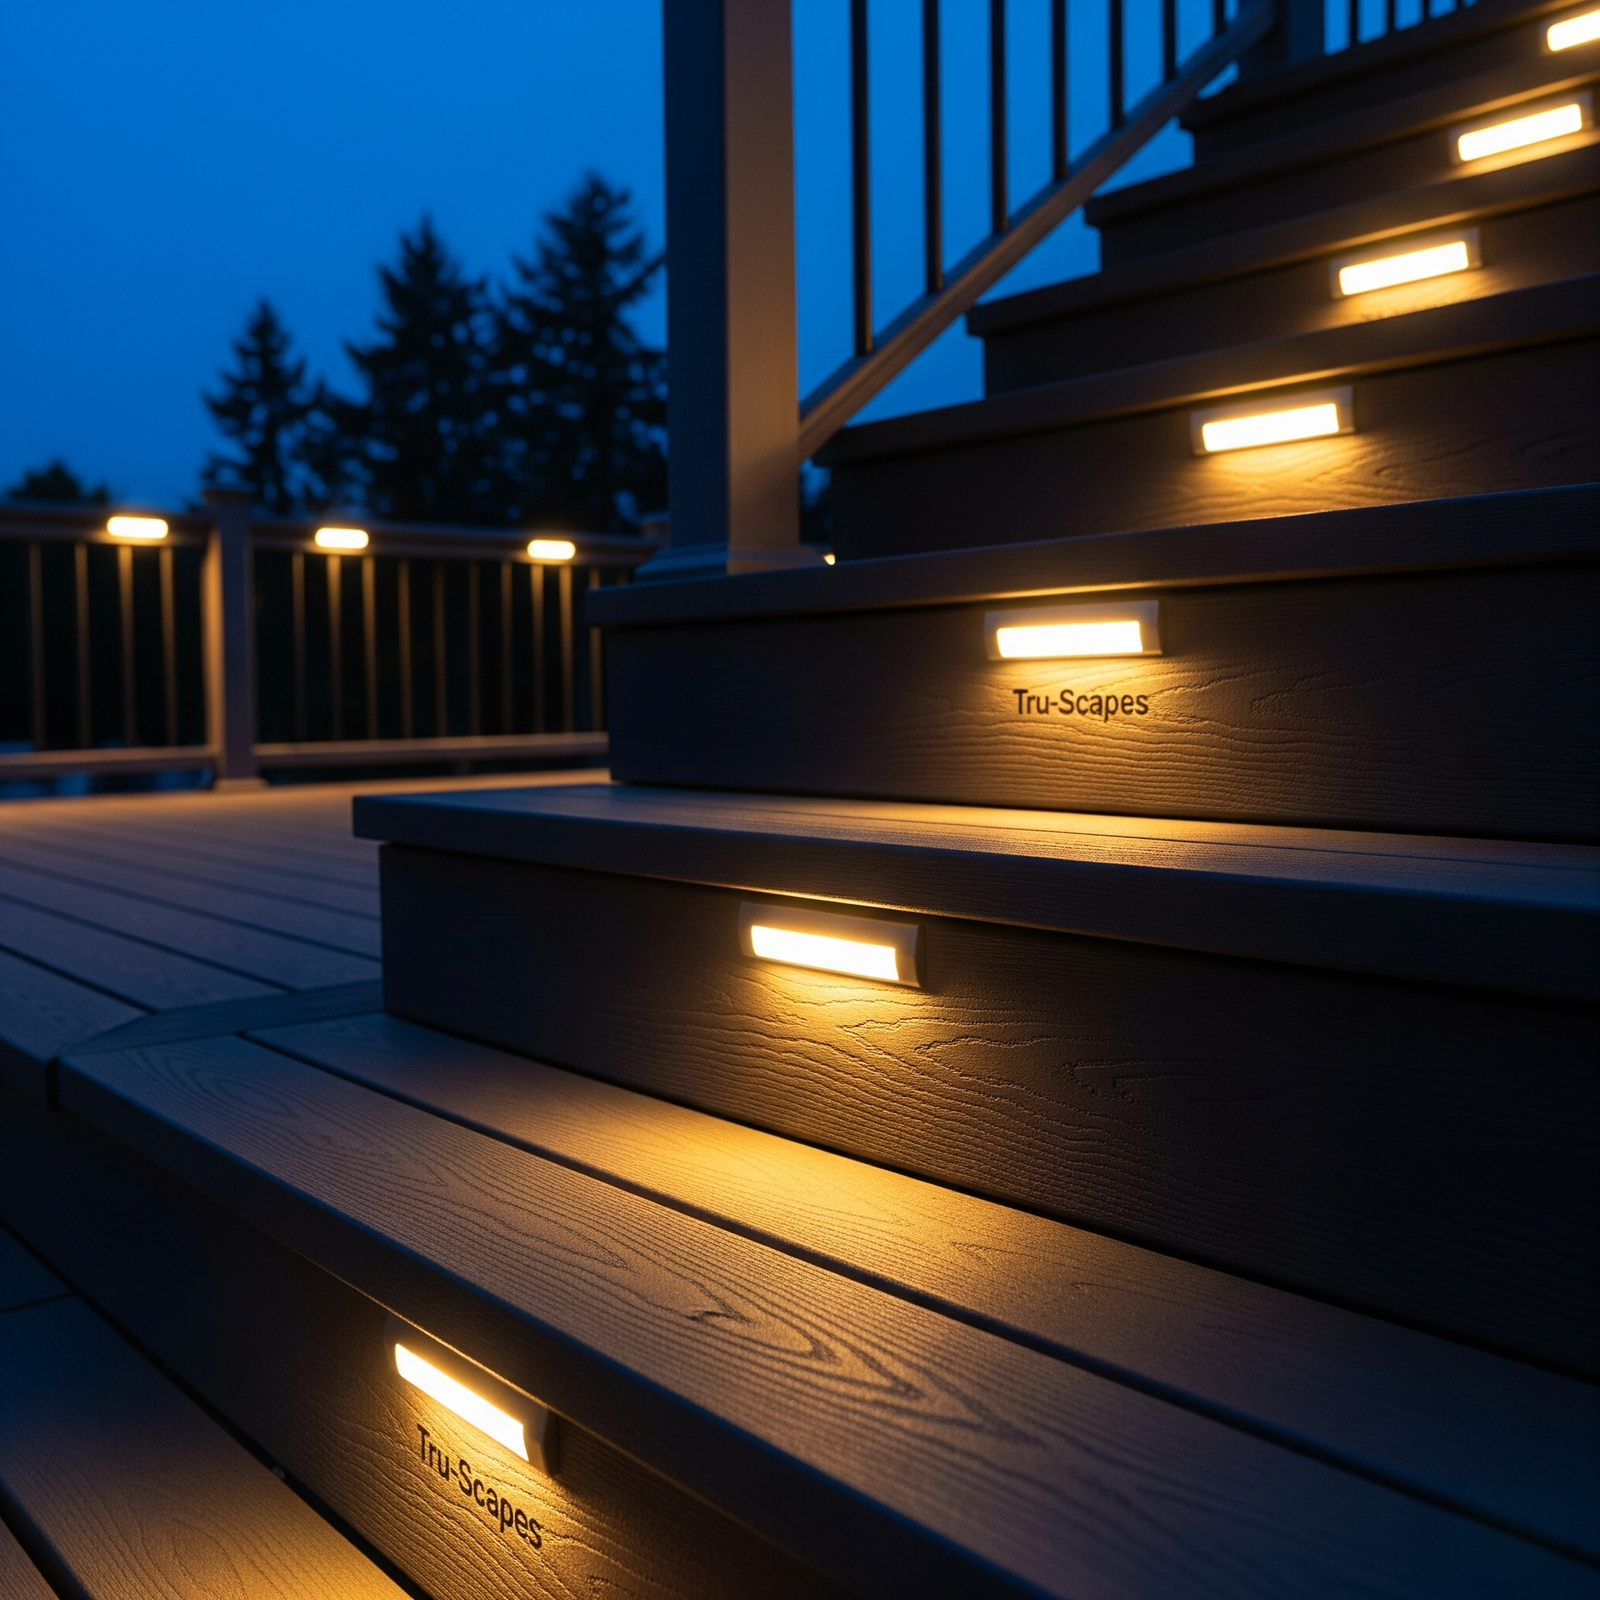
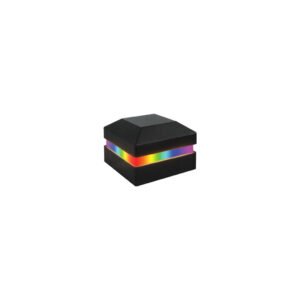
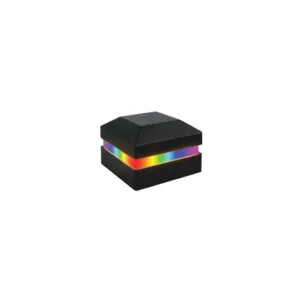
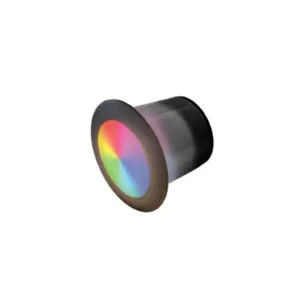
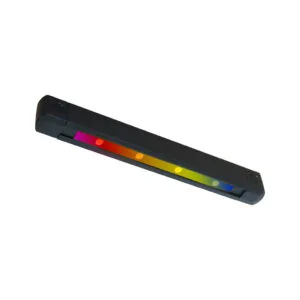
Choosing the Right Deck Lighting Fixture: High-quality post cap lights, rail lights, or side lights. (This guide assumes you’re using a professional-grade system like Tru-Scapes).
Low-Voltage Outdoor Wire: This is not the same as indoor lamp cord. You need 12/2 or 14/2 gauge direct-burial-rated landscape wire.
Waterproof Wire Connectors: Do not use standard indoor wire nuts. You must use silicone-filled, waterproof connectors designed for outdoor use. This is the #1 defense against corrosion and system failure.
The Real First Step: Planning Your Wiring Layout
The biggest mistake DIYers make is starting to drill without a plan. The “pro trick” is 90% planning and 10% execution. Take five minutes to map this out.
Locate Your Transformer: Your low-voltage transformer is the heart of the system. It needs to be mounted near a GFCI-protected outdoor outlet. This is your starting point.
Plan the “Home Run”: How will the main wire get from the transformer to the deck? Usually, this involves running it along the foundation of the house (you can hide it behind a downspout) or trenching it 6 inches underground to the base of the deck.
Map the Deck Run: Once at the deck, identify your “main line.” The easiest path is to run the main wire along the interior of the rim joist (the outer frame) or down the center beam.
Mark Your Lights: Identify every single post that will get a light.
Plan Your “Taps”: At each marked post, you will “tap” into the main line with a separate, smaller wire (a “pigtail”) that goes up inside the post. This is much cleaner than trying to loop the one main wire up and down every post.
How to Wire a Deck Post: The Step-by-Step Guide
This is where the magic happens. The process is slightly different depending on whether your deck is brand new or already built.
Scenario 1: Wiring a New Deck (The Easy Way)
If you are in the middle of building your deck, stop and do this before you install the decking boards and post sleeves.
Run the Main Line: With the joists exposed, it’s easy. Staple (use insulated cable staples) your 12/2 main line along the joists, following the path you planned.
Drill the Decking: At the base of each post location, drill a 1/2″ hole up through the deck framing (joist) and the bottom plate of your post.
Pull Pigtails: Cut a length of wire long enough to go from your main line, up the post, and out the top with about a foot to spare. Push this pigtail wire up through the hole before you permanently set the post or post sleeve.
Connect Later: Leave the pigtails coiled at the base and top. Once the deck is built, you can connect the bottom to your main line and the top to your light fixture.
Scenario 2: Retrofitting an Existing Deck (The “Trick” Part)
This is the most common scenario. Your deck is built, and you need to get wires inside the posts. This requires working from underneath.
Step 1: Get Under the Deck
This guide assumes your deck is high enough to work under. If your deck is very low to the ground (a “floating deck”), the process is harder. You may need to remove a couple of decking boards near the post to gain access.
Step 2: Drill the “Entry” Hole (Hole 1)
Go under the deck to the post you want to wire.
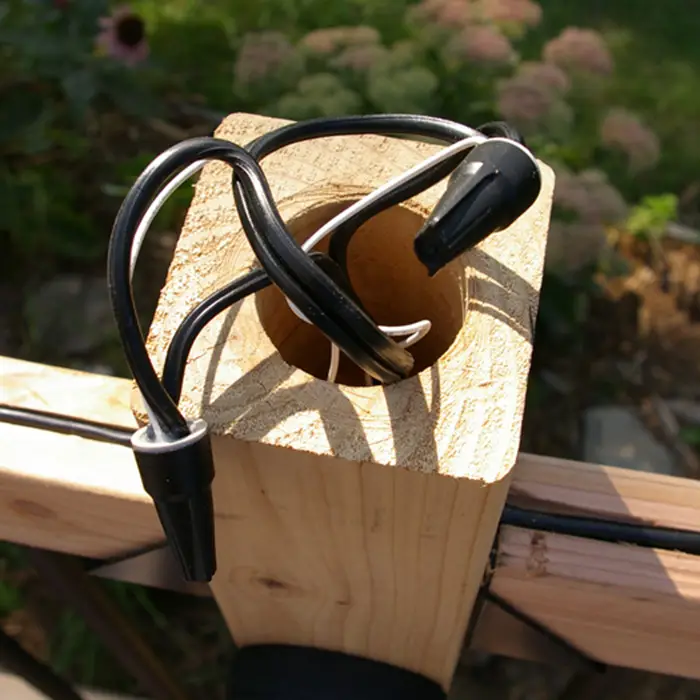
Identify the center of the post. If you’re using hollow vinyl or composite post sleeves, you’re in luck. You’re aiming for that hollow cavity.
Using your long auger or spade bit, drill a 1/2″ to 3/4″ hole straight up from the joist bay, through the decking, and into the hollow center of the post sleeve.
Pro Tip: Drill from a slight angle in the corner of the joist bay. This keeps the wire tucked away and less visible from below.
Step 3: Drill the “Exit” Hole (Hole 2)
Go back on top of the deck. Decide where your light fixture will sit on the post.
Drill a small 1/4″ or 3/8″ hole horizontally on the side of the post, at the height where the light’s wire needs to come out. This hole should lead into the same hollow cavity you drilled into from below.
For Solid Wood Posts: This is tougher. You have two options:
The Pro Way: Use a flexible drill bit. Feed it into the small “exit” hole (Hole 2) and carefully aim it down toward your “entry” hole (Hole 1) from below. This takes patience.
The Clean Way: Use a router to cut a shallow, 1/4″ channel (a “dado”) up the least visible side of the post. Lay the wire in this channel and then cover the channel with matching wood filler or caulk.
Step 4: Fish the Wire
This is the fun part.
Take your fish tape or glow rod. Push it down from the small “exit” hole (Hole 2) at the top of the post.
Keep feeding it down until you (or a helper) can see it through the “entry” hole (Hole 1) under the deck.
Grab the end of the fish tape.
Take your 12/2 pigtail wire and securely tape the end of it to the hook on the fish tape.
Go back to the top of the deck and pull the fish tape back up, bringing the wire with it.
Success! You now have a wire running invisibly inside your deck post. Leave about 12 inches of slack at both the top and bottom.
Making the Connections (The Right Way)
Knowing how to wire a deck post is only half the battle. Making a connection that lasts is just as important. All connections for a 12V system happen in parallel, like rungs on a ladder.
Important: Always make your connections with the transformer unplugged.
Connect the Light:
At the top of the post, take the wire from your light fixture and the wire you just pulled (the pigtail).
Strip about 1/2 inch of insulation from all wire ends.
Twist the two positive wires together and the two negative wires together. (On low-voltage wire, one side is usually ribbed or marked to indicate polarity).
Securely twist on a waterproof, silicone-filled wire nut. This is critical.
Tuck the connection neatly into the post or the light’s mounting bracket.
Connect to the Main Line:
Under the deck, locate your main 12V line that you ran earlier.
At the spot where your pigtail hangs down, carefully separate the main line’s two bonded wires for a few inches.
Do not cut the main line. Use a wire stripper to remove about a 1/2-inch section of insulation only, exposing the copper wire.
Take the corresponding pigtail wire and wrap it tightly around the exposed copper of the main line.
Encase this “T” connection in a waterproof wire nut.
Repeat for the other (negative/neutral) wire.
This “T-tap” method ensures the main line continues unbroken, providing consistent power to all lights.
Common Mistakes That Scream “Amateur”
Avoid these common pitfalls to get that professional result.
Using the Wrong Wire: Never use indoor lamp cord or speaker wire. It’s not rated for moisture, UV light, or burial. Use only 12/2 or 14/2 UF (Underground Feeder) or landscape-rated wire.
Using the Wrong Connectors: I’ll say it again: standard, non-waterproof wire nuts will fail. They will corrode in 6-12 months. Use only silicone-filled, direct-burial connectors.
Ignoring Voltage Drop: For very long runs (over 100 feet) or systems with many lights, the lights at the end of the line can appear dimmer. This is voltage drop. You can solve this by:
Using a thicker 10/2 gauge wire for the main run.
Using a multi-tap transformer.
Running a “loop” (running the main line out to the last light and then back to the transformer).
Leaving Wires Dangling: Don’t leave your main line hanging in space under the deck. Use insulated cable staples to neatly secure the wire against the joists. It keeps it safe and makes future troubleshooting easier.
Forgetting to Seal: Take your exterior silicone caulk and seal the holes you drilled (Hole 1 and Hole 2). This keeps water, bugs, and spiders from getting inside your post and your deck structure.
Your Deck, Transformed
That’s it. That’s the pro’s trick. It’s not magic; it’s a simple, repeatable process of planning, drilling, and fishing. By taking the time to run your wires inside the structure instead of on it, you create a result that is clean, safe, and built to last.
You’ve done the hard work, and now you have a deck that doesn’t just look good during the day—it transforms into a stunning, high-end outdoor space at night.
Now that you know how to wire a deck post like a professional, it’s time to choose the perfect lights to finish the job. A clean installation deserves a high-quality fixture.
$69.99Original price was: $69.99.$49.99Current price is: $49.99.Select options
This product has multiple variants. The options may be chosen on the product page
Discount 10% For First Purchase Plus Free Shipping! Use Promo Code: WELCOME10
Place your First Order Now and get a 10% Discount and Free shipping.