- FREE Shipping on all orders! Limited time!
- support@tru-scapes.com
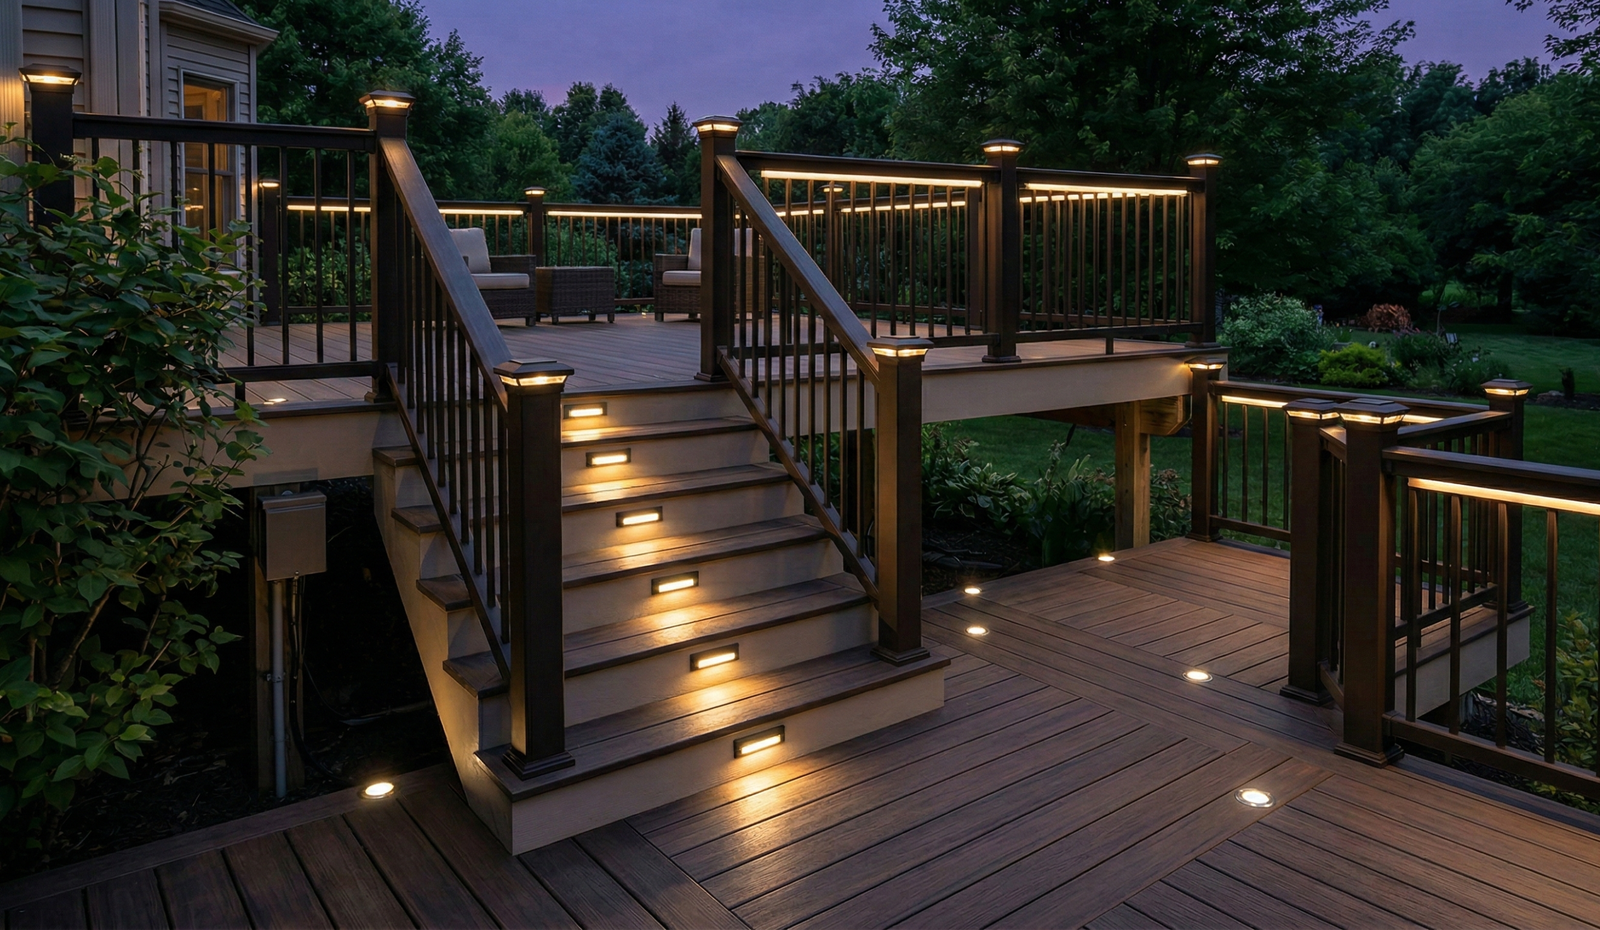
You spent the better part of a Saturday measuring, drilling, and running wire. The sun has finally set, and you are ready for the big reveal. You flip the switch on the transformer, expecting a brilliant display of illuminated post caps and stair risers. Instead, the lights closest to the power source look great, but the ones at the far end of the deck are glowing with the intensity of a dying candle.
It’s frustrating. It feels like you bought broken fixtures. But before you start tearing everything out or calling for a return, take a deep breath. Your lights aren’t broken. You are likely just dealing with a very common phenomenon in landscape lighting known as voltage drop.
If you are a homeowner looking to add ambiance to your backyard, understanding this concept is the key to a professional-looking finish. Whether you are installing Tru-Scapes post cap lights or recessed stair lights, getting the power delivery right ensures your deck looks exactly how you envisioned it. Here is everything you need to know about why your lights are dim and, more importantly, how to fix it.
 1")
In the world of electrical wiring, voltage drop is exactly what it sounds like: the loss of voltage (electrical pressure) as electricity travels through a wire.
Think of your low-voltage lighting system like a garden hose. The transformer is the spigot, the wire is the hose, and the electricity is the water. If you have a short, thick hose, the water comes out the end with plenty of pressure.
However, if you connect three or four hoses together to reach the far corner of your yard, the water pressure at the very end is significantly weaker than it is at the spigot. The water has to fight friction against the sides of the hose for a longer distance, losing momentum along the way.
The same thing happens with electricity. As current travels through copper wire, it meets resistance. This resistance turns some of that electrical energy into heat, causing the voltage to “drop” by the time it reaches the last fixture. If the voltage drops too low, your deck lights won’t get the power they need to shine at full brightness.
To fix the problem, you first have to know what is causing it. While physics is always at play, three specific factors usually conspire to ruin your lighting design.
This is the most common issue. In large backyard projects, we often underestimate just how much wire we need to snake around corners, under joists, and up railing posts.
The longer the wire, the more resistance the electricity faces. If you are running a single wire from one side of the house all the way to a pool deck 100 feet away, the fixtures at the end of that run are starving for power.
Wire thickness is measured in “gauge.” The tricky part is that the lower the number, the thicker the wire.
Thin wire has higher resistance. Trying to push a lot of power through a thin wire is like trying to drink a thick milkshake through a tiny coffee stirrer. It just doesn’t work well. If you used thin wire for a long run, voltage drop is guaranteed.
“Load” refers to the total wattage of all the lights connected to that specific run of wire. The more lights you add to a single wire, the more current is drawn. Higher current equals more voltage drop.
If you daisy-chain 20 halogen lights on one wire, the first few might look okay, but the rest will suffer. This is one reason why modern LED deck lights are such a game-changer—they pull a fraction of the power, drastically reducing this problem.
Obviously, nobody wants dim lights. It ruins the aesthetic you paid for. But voltage drop causes other issues that middle-aged homeowners concerned with safety and maintenance should be aware of.
Now for the good news. You can fix this. In fact, if you are using high-quality fixtures like those from Tru-Scapes, you are already halfway there because LEDs are much more forgiving than older incandescent bulbs.
Here are the practical steps to ensure your deck lights shine brightly from the first post to the last.
Stop buying the thinnest wire available to save a few dollars. It isn’t worth the headache.
For most standard residential deck lighting projects, 12-gauge low-voltage wire (12/2) is the sweet spot. It is thick enough to carry power effectively over moderate distances but flexible enough to work with.
If you have a very short run (under 50 feet) with only a few LED lights, you might get away with 14-gauge or 16-gauge wire. But if in doubt, go thicker.
| Wire Gauge | Recommended Max Distance (Light Load) | Best Use Case |
| 10-gauge | 150+ feet | Main trunk lines for large properties |
| 12-gauge | 100 feet | Standard deck and landscape lighting |
| 14-gauge | 50-70 feet | Short runs or individual branch lines |
| 16-gauge | Under 30 feet | Very short connectors (pigtails) |
Most DIYers use the “Daisy Chain” method. This is where you run wire from the transformer to Light A, then to Light B, then to Light C, and so on. By the time you get to Light Z, the power is depleted.
A better approach is the Center Feed or T-Method. Instead of connecting the wire to the first light in the line, run your main wire to the middle of the run. Then, split the connection to go left and right.
For example, if you have 10 lights on a railing:
This effectively cuts the distance the electricity has to travel in half, ensuring much more even brightness across all fixtures.
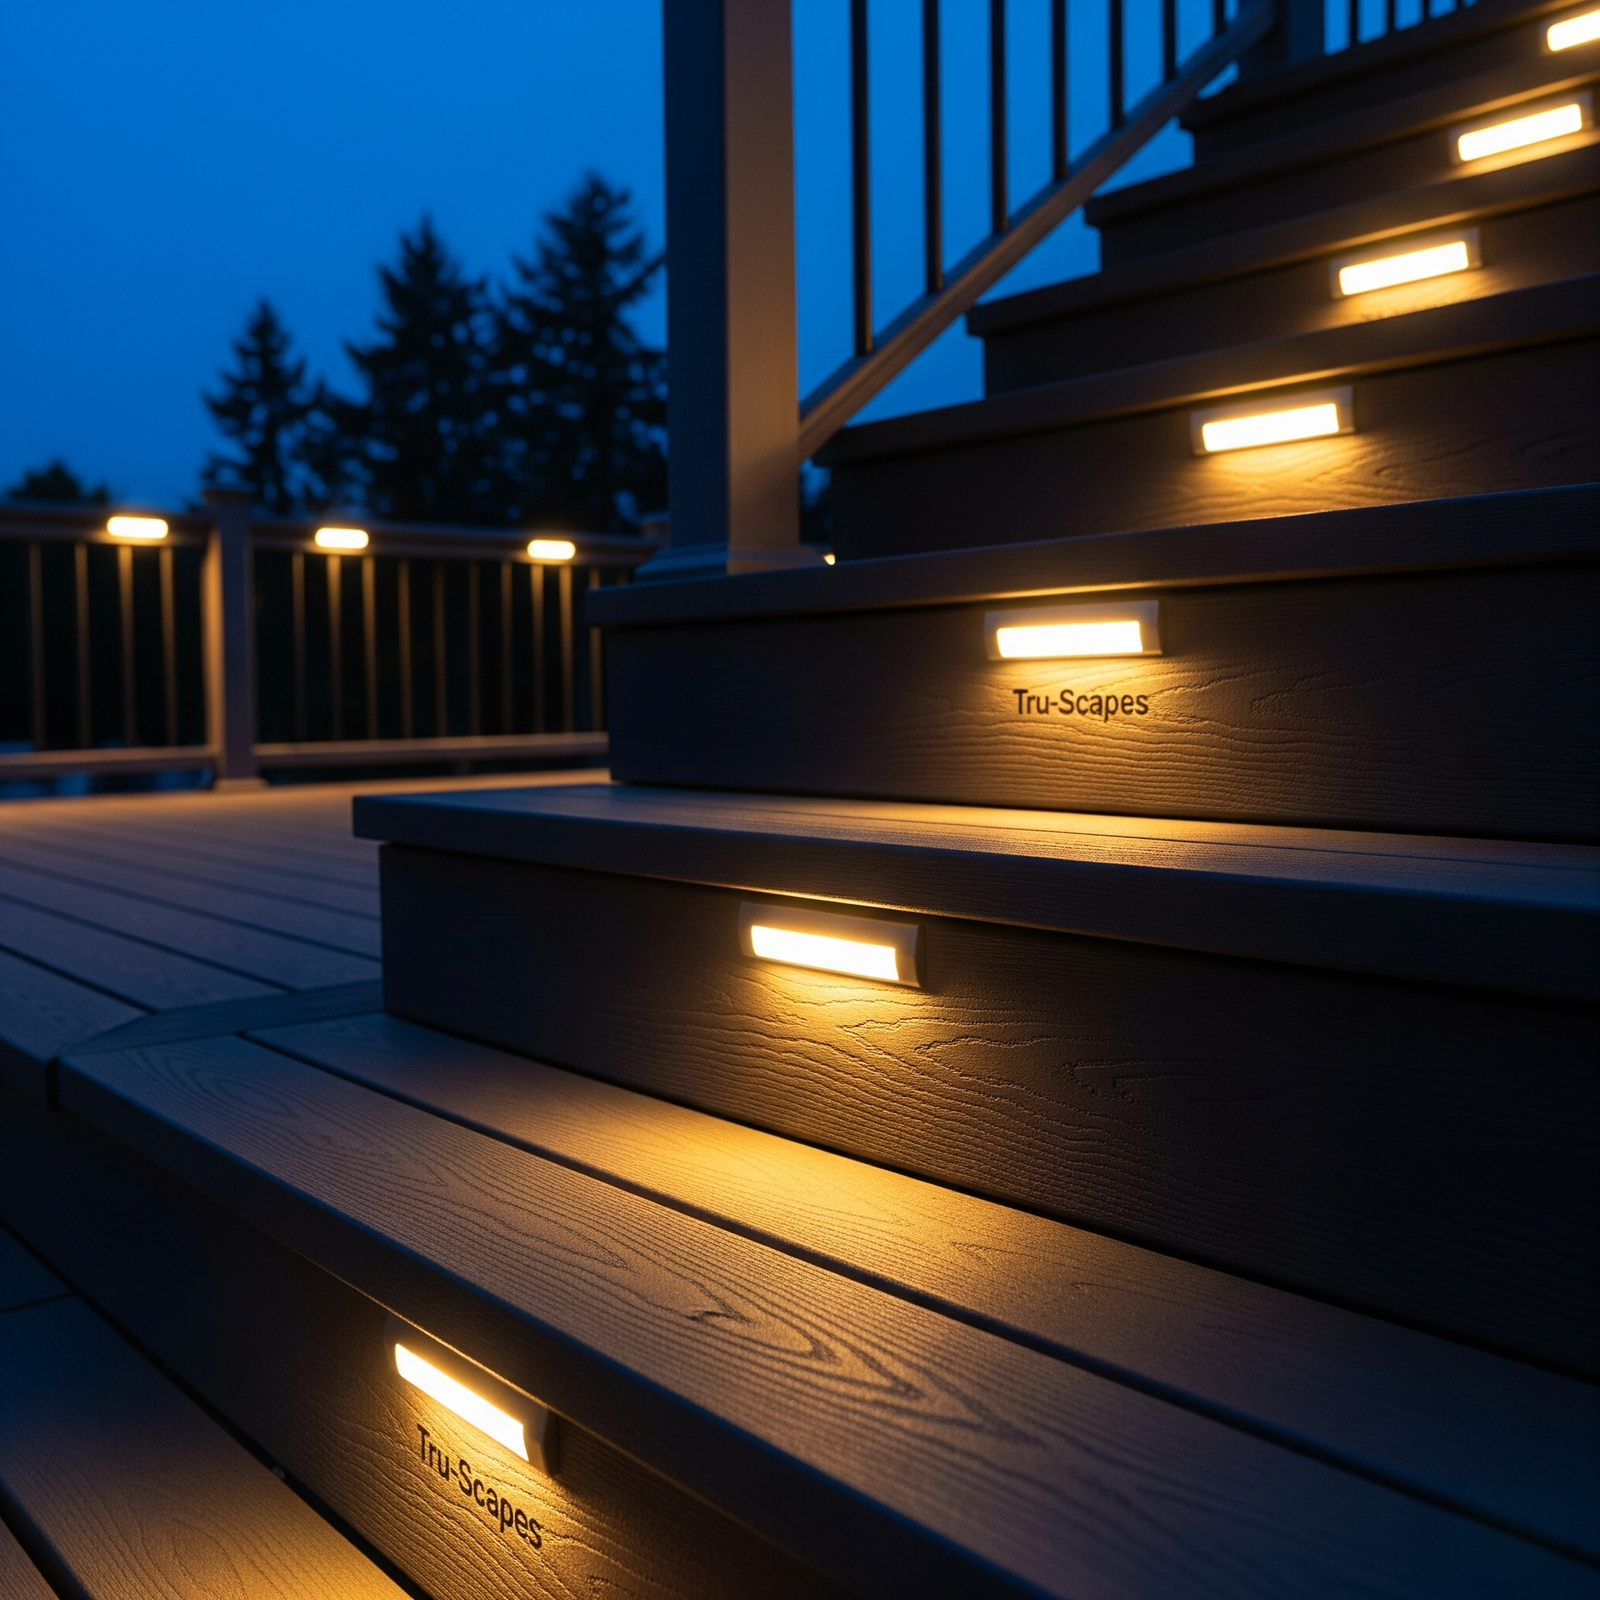
If you are replacing old lights or starting fresh, ensure you are using LEDs. Tru-Scapes deck lights are designed with integrated LEDs that consume very little power (often 1 to 3 watts per fixture).
Because the wattage is so low, the “load” on the wire is tiny. This means you can run thinner wire further distances than you ever could with old-school halogen bulbs. It is the single easiest way to mitigate voltage drop.
For larger decks with multiple zones (like a dining area, a staircase, and a hot tub area), consider a Hub System.
Place a waterproof junction box (the Hub) under the deck centrally. Run a thick 10-gauge or 12-gauge wire from your transformer to this hub. Then, run separate, shorter wires from the hub to each group of lights. This ensures every group gets fresh, strong power directly from the source.
Sometimes, what looks like voltage drop is actually a bad connection. Outdoor wiring is exposed to humidity, temperature swings, and moisture.
If you used cheap “piercing” connectors that bite into the wire, they may have corroded or loosened. This creates resistance at the connection point. We always recommend using silicone-filled waterproof wire nuts. They seal the copper connection tight and prevent corrosion from stealing your voltage.
If your lights are already installed and looking dim, run through this checklist before ripping out wires.
Does voltage drop damage LED lights? Generally, low voltage won’t “blow out” an LED like a power surge would. However, it can cause flickering or prevent the light from turning on at all. In some cases, it can wear out the internal driver over time. It is best to correct it.
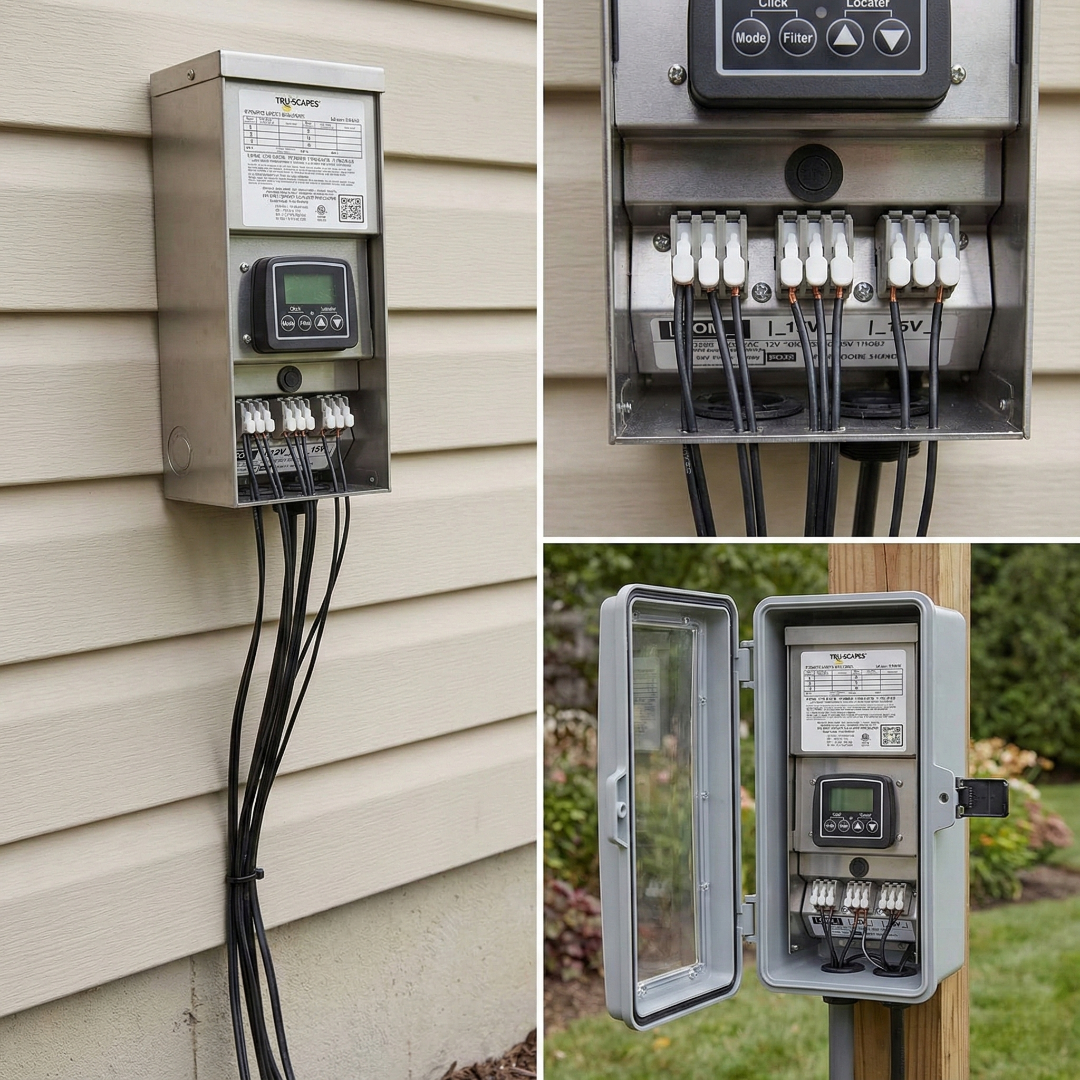
Can I just use a bigger transformer? Not necessarily. A bigger transformer (higher wattage capacity) handles more lights, but it doesn’t push electricity faster. If your wire is too thin or too long, a bigger transformer won’t fix the drop at the end of the line. You need a transformer with higher voltage taps (like 15V output) or thicker wire.
What is the maximum distance for low voltage landscape lighting? There is no single number, as it depends on the load. However, a safe rule of thumb for 12-gauge wire with LED lights is to keep runs under 100 feet. If you need to go further, use 10-gauge wire.
Why are my lights flickering? Flickering is a classic sign that the voltage is right on the threshold. The light gets enough power to turn on, the load increases, voltage drops, it turns off, voltage recovers, and it turns on again. This cycle happens rapidly, creating a flicker. Check your connections and wire length.
 2")
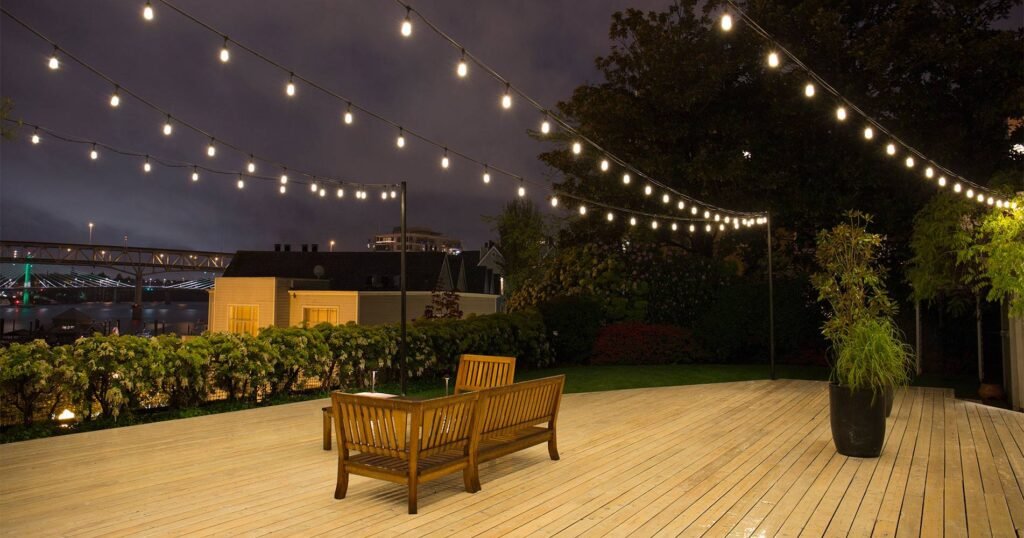
Your outdoor space is an investment. It’s where you host summer barbecues, relax with a glass of wine after work, and enjoy time with family. You shouldn’t have to squint to see your beautiful deck because of a simple wiring issue.
Understanding voltage drop is the difference between a DIY project that looks “okay” and one that looks like a high-end professional installation. By using the right gauge wire, planning your runs intelligently with the T-method, and utilizing quality LED fixtures like those from Tru-Scapes, you can banish dim lights for good.
Don’t let physics dim your shine. Take a look at your wiring plan today. If you are just starting your project, browse our collection of high-performance deck lights and accessories designed to make installation a breeze and performance a guarantee. Brighter evenings are just a wire nut away!
Why Post Cap Lights Deserve a Spot on Every Deck Most homeowners spend considerable time and money building or upgrading
Planning to light up your outdoor deck? Before you pick a fixture style or browse lighting kits, you need a