- FREE Shipping on all orders! Limited time!
- support@tru-scapes.com

Creating a stunning outdoor space doesn’t have to be overwhelming. Learn why low-voltage deck lighting is the best choice for your outdoor space. It can transform your deck into a cozy, functional area for evening gatherings while enhancing safety and curb appeal. Whether you’re a seasoned DIY enthusiast or new to outdoor lighting installation, this guide will walk you through the essentials to illuminate your deck beautifully.
Low-voltage lighting is the go-to choice for many homeowners due to its affordability, energy efficiency, and ease of installation. Instead of working with high-voltage systems, which require professional assistance, low-voltage lighting runs on a safe 12V or 24V system. Here are some key benefits:

Before you get started, gather the necessary tools and materials to ensure a smooth process:
Pro Tip: Consider using weather-resistant wire to handle outdoor conditions.
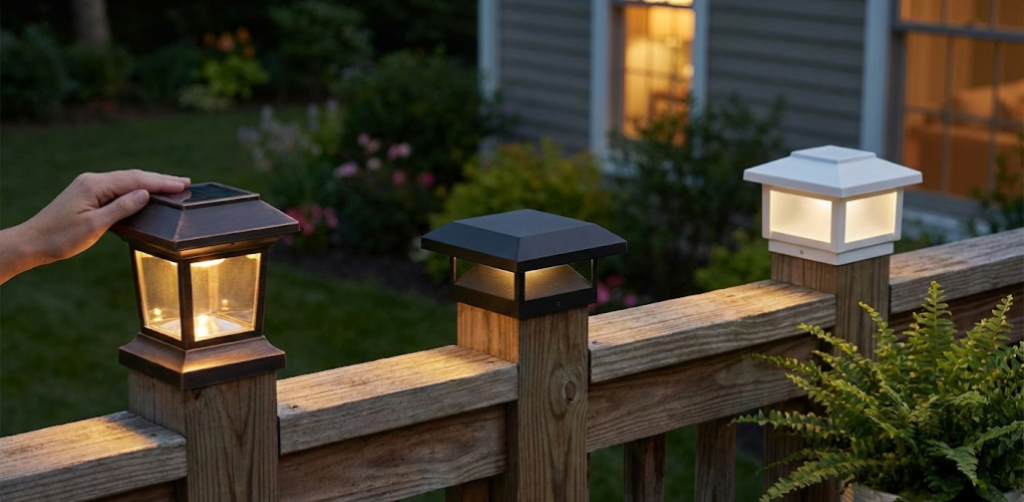
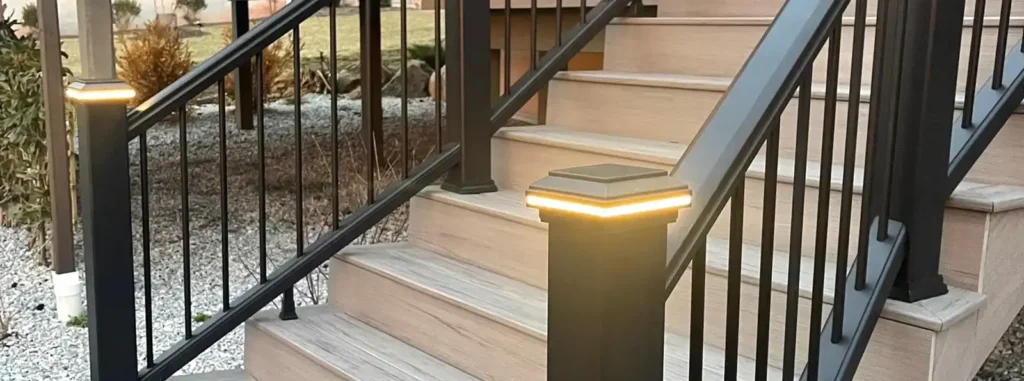
Start by sketching your deck layout and marking where you want to place the lights. Here are some popular options:
Key Considerations:
To determine the amount of wire you need:
For the transformer, calculate your total wattage:
Number of Lights | Total Wattage | Recommended Transformer |
6 LED lights (4W each) | 24W | 40W transformer |
10 LED lights (3W each) | 30W | 50W transformer |
Mount the transformer near an outdoor electrical outlet. Follow these steps:
Safety Note: Ensure the transformer is weatherproof and positioned above ground to prevent water damage.
Follow these steps to connect the deck lights to the main wire:
Pro Tip: Get reliable waterproof connectors to protect your lighting connections.
Before securing everything in place, turn on the transformer and test each light:
Once all lights are working:

Maintain Consistent Wire Gauge: Mixing different wire gauges can cause uneven brightness. Follow these essential tips to maintain your deck lighting system.
No, most local codes in the U.S. do not require permits for low-voltage systems.
Calculate your total light wattage and choose a transformer with at least 20% extra capacity.
Yes! Many transformers support smart timers and integrations with smart home systems. Explore smart home lighting integrations and expert reviews.
Installing low-voltage deck lighting is an approachable DIY project that adds style, safety, and ambiance to your outdoor space. By following these simple steps, you can create a beautifully lit deck that you’ll enjoy for years to come.
Ready to elevate your deck? Browse our premium outdoor deck lighting solutions today and bring your vision to life!

When the sun sets on your outdoor living space, the right lighting transforms your deck from a daytime gathering spot

Your deck should be a welcoming extension of your home, but poor lighting choices can transform it from an inviting