- FREE Shipping on all orders! Limited time!
- support@tru-scapes.com
Picture this: you step onto your deck on a warm summer evening, the sky awash with twilight. Soft, layered lights illuminate your space in just the right places, welcoming you, your family, and your friends to relax, dine, and laugh under a gentle glow. Sounds like the perfect setting, right? That’s the magic of learning how to layer lighting on your deck for a balanced design.
In this blog post, we’ll walk you through the ins and outs of creating that perfectly layered lighting scheme. We’ll cover everything from choosing the right fixtures to common pitfalls to avoid. By the end, you’ll have a solid plan for giving your deck or outdoor area a professional-quality glow.
“We installed lighting from Tru-Scapes Deck Lighting, and it completely transformed our outdoor space,” says Emily R. from Chicago.
Layering isn’t just about plopping down a few lights in random corners. It’s a calculated method of blending various light sources—ambient, task, and accent—to create a balanced design that enhances visibility, highlights focal points, and cultivates a welcoming vibe. When you layer lighting on your deck, you can:
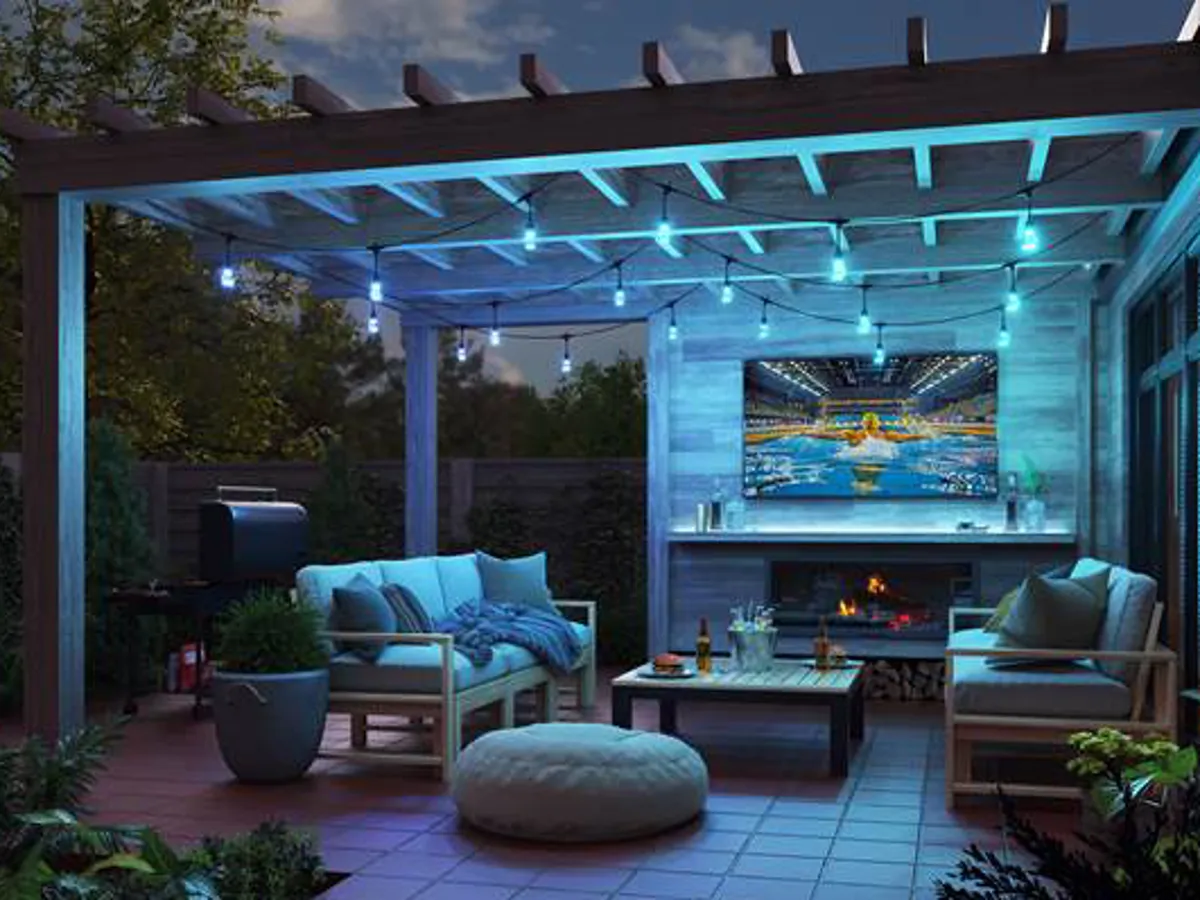
When you layer lighting on your deck for a balanced design, think of it like painting a picture with light. Each layer—ambient, task, and accent—serves a different purpose.
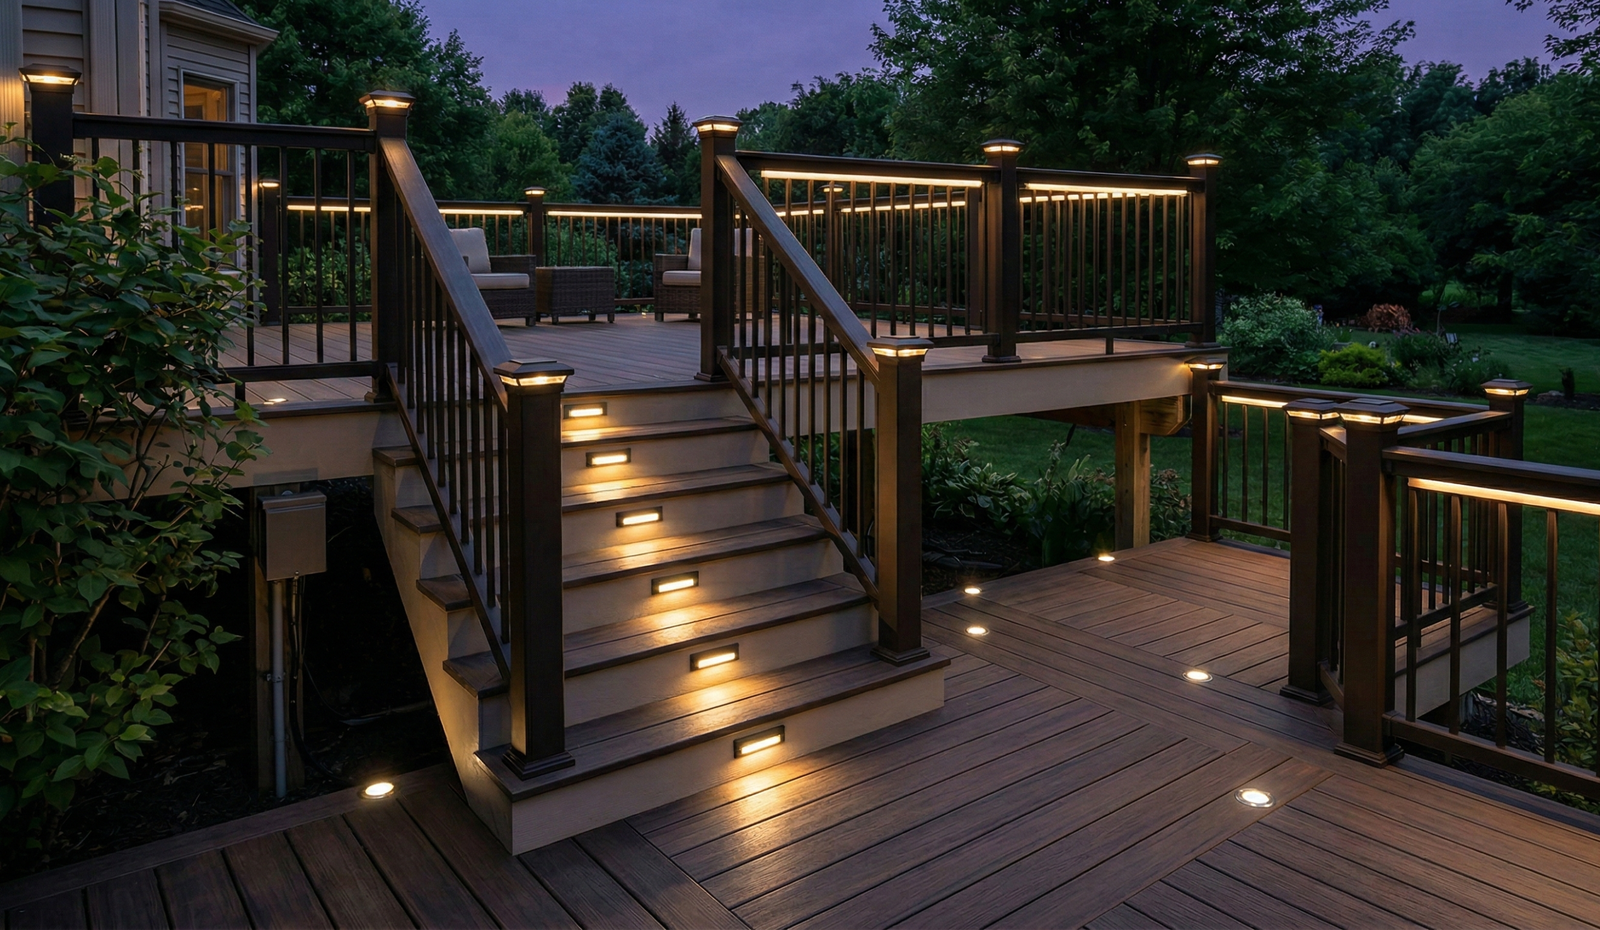
Often called general or overall lighting, ambient lighting sets the stage. It provides soft, even illumination across your deck.
NLP-friendly tip: Keep the color temperature warm (2,700K to 3,000K) for a comforting hue.
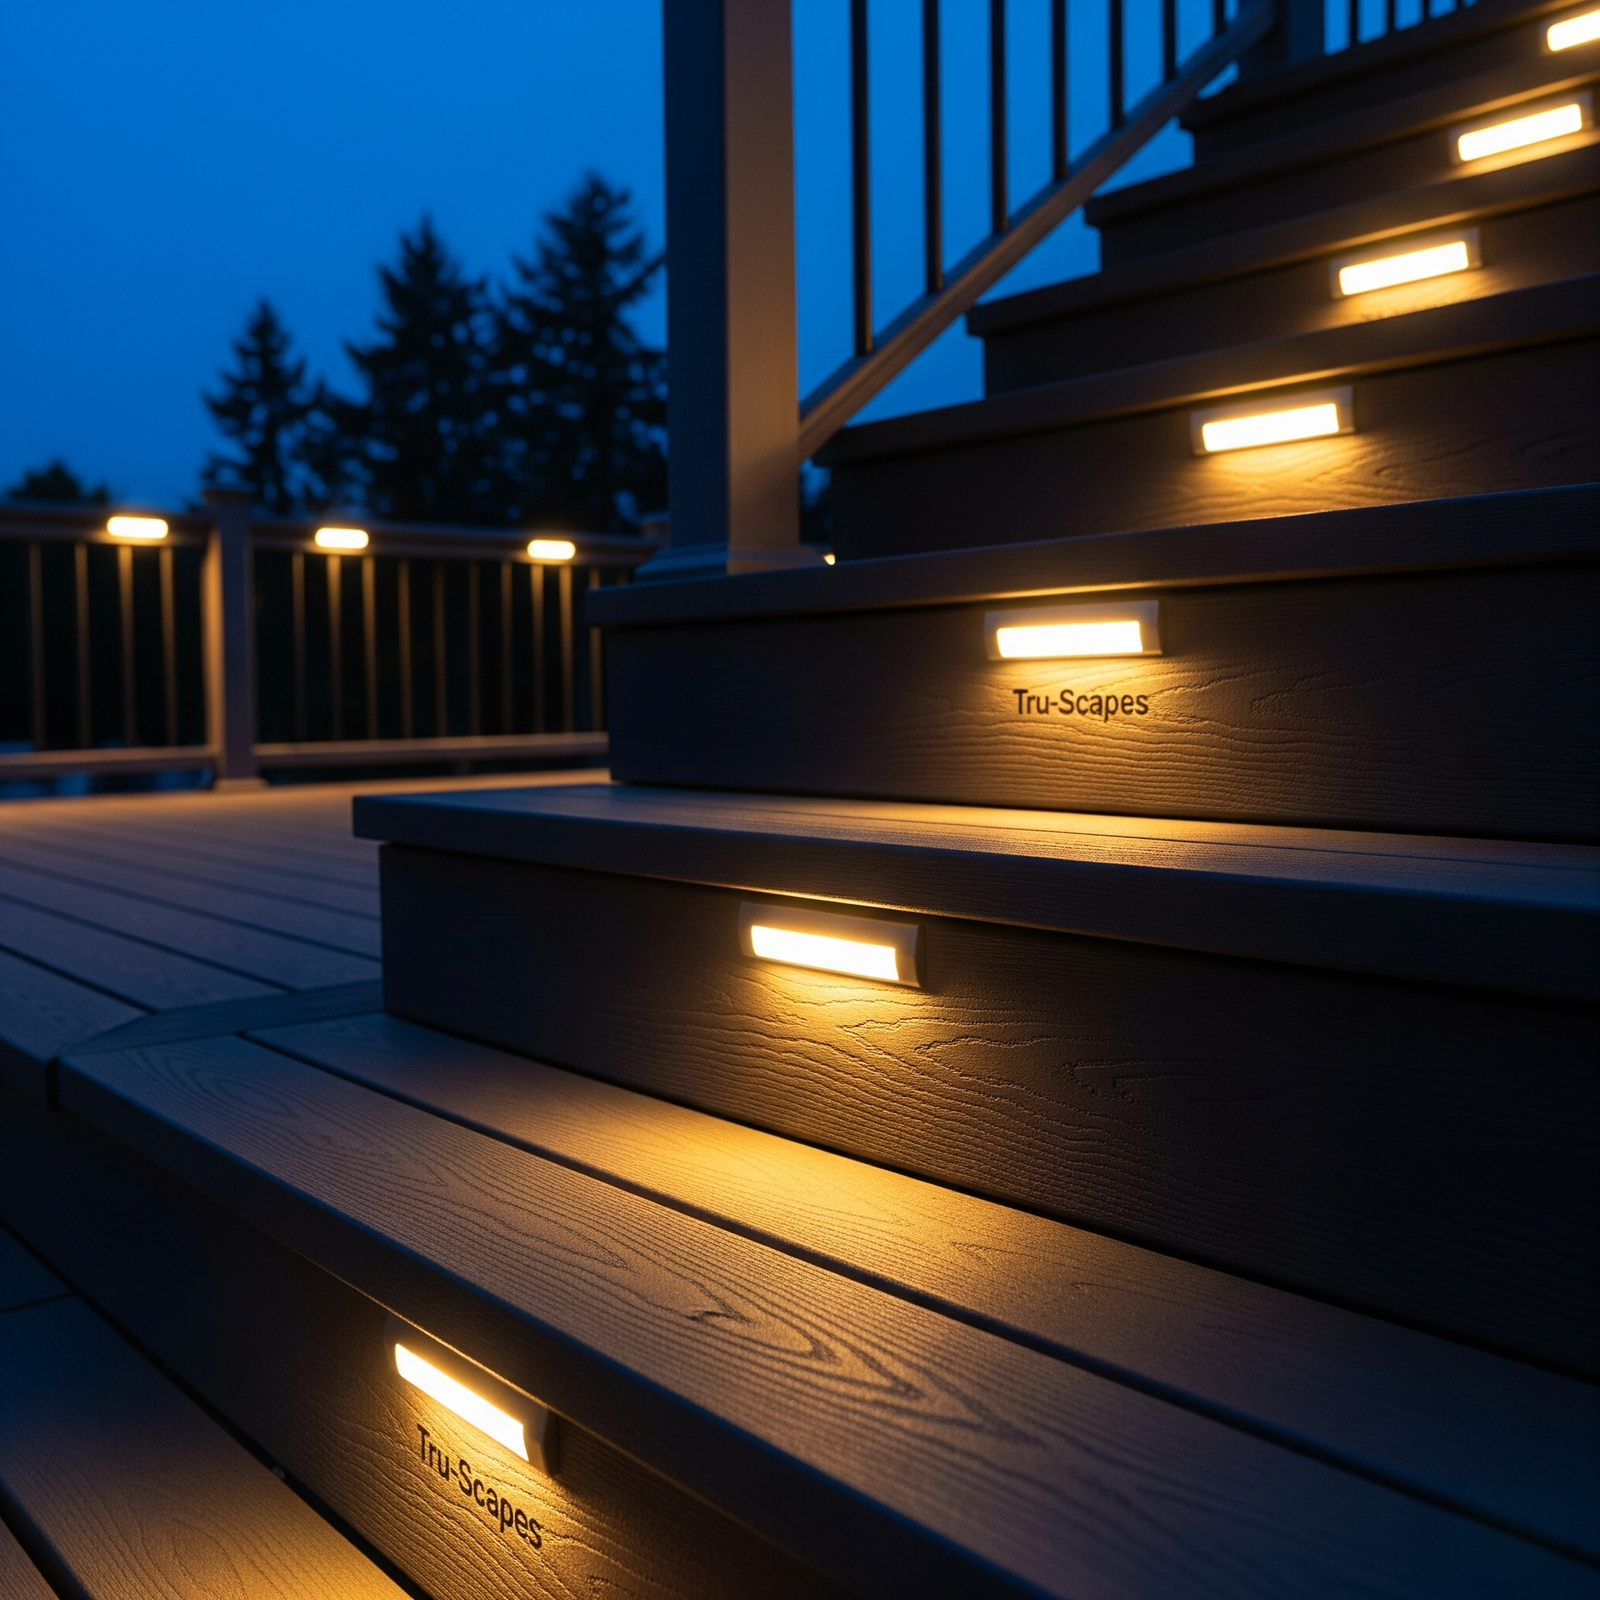
Task lighting delivers focused brightness where you need it most—like stair steps, cooking spots, and reading nooks.
Accent lighting is the decorative flair. It highlights unique features and turns ordinary elements into eye-catching focal points.

Before you buy anything, define how you’ll use your deck. Do you plan to host dinners, lounge with a book, or even dance the night away? Map out functional zones like:
Once you know your deck’s zones, sketch out where you’ll install each fixture. Remember to plan for electrical outlets, wiring routes, or potential solar exposure. Some homeowners opt to do their own low-voltage wiring, while others hire a pro—especially for line-voltage installations. If you’re considering a DIY approach, see our Low-Voltage Deck Lighting Installation Tips for Beginners for guidance.
| Lighting Type | Best For | Pros | Cons |
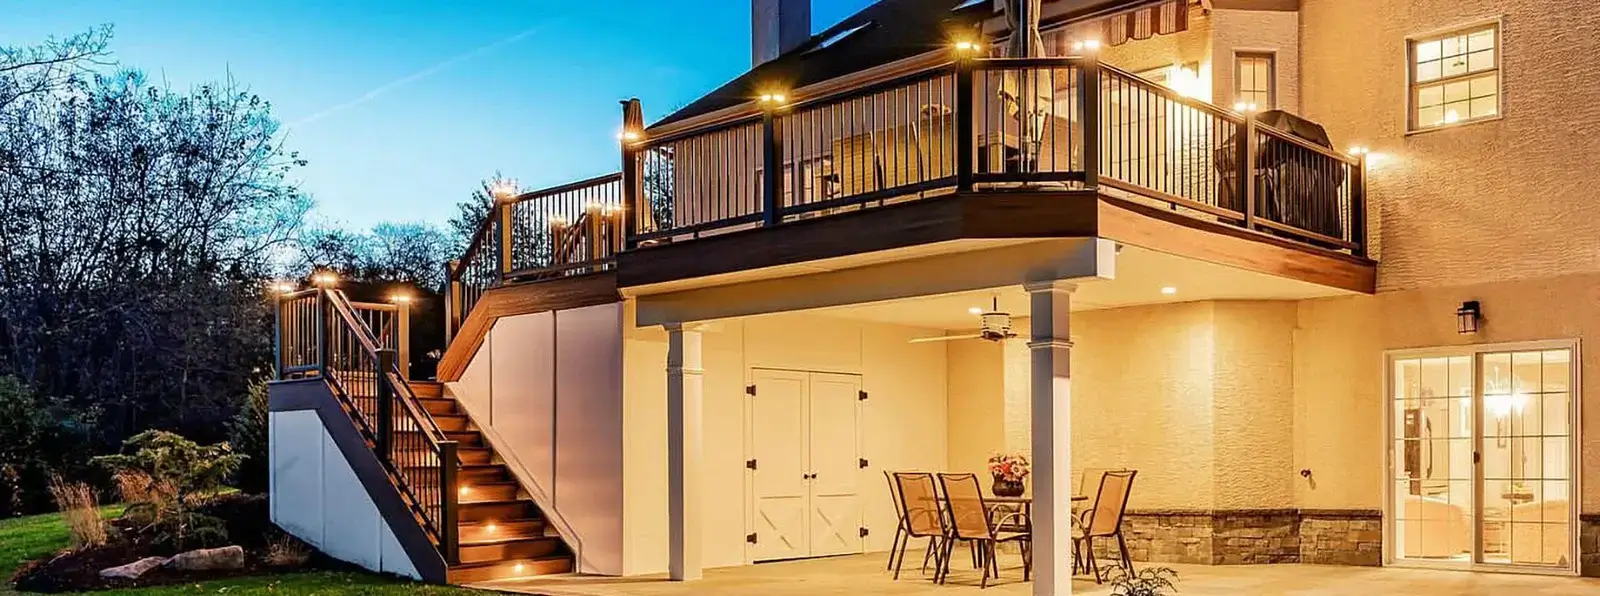
| Post Cap Lights | Perimeter lighting | Stylish look, easy install | Might need multiple for coverage |
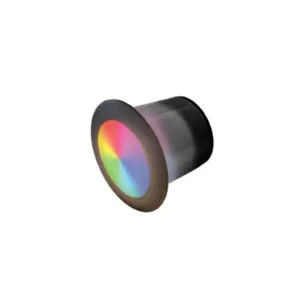
| Recessed Lights | Steps, edges, seating | Discreet, safe illumination | Installation can be more involved |
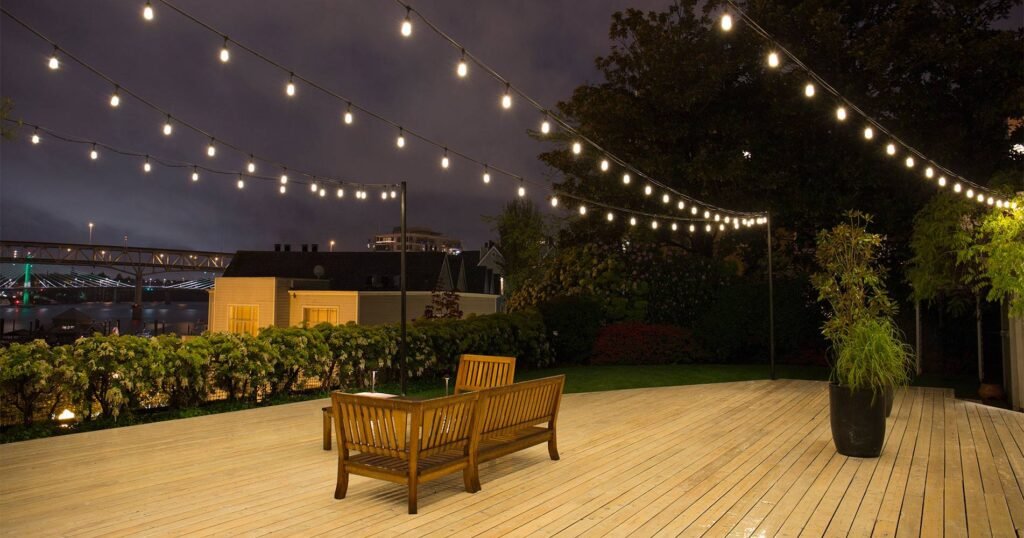
| String Lights | Ambient overhead lighting | Romantic, warm feel | Not ideal for task illumination |
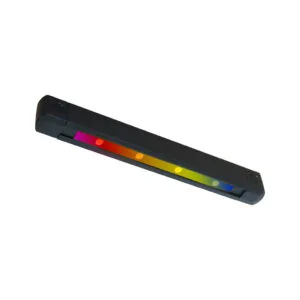
| LED Strip Lights | Under-rail accents | Flexible, modern aesthetic | Adhesive might require maintenance |
| Sconce Lights | Walls, entrances | Wide area illumination | May produce glare if poorly placed |
| Solar Lights | Eco-friendly accents | No wiring needed | Dependent on sunlight availability |
Install the general glow first. Some homeowners love the whimsical feel of string lights draped overhead. Others prefer the classic look of wall sconces or post cap lights for that essential outdoor ambiance lighting.
Accent lighting is what gives your deck that “wow” factor. It’s purely decorative but can also guide the eye to interesting features. Consider installing small spotlights for plant beds or choose under-rail lights for a sleek, modern glow.
Check each zone after dark. Adjust angles and brightness levels as needed. Pay special attention to any glare or dark spots. Use dimmers or smart controls to fine-tune your deck lighting ideas.

A simple DIY setup might cost a few hundred dollars, while a more elaborate design or professional install can reach into the thousands.
LED bulbs are highly efficient and can save on electricity over time. Solar-powered fixtures cost nothing to operate once installed.
| Setup Type | Estimated Cost | Key Points |
| Basic DIY | $100–$300 | Simple LED or solar fixtures, easy install |
| Mid-Range DIY | $300–$800 | Mix of fixtures, possible low-voltage wiring |
| Professional | $800–$2,000+ | Higher-end materials, design, or complex wiring |
Learning how to layer lighting on your deck for a balanced design is all about combining different types of fixtures—ambient, task, and accent—to create the perfect environment. You’ll enjoy a warm, welcoming glow that enhances safety, elevates style, and transforms your deck into the go-to spot for gatherings. Whether you’re brainstorming deck lighting ideas or you want to create the perfect outdoor ambiance lighting scheme, layered lighting makes all the difference.
Ready to bring your deck to life? Check out our wide range of products at Tru-ScapesDeckLighting.com and start building the outdoor oasis you’ve always imagined. Whether you want a simple DIY upgrade or a professional-level installation, layered lighting ensures your space stands out.
Planning to light up your outdoor deck? Before you pick a fixture style or browse lighting kits, you need a
Upgrading your outdoor space doesn’t have to mean hiring an electrician or tearing up your deck boards to run conduit.