- FREE Shipping on all orders! Limited time!
- support@tru-scapes.com
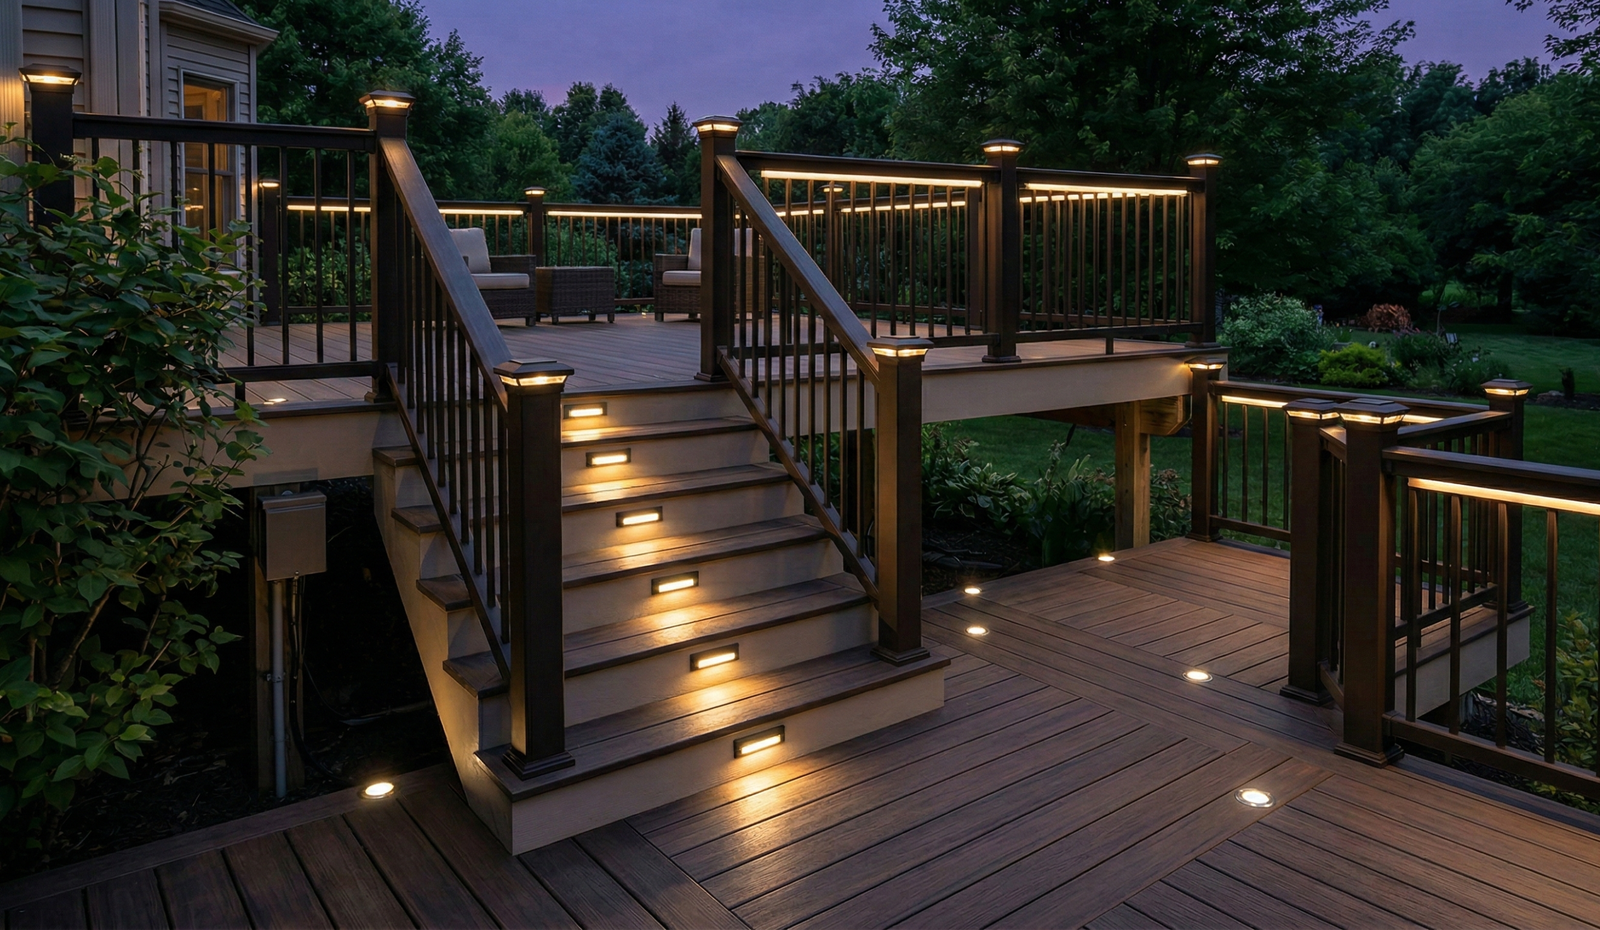
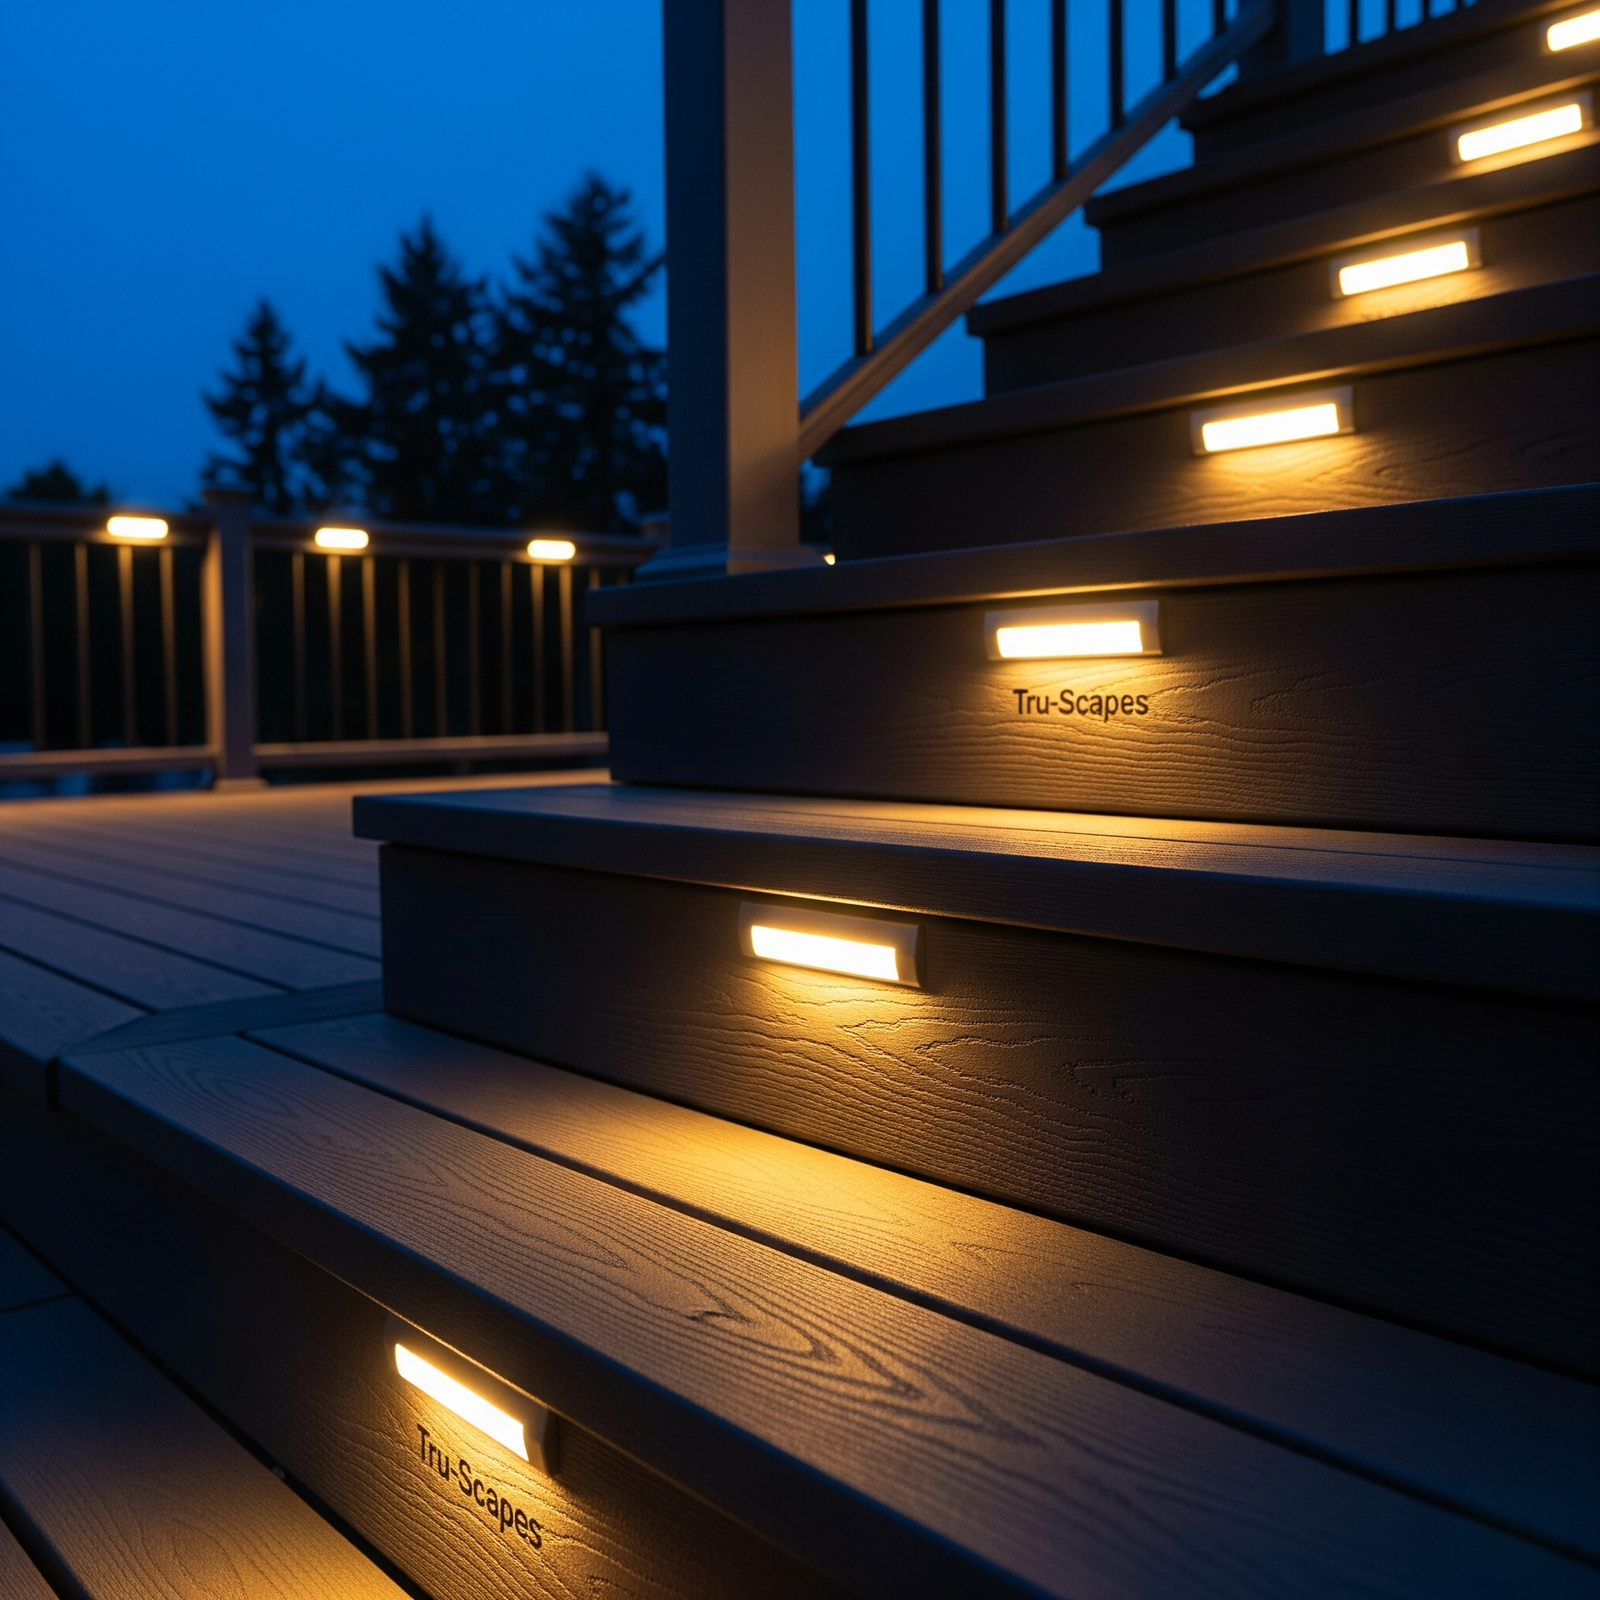
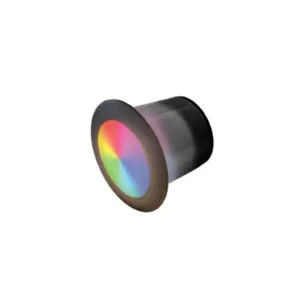
You spend hours planning your backyard oasis. You pick out the perfect Tru-Scapes post cap lights, map out the stair risers, and spend a weekend afternoon securing your low voltage wire connectors. Finally, you flip the switch, and the deck looks incredible. It’s the perfect atmosphere for your next barbecue.
But three months later, one light starts flickering. A week after that, a section of the railing goes dark completely.
It isn’t a bulb burnout, and the transformer is working fine. The culprit is almost always the smallest, cheapest part of the system: the wire connector.
Many homeowners overlook the importance of how the wires connect. They assume that if the lights turn on today, they will turn on forever. Unfortunately, outdoor electrical work battles the elements 24/7. Moisture, temperature changes, and soil acidity are constantly trying to break that connection.
In this guide, we are going to break down everything you need to know about low voltage wire connectors. We will tell you exactly which ones keep your lights burning bright and which ones will leave you in the dark.
 1")
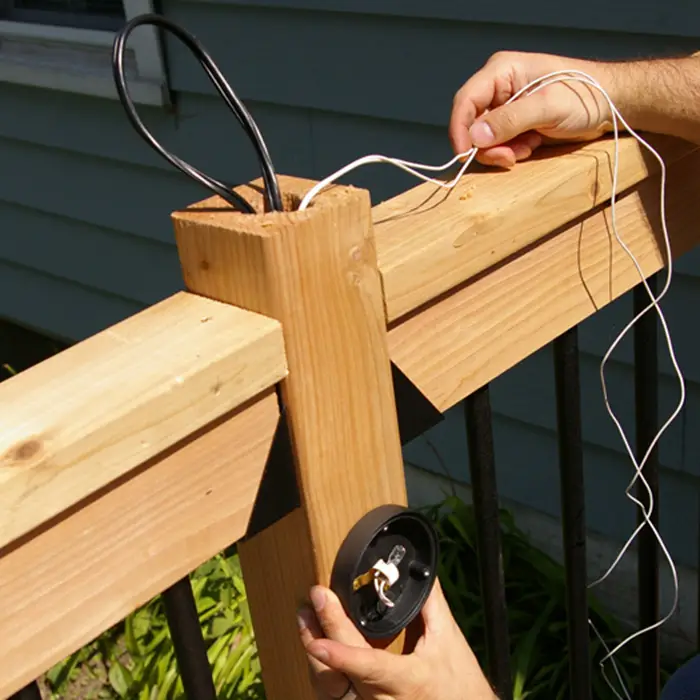
When you install a low voltage lighting system, you are essentially creating a long electrical circuit. The landscape lighting transformer sends 12 volts of power down a main run of wire. At each fixture, you have to tap into that power.
If the connection is loose, electricity can’t flow smoothly. This creates resistance. Resistance creates heat, which can violate National Electrical Code® safety standards. Eventually, that heat burns out the connection.
Even worse is corrosion. Copper wire turns green and brittle when exposed to water and oxygen. Once corrosion sets in inside a connector, it acts like an insulator, blocking the flow of electricity. Your light might still be perfectly functional, but it can’t get the power it needs.
Choosing the right connector is about “future-proofing” your investment. You want a connection that seals out water and holds the copper wires together tight, year after year.
Before we look at the best solutions, we need to address the elephant in the room. There are several types of connectors that are very popular but notoriously unreliable.
If you are buying professional-grade fixtures like the ones we offer at Tru-Scapes, we strongly recommend you avoid these specific types of connectors.
These are the black plastic clips that often come pre-attached to cheaper, big-box store light fixtures. The design idea seems great on paper. You sandwich the main wire between two pieces of plastic, squeeze them together, and sharp metal pins pierce the insulation to make contact with the copper inside.
Why they fail:
Some DIY enthusiasts strip the wires, twist them together, and wrap them in black electrical tape.
Why it fails:
These are the standard yellow or red twist-on caps you see electricians use inside your house behind light switches.
Why they fail:
If you want your deck lights to work for years without maintenance, you need silicone-filled waterproof wire nuts.
These look similar to standard wire nuts, but they are filled with a non-hardening silicone sealant. When you push the wires into the nut and twist, the silicone is forced around the copper strands, creating a waterproof seal.
Here is why professionals use them to align with UL-compliant safety practices:
| Feature | Pierce-Point Connectors | Dry Wire Nuts | Waterproof Silicone Nuts |
| Ease of Install | Very High | High | High |
| Water Resistance | None | Low | Excellent |
| Reliability | Low | Low (Outdoors) | Very High |
| Lifespan | 1-2 Years | 6 Months – 1 Year | 10+ Years |
| Best Use | Temporary displays | Indoor only | Permanent Landscape Lighting |
Using the right product is half the battle. Installing it correctly is the other half. Even the best waterproof connector can fail if the wires aren’t prepared properly.
Follow these steps for a connection that lasts.
If you are connecting a light to the low voltage main wire, cut the main wire where you want the light to be. You should now have two ends of the main wire and the lead wire from the fixture.
Separate the two strands of the main wire (usually 12-gauge or 14-gauge) by pulling them apart slightly. Do the same for the fixture wire.
Use proper wire strippers to remove about 1/2 inch to 3/4 inch of insulation from all the wire ends. Be careful not to nick the copper strands. If you cut the copper, cut the end off and try again. You need full strands for the best current flow.
You are going to make two connections.
Push the three wires into the silicone-filled wire nut. Twist the nut clockwise. Keep twisting until you feel resistance and the nut feels tight on the wires. You should see some silicone ooze out of the bottom—this is a good sign! It means the cavity is full and sealed.
Repeat this process for the second set of wires.
Give each wire a gentle tug. If any wire pulls out, the connection is bad. Take it off and retwist it. A loose wire is a fire hazard and a future lighting failure.
One specific challenge homeowners face is mixing different wire sizes.
Most low voltage main lines are 12-gauge wire (thicker). Most lighting fixtures, including our Tru-Scapes deck lights, come with 18-gauge or 16-gauge lead wires (thinner).
When you buy connectors, look at the packaging for the “Wire Range.” You want a connector that is rated to handle:
Common sizes for landscape lighting are usually Blue or Orange waterproof nuts. These sizes are specifically designed to grip a bundle of thick and thin wires simultaneously.
If your lights are acting up, check the connections first, as this is key to troubleshooting common deck light issues. Here is a quick guide to what might be happening based on the symptoms.
Symptom: One light is flickering.
Symptom: A whole section of lights is out.
Symptom: Lights are dim.
At Tru-Scapes, we pride ourselves on building heavy-duty, professional-grade deck and landscape lighting. We use materials like powder-coated aluminum and solid brass because we want them to look good for years.
However, the fixture is only as good as the power getting to it.
We don’t include cheap pierce-point connectors in our boxes because we know they fail. We believe that if you invest in high-quality lighting, you should use high-quality installation methods to wire your lighting like a pro. It takes an extra five minutes to strip wires and use a silicone-filled nut, but that five minutes saves you hours of troubleshooting in the mud a year later.
 2")
Energy-efficient outdoor lighting brings your home to life. It adds safety to your stairs and ambiance to your evening gatherings. Don’t let a fifty-cent piece of plastic ruin the effect.
By avoiding clip-on connectors and using proper silicone-filled waterproof wire nuts, you ensure your system remains safe, bright, and maintenance-free. It’s a small detail that makes a massive difference in the longevity of your outdoor lighting system.
Ready to light up your outdoor space the right way? Browse our collection of professional-grade Tru-Scapes Deck Lighting and get the durability your home deserves.
Why Post Cap Lights Deserve a Spot on Every Deck Most homeowners spend considerable time and money building or upgrading

Planning to light up your outdoor deck? Before you pick a fixture style or browse lighting kits, you need a