- FREE Shipping on all orders! Limited time!
- support@tru-scapes.com
Did you know that a well-lit fence can boost your home’s curb appeal by up to 20%? It’s true—strategic outdoor lighting doesn’t just make your yard look good; it adds a layer of charm and safety that every homeowner craves. If you’re a middle-aged homeowner in the United States with a passion for home decor and outdoor vibes, you’re in the right place. This guide is packed with practical fence lighting tips to help you achieve seamless illumination. You’ll learn how to install lights like a pro, choose the perfect post cap light installation options, and transform your backyard into a glowing masterpiece—all while tying in with the expertise from TruScapes Deck Lighting.
Let’s dive into the nitty-gritty of lighting up your fence line without the guesswork.

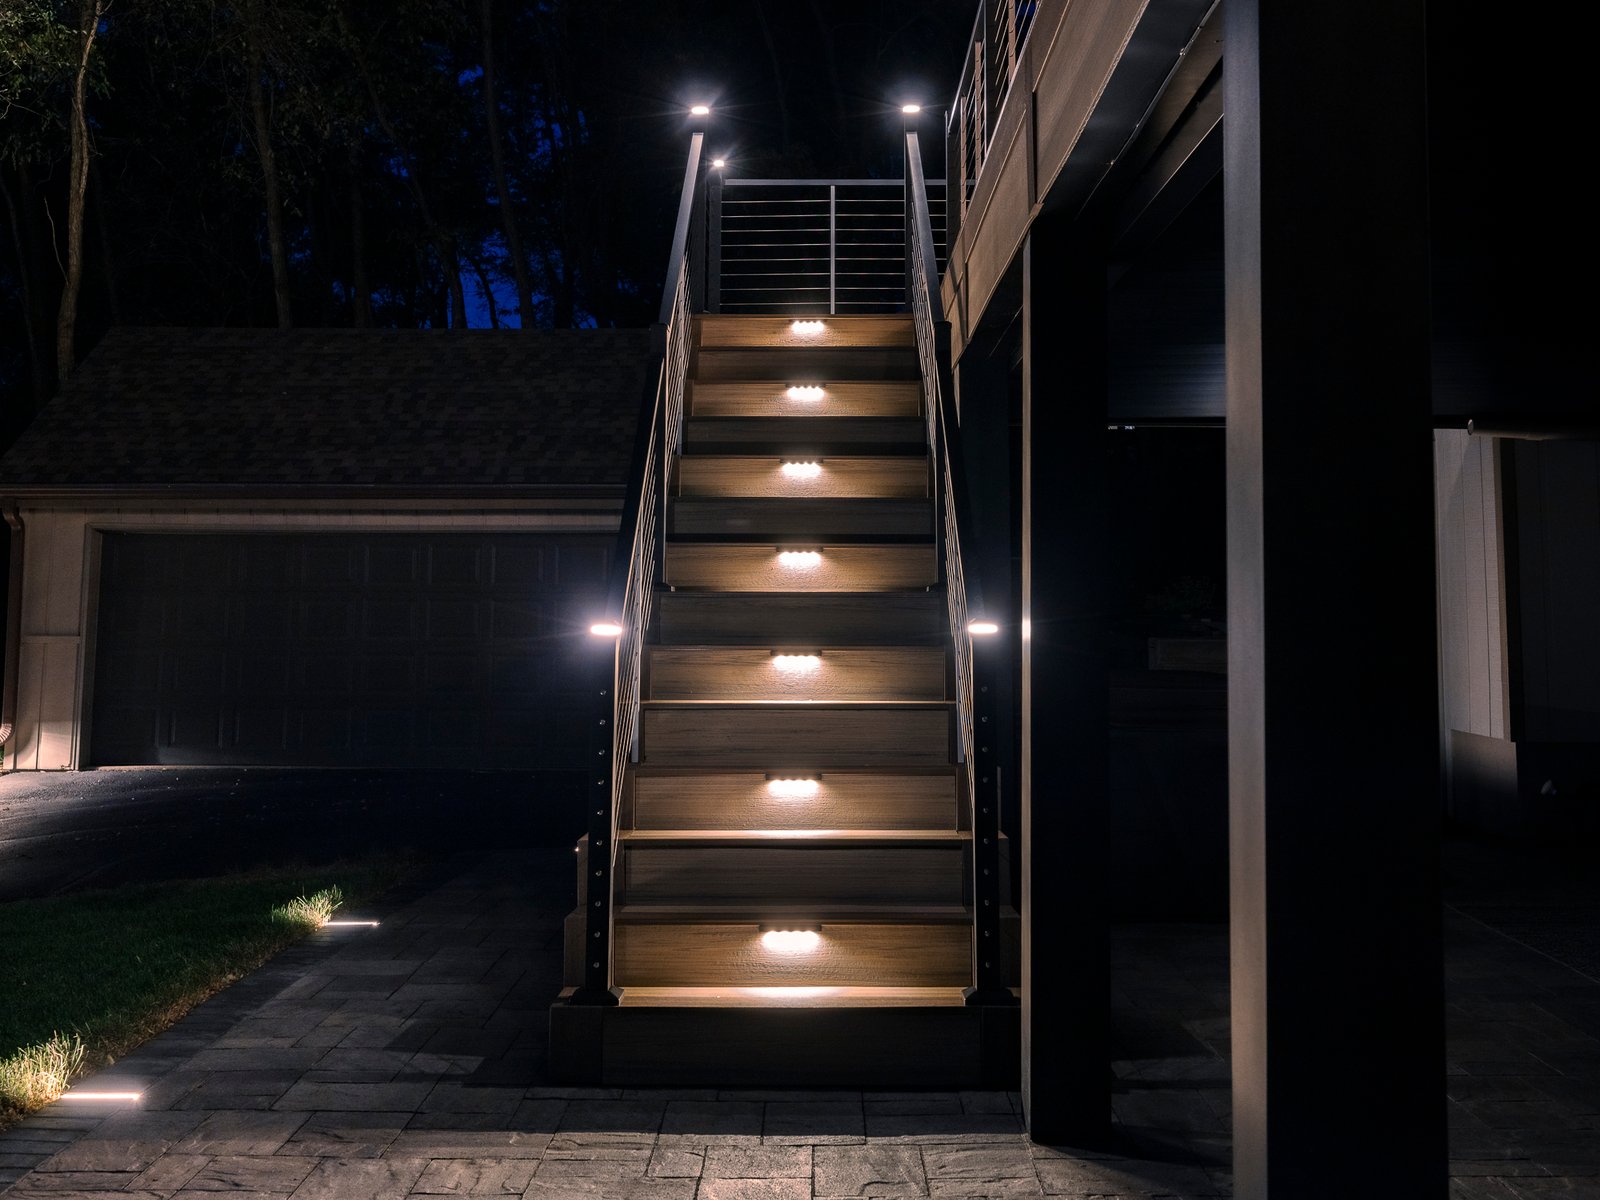
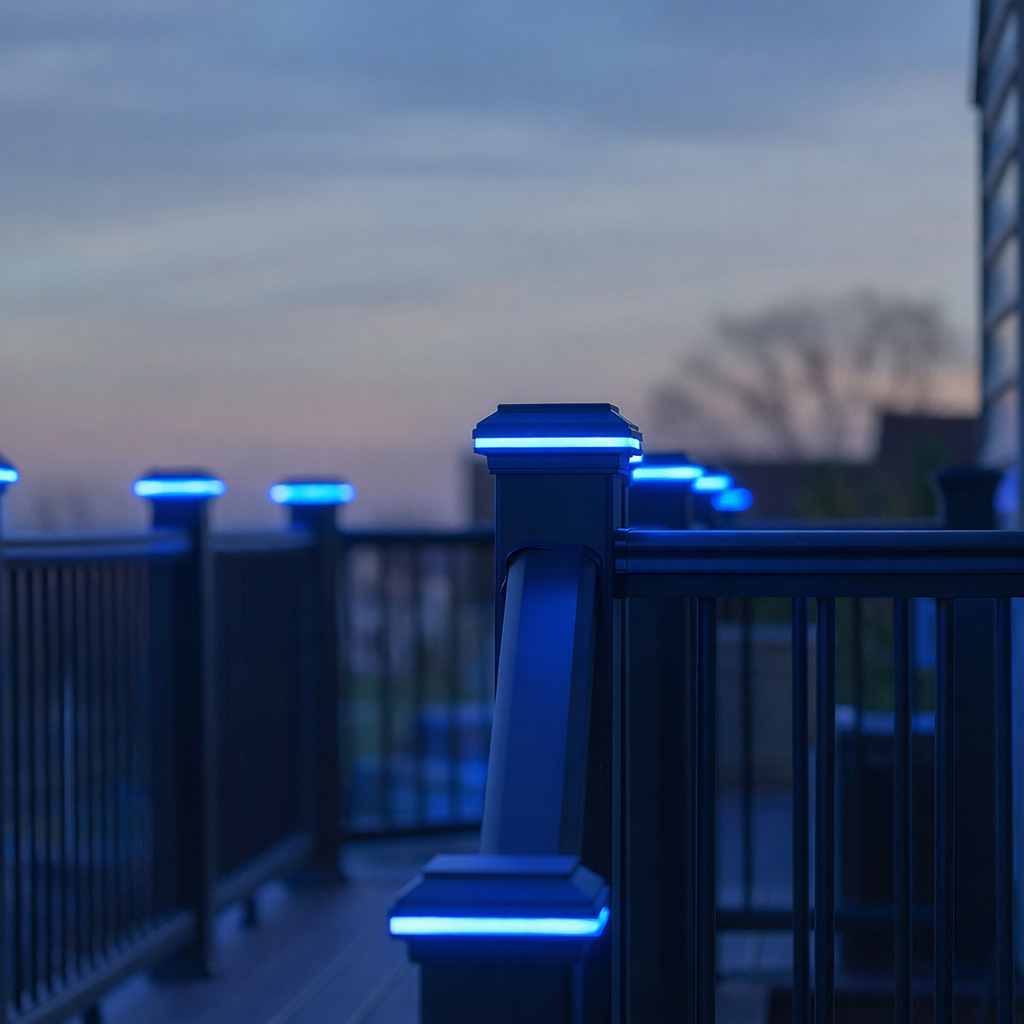
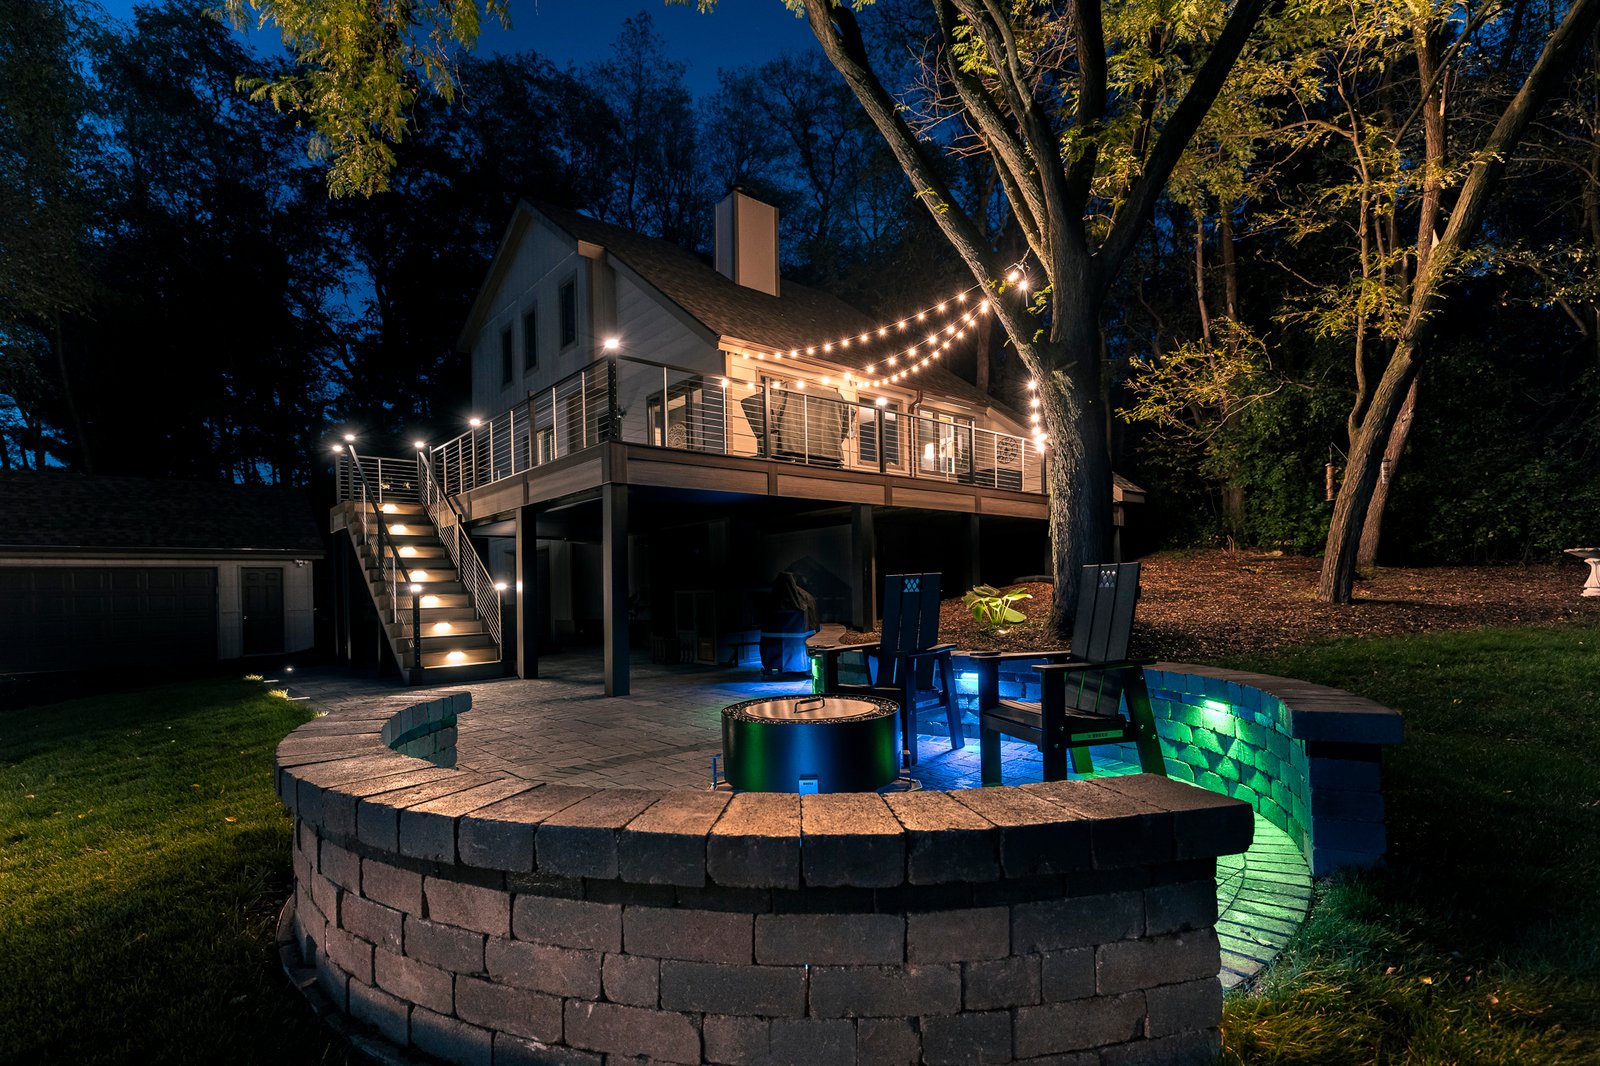
Your fence does more than mark boundaries—it’s a canvas for creativity. Adding outdoor fence lights turns a functional structure into a standout feature. It’s not just about aesthetics, either. A well-lit fence guides guests safely to your door, highlights your landscaping, and creates a cozy ambiance for those late-night patio hangs. Check out the benefits of post cap lights to see why they’re a game-changer. At TruScapes, we’re all about enhancing outdoor spaces with quality illumination, and your fence is the perfect place to start.
So, how do you get it right? Let’s break it down step by step.
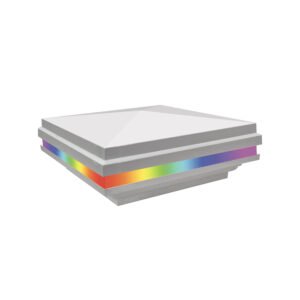
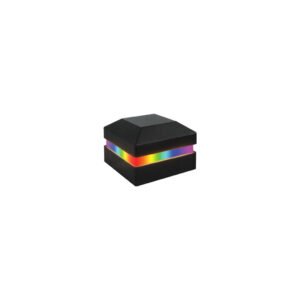
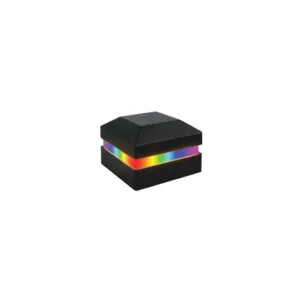
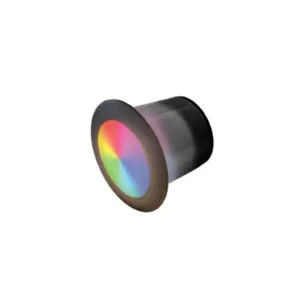
Before you grab a ladder and start drilling, pick lights that match your style and needs. At TruScapes, we specialize in hardwired, low-voltage lighting options that deliver consistent glow without fuss. Here’s what to consider:
Pro Tip: Measure your fence posts first. TruScapes offers post cap light installation options tailored to standard U.S. sizes—4×4 or 6×6 posts—so you’re not stuck with ill-fitting gear.
Good lighting starts with a solid plan. Grab a notepad and sketch your fence line. Where do you want the focus? Maybe it’s the gate where guests arrive or that corner where your hydrangeas steal the show. Here’s how to nail it:

Ready to get hands-on? Here’s your foolproof guide to fence lighting installation, TruScapes-style. If you’re new to this, our installation tips for beginners can ease you in:
FAQ Alert: How long does installation take? For a 50-foot fence, except 2–3 hours if you’re handy. Add an extra hour if it’s your first go.
Not sure which style suits you? Here’s a quick breakdown:
| Feature | Post Cap Lights | Side-Mounted Lights |
| Installation Ease | Easy—screw or snap on | Moderate—needs drilling |
| Light Spread | Downward, focused | Wider, directional |
| Best For | Uniform look | Path or plant highlights |
| Cost (per unit) | $20–$40 | $15–$30 |
Both options shine with TruScapes’ low-voltage systems, so you’re guaranteed durability and that seamless glow.
Even the best plans can trip up. Here’s what to dodge:
A friend once installed lights without a plan and ended up with a fence that looked like a runway—bright but blinding. Trust me, balance is key.
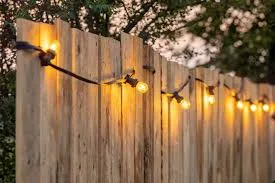
Want to level up? Add these TruScapes-friendly touches:
These extras tie into our low-voltage systems, keeping your setup sleek and functional. Curious about efficiency? The U.S. Department of Energy offers energy-saving lighting tips worth a peek.
At TruScapes Deck Lighting, we get it—outdoor lighting should be simple, stunning, and built to last. Our outdoor fence lights are designed with U.S. homeowners in mind, offering plug-and-play kits that don’t require an electrician. Plus, our focus on hardwired solutions means no fading glow or dead batteries—just consistent beauty for your backyard. The Illuminating Engineering Society’s lighting standards back up why quality matters, and we’re proud to meet that bar.
There you have it—your roadmap to flawless fence lighting. From picking the right post cap light installation to dodging rookie mistakes, these tips will turn your fence into a nighttime showstopper. Whether you’re highlighting your garden or welcoming guests, a little planning and the right tools (hello, TruScapes!) make all the difference. For more expert insights, the Lighting Research Center shares lighting research insights that align with our approach.
Now it’s your turn. Grab your lights, test these ideas, and watch your outdoor space transform. Got questions or a cool setup to share? Drop a comment below—we’d love to hear how you’re illuminating your slice of the American dream!
Why Color Changing Deck Lights Are Worth Every Penny There was a time when deck lighting meant a single floodlight
If you’ve ever stepped outside after sunset and struggled to navigate your own deck, you’re not alone. A deck too