- FREE Shipping on all orders! Limited time!
- support@tru-scapes.com
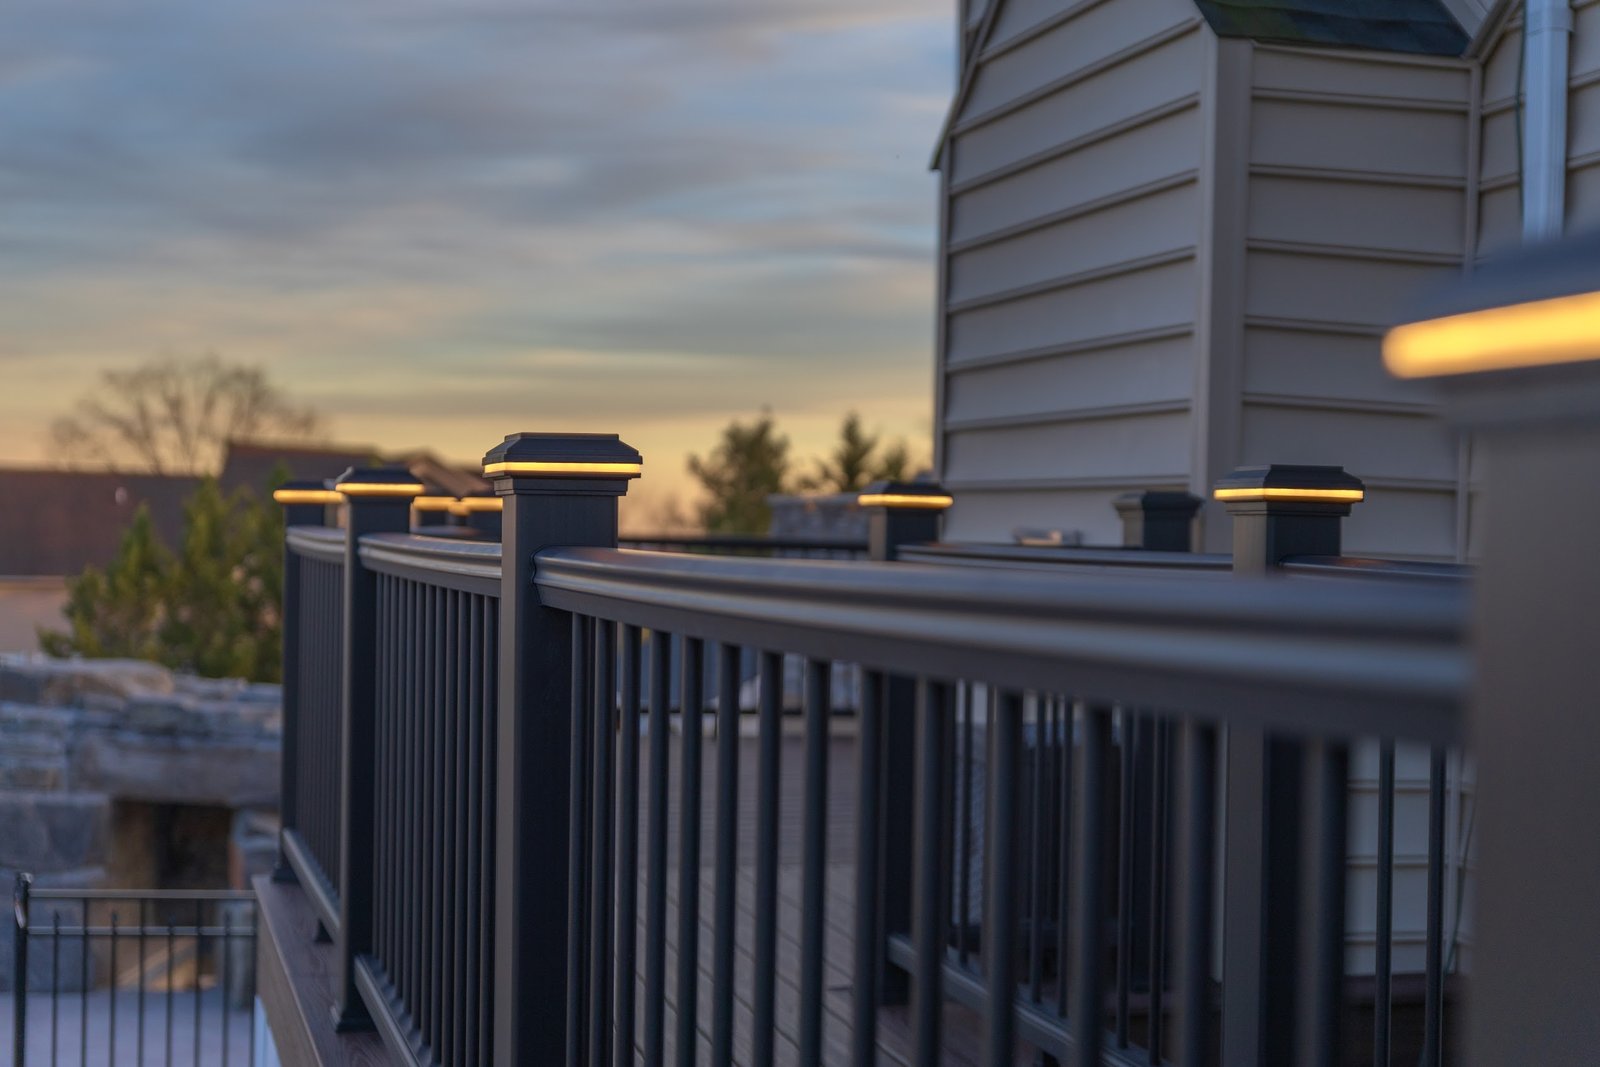
Your deck is an extension of your home — a space for summer dinners, late-night conversations, and weekend relaxation. But without the right lighting, it goes dark the moment the sun sets. Knowing how to choose deck railing lights is the first step toward transforming your outdoor space into a safe, welcoming, and visually stunning environment.
Deck railing lights serve two purposes: safety and ambiance. They illuminate steps and edges to prevent falls, while also adding the warm glow that turns an ordinary backyard into a destination. With dozens of styles, power options, and price points available, however, the choices can feel overwhelming.
This guide walks you through every decision — from picking the right style of outdoor deck lighting to understanding installation requirements and managing costs — so you can make a confident, informed choice.

- Learn how to choose deck railing lights by matching style, voltage, and weatherproofing to your setup.
- Solar, low-voltage (12V), and line-voltage (120V) are the three main power options.
- Waterproof deck lights rated IP65 or higher are recommended for all outdoor applications.
- Costs range from as low as $5 per light for solar fixtures up to $50+ for premium recessed deck lighting.
- Installation complexity varies — solar requires no wiring, while line-voltage systems need a licensed electrician.
- Post cap lights, step lights, and under-rail LED strips are the most popular styles for American decks.
Before you browse fixtures, it helps to understand what’s actually available. Deck railing lighting falls into a few broad categories, each with distinct strengths.
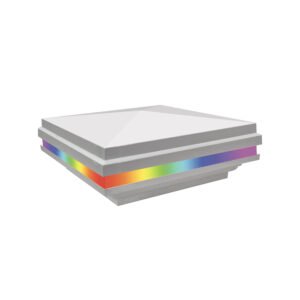
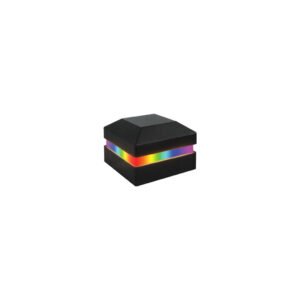
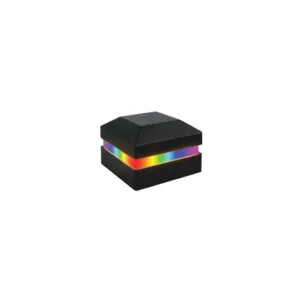
Deck post cap lights sit on top of railing posts and provide wide, downward-casting illumination. They come in solar, low-voltage, and hardwired versions. Post cap lights work best on decks with prominent newel posts and give an architectural, finished look.
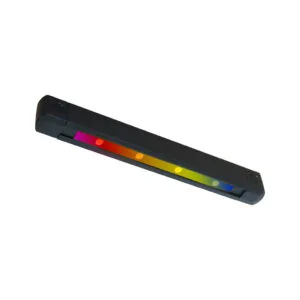
These strips mount beneath the top rail and cast a soft glow downward across the deck surface. LED strips are energy-efficient, flexible in placement, and available in both warm white and color-changing (RGB) configurations. If you want under deck lighting with a modern feel, LED strips are a top pick. For more inspiration, explore our creative ideas for under-deck lighting.
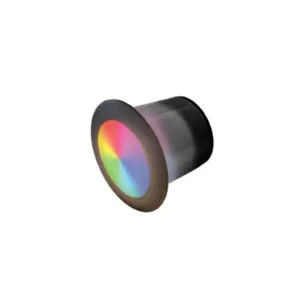
Recessed deck lighting is embedded directly into the deck boards or railing posts. Because the fixture sits flush, it provides a clean, minimalist look. Recessed lights are popular in contemporary deck designs. They require more complex installation but deliver impressive results. Check out our gallery of recessed deck lighting designs to see how they transform modern spaces.
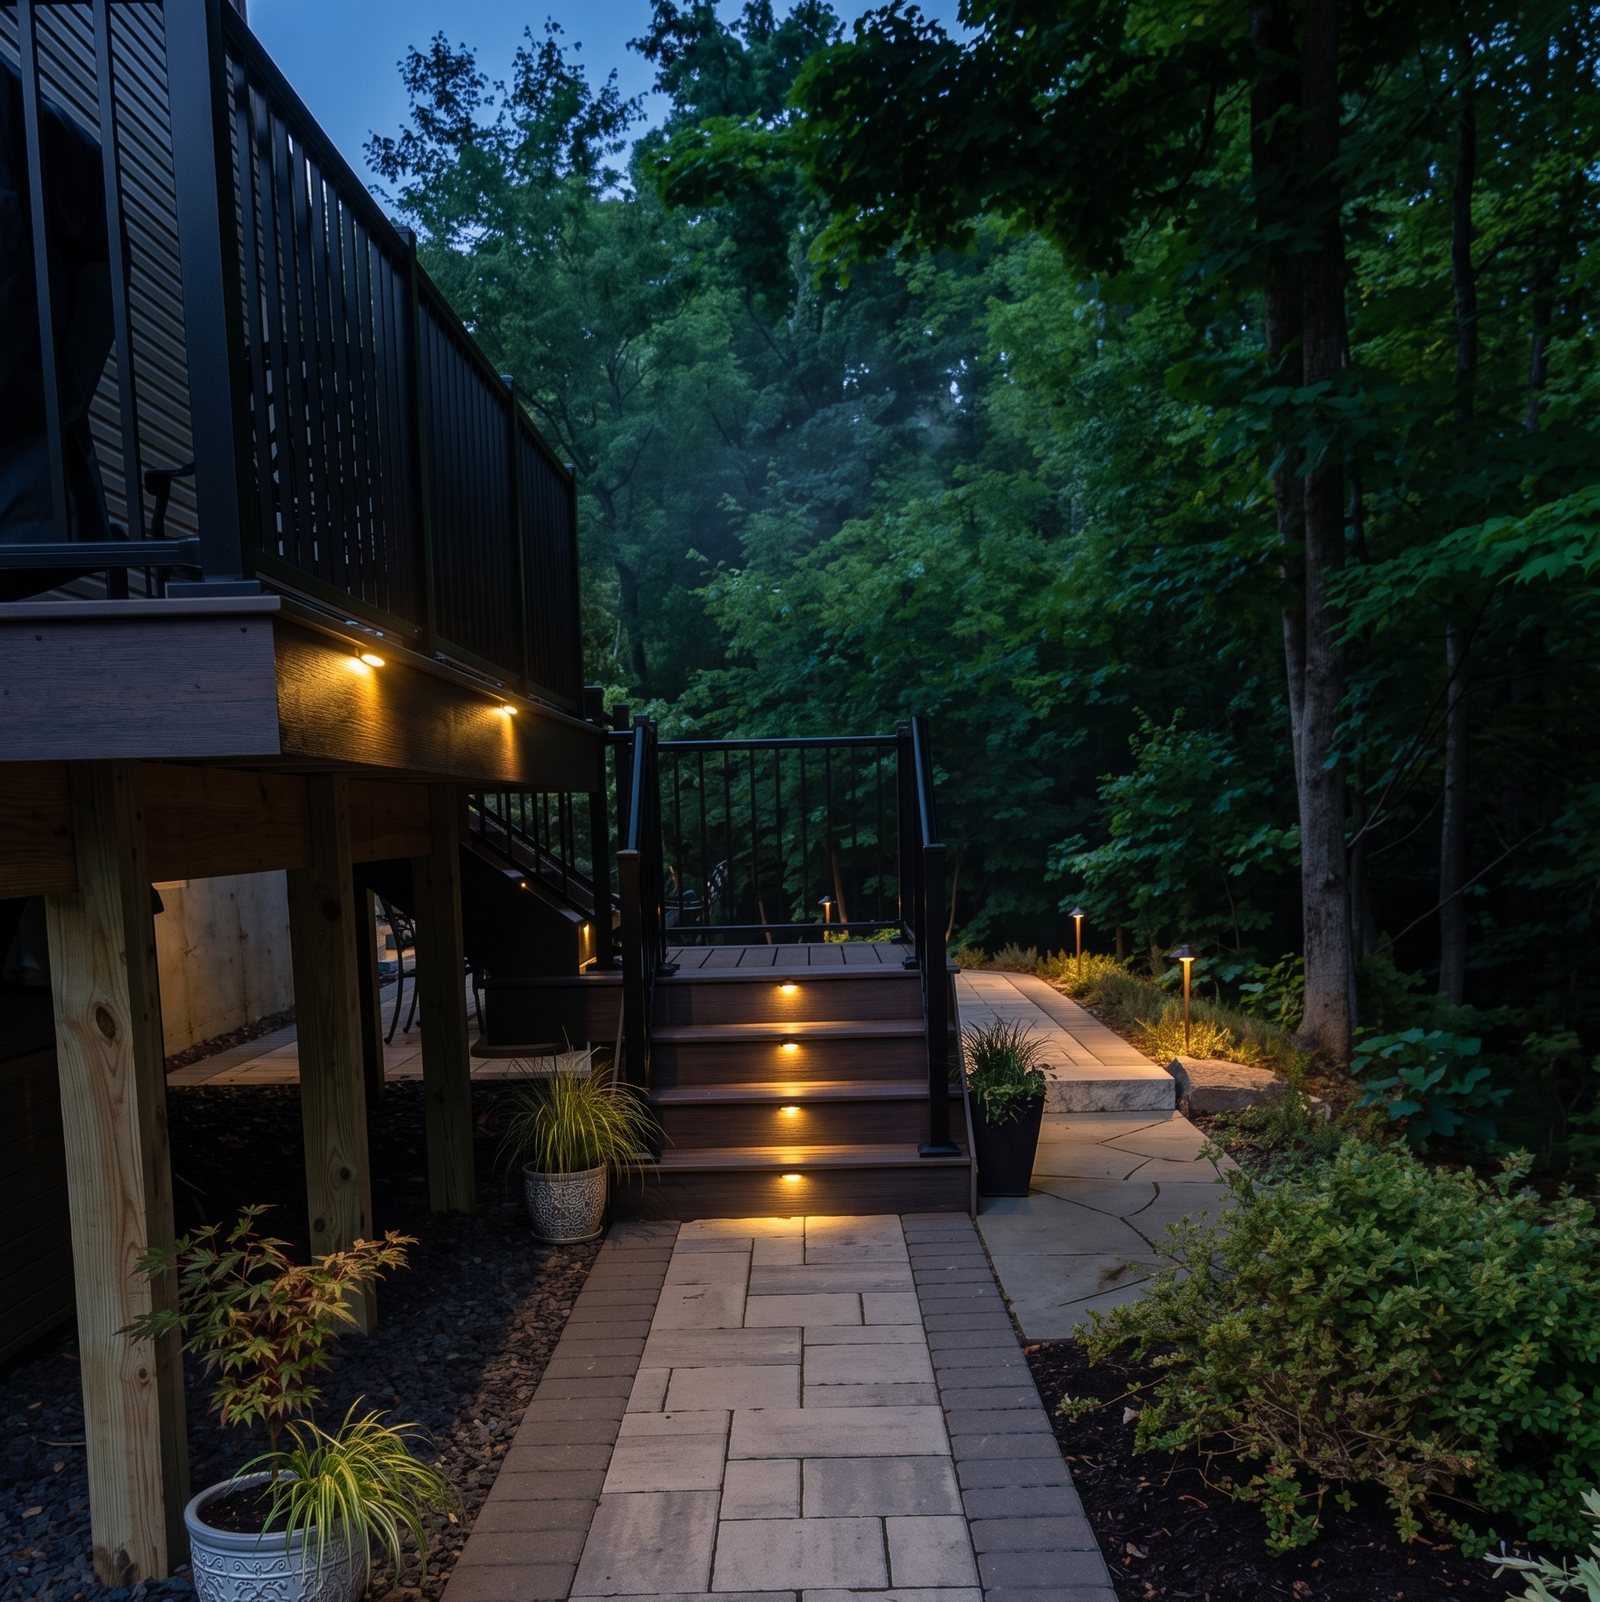
Deck step lighting illuminates each stair riser or tread, dramatically improving nighttime safety. Step lights are typically small, recessed units installed into the riser boards. They can be solar-powered or wired to a low-voltage transformer. If safety is your priority, learn why deck step lighting is essential for preventing accidents.
Mounted directly to posts or railing panels, these fixtures resemble miniature wall lights. They’re versatile and work well on both traditional and transitional deck styles.
| Type | Best For | Power Source | Avg. Cost Per Light | DIY Friendly? |
|---|---|---|---|---|
| Post Cap Lights | Classic/traditional decks | Solar or low-voltage | $15–$60 | Yes |
| LED Strip Lights | Modern decks, accent glow | Low-voltage or USB | $5–$25 per foot | Yes |
| Recessed Deck Lights | Contemporary, flush look | Low-voltage or 120V | $20–$80 | Moderate |
| Deck Step Lights | Safety on stairs | Solar or low-voltage | $8–$40 | Yes |
| Surface-Mount Sconces | Traditional/transitional | Low-voltage or 120V | $20–$70 | Moderate |
Power source is one of the most consequential decisions in any deck lighting project. Each option involves a different level of installation effort, ongoing cost, and flexibility.
Best for: Homeowners who want zero wiring and a low upfront cost. If your deck receives at least 6 hours of direct sunlight, solar deck lighting kits can perform reliably. They charge during the day and illuminate automatically at dusk.
The trade-off is brightness and consistency — solar lights tend to be dimmer than hardwired alternatives, and performance drops in cloudy or winter conditions. Not sure which path to take? Read our detailed comparison of solar vs. electric deck lights to decide what fits your needs.
Best for: Most residential decks. Low-voltage systems use a plug-in transformer and run thin cable throughout the deck. They offer a good balance of brightness, safety, and DIY-friendliness. Many deck lighting kits are sold as complete low-voltage systems. Discover the benefits of low-voltage deck lighting and why it’s often the smartest choice for homeowners.
Best for: Bright, permanent installations or commercial-grade setups. Line-voltage systems require a licensed electrician in most U.S. jurisdictions. They provide the brightest, most consistent output.
Low-voltage installation is the most popular DIY approach. Here’s how the process works from start to finish:
Pros:
Cons:
Pros:
Cons:
DO:
DON’T:
Not every lighting style suits every deck. Here are some conditional recommendations to help narrow your choices:
If you have a traditional wood deck with turned balusters, choose post cap lights in a bronze or black finish to complement the classic aesthetic. Warm white LEDs (2700K) will enhance the wood tones.
If you have a modern composite deck with cable railing, consider recessed deck lighting or LED strip lights under the top rail. These options keep lines clean and avoid hardware that clashes with the minimalist design. See our favorite recessed deck lighting designs for a clean, modern look.
If your primary concern is safety on stairs, prioritize deck step lighting installed in each riser. Even a few solar-powered step lights dramatically reduce tripping hazards at night.
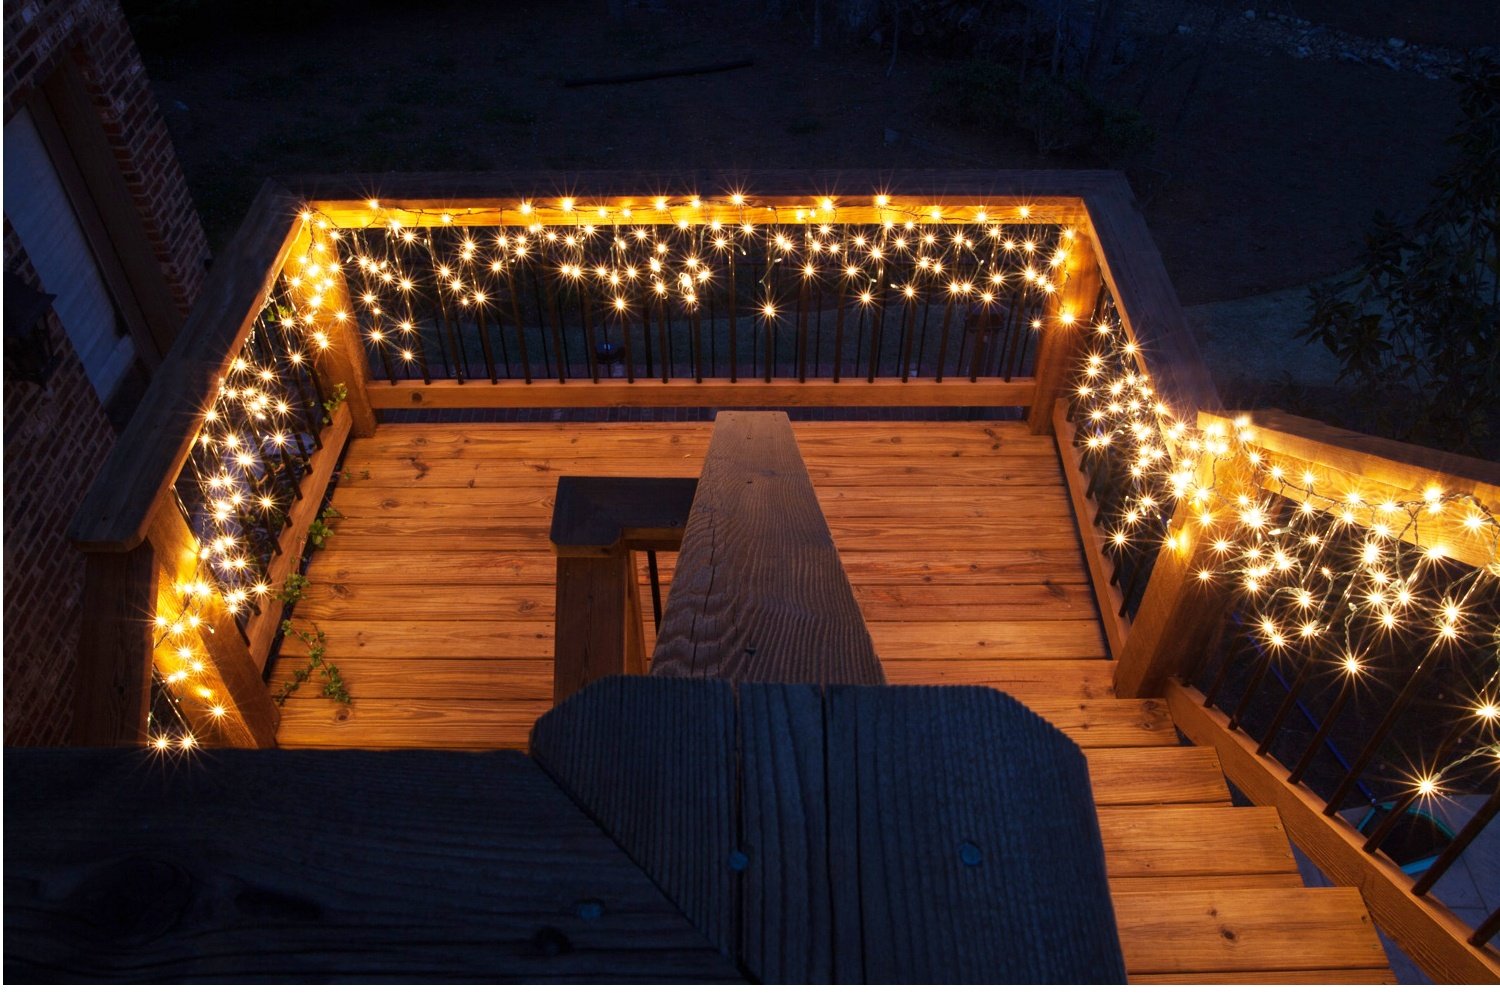
If you want mood lighting for entertaining, LED strip lights with a dimmer or color-changing controller give you the most flexibility. Many smart home-compatible kits work with Alexa and Google Home.
Budgeting for deck lighting depends on fixture count, power source, and labor. Here’s a general breakdown:
| Item | Low Estimate | High Estimate | Notes |
|---|---|---|---|
| Solar post cap lights (per unit) | $10 | $60 | No wiring cost |
| Low-voltage light fixtures (per unit) | $8 | $80 | Varies by style |
| Low-voltage transformer | $30 | $150 | One per system |
| Low-voltage cable (per 50 ft.) | $15 | $40 | |
| Electrician labor (if needed) | $75/hr | $150/hr | Required for 120V installs |
| Complete deck lighting kits | $50 | $300+ | Includes transformer + fixtures |
Industry estimates suggest a mid-range deck lighting project covering a 400–600 sq. ft. deck with a mix of post cap and step lights typically runs between $200 and $600 for materials, excluding electrician costs. According to the National Electrical Contractors Association (NECA), homeowners who hire a licensed electrician for outdoor lighting projects typically spend an additional $300 to $700 in labor. Note that using energy-efficient outdoor lighting standards set by the U.S. Department of Energy can help reduce long-term operating costs.
Scenario (Hypothetical): A homeowner in suburban Ohio has a 16×20 ft. pressure-treated pine deck with six newel posts and eight steps. She wants to improve nighttime safety and add ambiance for evening entertaining.
She chooses a low-voltage system with six post cap lights ($30 each), eight step lights ($15 each), and a 150-watt transformer ($80). Total materials: $380. She installs the system herself over a weekend using the manufacturer’s quick-connect cables. The GFCI outlet already exists on the back of the house.
Result: The deck is fully illuminated at night with warm white light, step hazards are eliminated, and the overall project took less than six hours. She uses the transformer’s timer to automatically turn lights on at dusk and off at midnight.
What is the best type of deck railing light for safety? Deck step lighting is the most safety-critical fixture. Installing lights in each stair riser significantly reduces the risk of nighttime trips and falls. Supplement with post cap lights to illuminate the railing perimeter.
Are solar deck lights worth it? Solar deck lights are worth it for low-traffic areas or where running cable is impractical. They work best in climates with consistent sunshine. For reliable, bright output year-round, low-voltage wired systems outperform solar. Read our breakdown of solar vs. electric deck lights to decide which fits your needs.
What IP rating do outdoor deck lights need? Look for a minimum IP65 rating for all outdoor deck lighting fixtures. IP65 indicates dust-tight construction and protection against water jets — sufficient for most U.S. weather conditions. IP67 or IP68 is preferable in high-moisture environments. Ensure your fixtures meet UL wet location ratings explained by industry safety experts.
Can I install deck lighting myself? Yes, if you’re using solar or low-voltage (12V) systems. Both are designed for DIY installation and require no electrical permits in most jurisdictions. Line-voltage (120V) installations require a licensed electrician and may require a permit.
How many lights do I need for my deck railing? A common guideline is to space post cap lights on every post (typically 6–8 ft. apart) and place step lights on every riser. For accent strip lighting, one strip per rail section is standard. Always check the transformer’s wattage rating to ensure it can support the total fixture load.
What color temperature is best for deck lighting? Warm white (2700K–3000K) is the most popular choice for residential decks. It creates a cozy, inviting ambiance. Cool white (4000K+) is better for utility-focused areas where visibility is the priority. Learn more about warm vs. cool deck lighting to match your home’s exterior.
Do deck lights need to be weatherproof? Absolutely. Any fixture used outdoors must carry a UL wet-location rating and an IP65 or higher rating. Using indoor or damp-rated fixtures outside will result in rapid failure, voided warranties, and potential safety hazards. Refer to our guide on choosing weatherproof deck lights before purchasing.
How do I hide wiring for deck railing lights? Route low-voltage cable through hollow post interiors, along the underside of rails, or through cable channels painted to match the deck. Many composite deck systems include pre-routed channels for lighting cables.
IP Rating (Ingress Protection): A two-digit code indicating a fixture’s resistance to dust and water. For example, IP65 means fully dust-tight and protected against water jets. Critical when selecting waterproof deck lights for outdoor use.
Low-Voltage Transformer: An electrical device that steps household current (120V) down to 12V for safe outdoor lighting. It is the central power hub for most low-voltage deck lighting kits.
GFCI Outlet (Ground Fault Circuit Interrupter): A special type of electrical outlet required by the National Electrical Code (NEC) for outdoor and wet-location circuits. It shuts off power instantly if a ground fault is detected, preventing shock hazards. Always follow established outdoor electrical safety guidelines when installing these.
Lumen Output: The measure of total visible light emitted by a fixture. Higher lumens mean brighter light. For deck railing lights used as accents, 50–150 lumens per fixture is typical; safety-focused step lights may need 200–400 lumens.

Deck railing lights are one of the highest-impact upgrades you can make to your outdoor living space. The right combination of post cap lights, step lighting, and accent strips transforms a darkened deck into a safe, beautiful extension of your home.
When learning how to choose deck railing lights, focus on three core decisions: style (post cap, recessed, step, or strip), power source (solar, low-voltage, or hardwired), and weatherproofing (look for IP65 or higher). From there, budget accordingly and choose a complete deck lighting kit if you’re a first-time installer.
With the options available today — from affordable solar post caps to sophisticated smart-home-integrated systems — there’s a deck railing lighting solution for every budget and every aesthetic. The best time to upgrade your deck lighting is before the season starts, so you can enjoy warm summer nights in style from day one.
Ready to light up your deck? Browse our complete deck lighting kits to find the perfect fit for your space.
Key Takeaways Outdoor steps are among the most overlooked elements of a deck design — until something goes wrong. A

Key Takeaways Every homeowner who has installed a string of bargain-bin landscape lights knows the frustration: within a single season,