- FREE Shipping on all orders! Limited time!
- support@tru-scapes.com

A well-lit deck extends your outdoor living space into the evening hours while enhancing safety and curb appeal. Installing deck lighting might seem intimidating, but with proper planning and the right approach, most homeowners can complete this project over a weekend. This comprehensive guide covers everything you need to install deck lighting safely and effectively, from choosing the right fixtures to connecting your system and troubleshooting common issues. Whether you’re adding subtle step lighting or creating an ambient entertainment space, you’ll learn the techniques professionals use to achieve lasting, beautiful results. Discover the benefits of low-voltage deck lighting—a safe, efficient, and smart choice for any homeowner.

Before you begin installation, understanding the available lighting types helps you make informed decisions for your specific needs.
Low-Voltage vs. Line-Voltage Systems
Low-voltage systems operate at 12 volts and represent the safest choice for DIY installation. These systems require a transformer to step down standard 120-volt household current, minimizing shock risk and simplifying code requirements. According to the U.S. Department of Energy’s guide to outdoor lighting, low-voltage LED systems are highly energy-efficient and ideal for residential use. Line-voltage systems deliver full household current and typically require licensed electrician installation due to safety regulations and permit requirements, as outlined in the National Electrical Code (NEC) requirements for outdoor circuits.
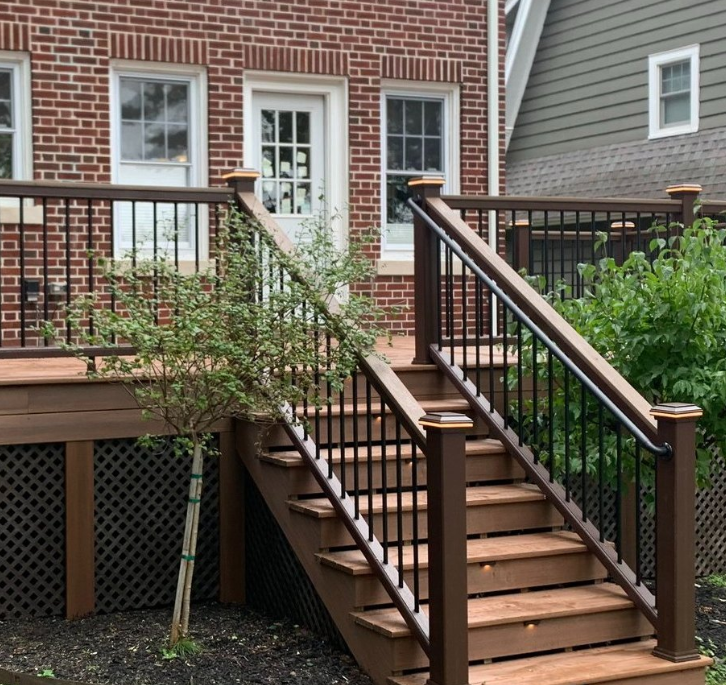
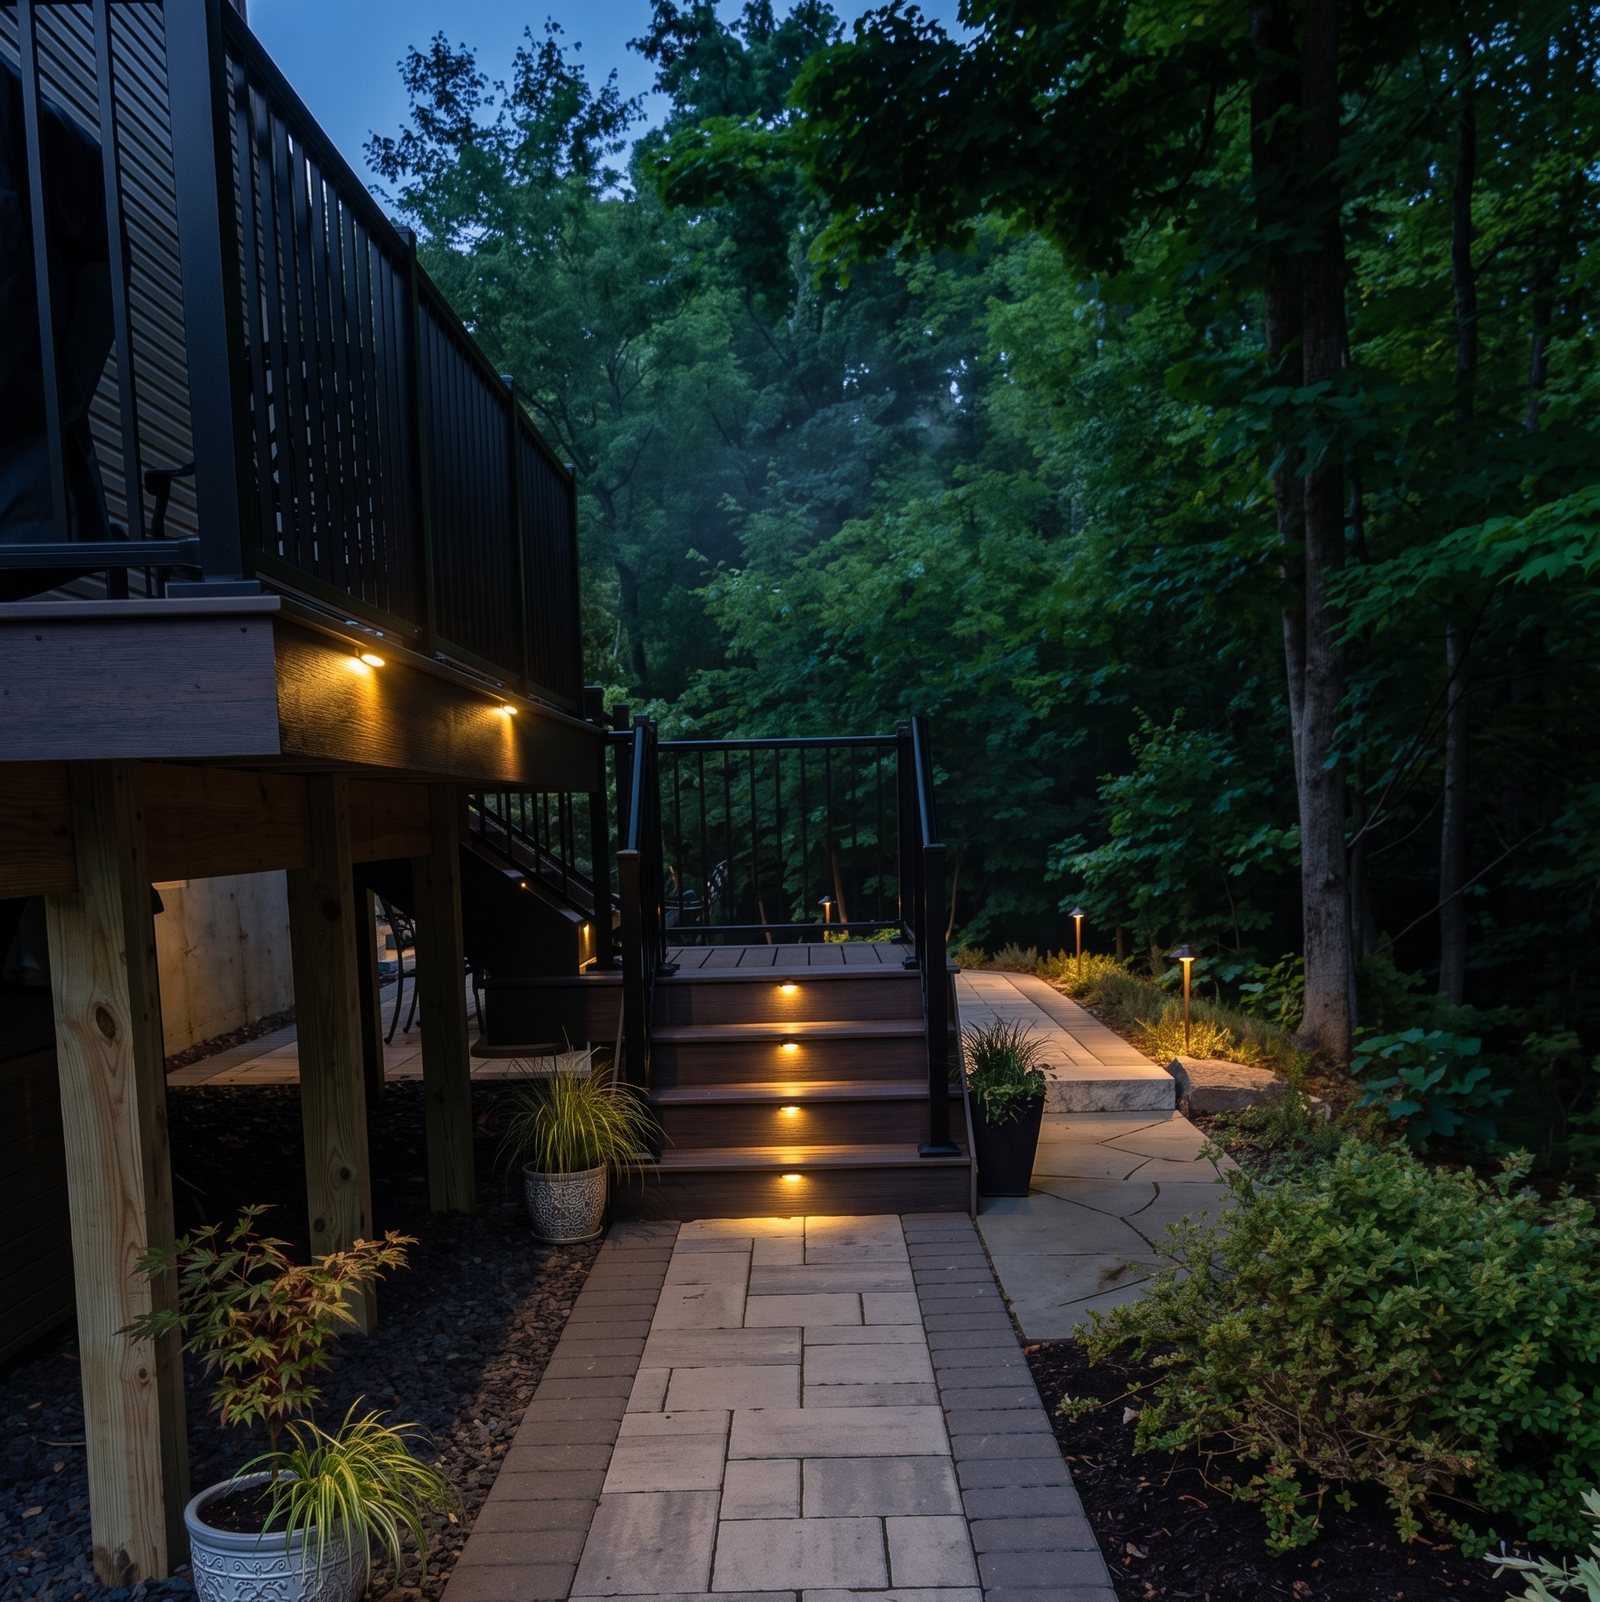
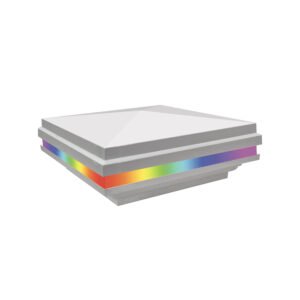
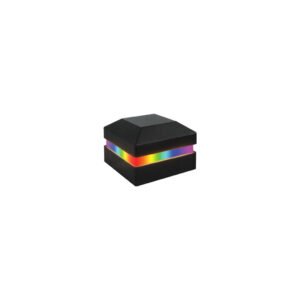
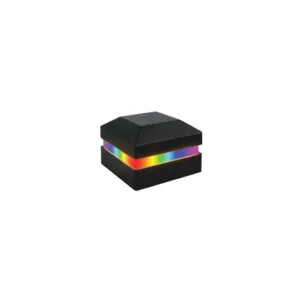
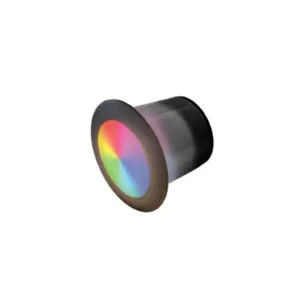
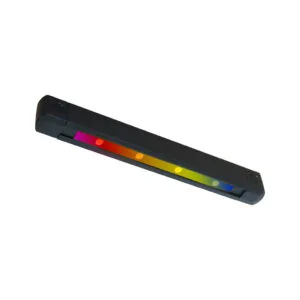
Common Deck Lighting Fixtures
Different fixture types serve distinct purposes in outdoor deck lighting design:
| Material | Durability | Cost | Best Use Case |
|---|---|---|---|
| Stainless Steel | Excellent (10+ years) | $ | Coastal or high-moisture environments |
| Aluminum | Very Good (7-10 years) | $$ | General outdoor use, corrosion-resistant |
| Plastic/Composite | Good (5-7 years) | $ | Budget-conscious projects, low-traffic areas |
| Brass | Excellent (10+ years) | $$ | Premium aesthetic, develops patina |
For guidance on selecting long-lasting fixtures, read our article on how to choose weatherproof deck lighting.
Strategic planning prevents installation headaches and ensures your lighting serves both functional and aesthetic purposes.
Assess Your Power Source
Locate the nearest GFCI-protected outdoor outlet or plan for an electrician to install one. Your transformer must connect to a dedicated outdoor outlet within six feet of its mounting location. If you need dramatic uplighting throughout your space, position your transformer centrally to minimize voltage drop across long wire runs.
Calculate Your Lighting Needs
Count the fixtures you’ll need based on deck zones. A typical 12×16-foot deck requires eight to twelve fixtures for adequate illumination. Multiply total fixture wattage by 1.25 to determine minimum transformer capacity—a 150-watt transformer handles up to 120 watts of connected lighting. For detailed guidance, refer to our complete guide to landscape lighting transformers. If you need extensive coverage across a large deck, choose a transformer rated 25-30% above your calculated load.
Create a Lighting Map
Sketch your deck layout and mark fixture locations. Space deck railing lights every 4-6 feet for consistent illumination. Position deck step lighting at each tread for maximum safety. Place recessed deck lighting at corners and high-traffic areas. This visual plan becomes your installation roadmap and helps calculate exact wire lengths.
Essential Tools:
Required Materials:
For expert wiring tips, check out our guide on professional tips for wiring deck lighting.
Mount your transformer near a GFCI outlet in a protected location away from direct weather exposure. Most transformers include mounting brackets—secure these to a wall or post using corrosion-resistant screws. Connect the transformer to the outlet but leave it unpowered during installation. Many modern transformers include photocells or timers; position the photocell where it receives natural light without obstruction.
Starting from the transformer, run your main wire along the deck perimeter. If you’re working with under deck lighting installation, route wire through joist spaces. For surface installations, use cable staples every 18-24 inches to secure wire against deck framing, keeping it hidden from view. Bury any ground-level wire runs at least 6 inches deep in protective conduit.
Remove existing post caps if present. Many deck post cap lights include built-in wire channels—feed your wire through the post interior or along the outer edge, securing it with staples. Connect fixture wires to your main line using waterproof wire connectors, ensuring positive connects to positive and negative to negative. Slide the post cap onto the post and secure according to manufacturer instructions. Apply silicone sealant around the base to prevent water infiltration.
Mark recessed light locations on deck boards, typically centering them between joists. Use a hole saw matching your fixture diameter to cut openings. Before drilling, verify no structural members or utilities occupy the space below. Insert the fixture housing, connect wires using waterproof connectors, and secure the trim ring. Quality recessed deck lighting includes gaskets—ensure these seat properly to maintain waterproof integrity.
Most deck railing lights clip or screw onto horizontal rails. Measure and mark equal spacing between fixtures. Drill pilot holes if required, then attach mounting brackets. Connect fixture wires to your main line at each location, again using waterproof connectors and ensuring correct polarity. Test each connection before final mounting.
With all fixtures installed and connected, verify all wire connections are secure and properly insulated. Turn on your transformer and check each fixture. Use a voltage tester to confirm proper voltage at fixtures furthest from the transformer—readings should remain within 10.5-12 volts. If you notice dim lights at distant fixtures, you may need to upgrade wire gauge or add a second transformer circuit.
Adjust any directional fixtures to aim light where needed. Apply additional silicone sealant around all penetrations through deck boards. Coil and secure excess wire in hidden locations using cable ties. Program your transformer timer for desired operation hours.
Do:
Don’t:
Pros:
Cons:
For a real-world perspective on costs and outcomes, see our breakdown in how to budget for a stunning deck lighting project.
Flickering or Dim Lights
This typically indicates voltage drop from inadequate wire gauge or excessive circuit length. If you need consistent brightness across your entire deck, upgrade to heavier gauge wire (12-gauge instead of 14-gauge) or split your lighting into multiple transformer circuits.
Lights Won’t Turn On
Check transformer power connection first, then verify all wire connections for correct polarity. Use your voltage tester at the transformer output—if voltage is present there but not at fixtures, you have a connection fault along your wire run.
Water in Fixtures
Improper sealing allows moisture penetration. Disassemble affected waterproof deck lights, dry all components thoroughly, and reassemble with fresh silicone sealant. Ensure drainage holes (if present) remain unobstructed.
Inconsistent Timer Operation
Photocells require unobstructed light exposure. If your lights operate erratically, relocate the sensor or switch to programmable digital timer control.
The Martinez family installed outdoor deck lighting on their 200-square-foot elevated deck. They chose a combination approach: eight recessed deck lighting fixtures in the main deck surface, four post cap lights on corner posts, and six deck step lighting units on their stairway. Using a 300-watt transformer with photocell control, they completed installation over two weekends. Their material cost totaled approximately $650, while professional installation quotes ranged from $1,800 to $2,400. Two years later, their system continues operating without issues, and they’ve since added under deck lighting beneath their stairs using the existing transformer’s excess capacity.
Complete deck lighting kits simplify the buying process by including coordinated fixtures, transformer, wire, and connectors. When evaluating kits, verify the transformer capacity matches your needs with 20% excess capacity for future expansion. Quality kits from reputable manufacturers include LED fixtures with 25,000-hour lifespans and comprehensive installation instructions.
If you need maximum flexibility in fixture selection, purchasing components separately allows precise customization. However, deck lighting kits typically cost 15-20% less than equivalent individual components while ensuring compatibility.
Annual maintenance extends your system’s lifespan and maintains optimal performance. Each spring, inspect all fixtures for moisture intrusion, clean lenses with mild soap and water, and verify all wire connections remain secure. Replace any damaged waterproof deck lights immediately to prevent moisture from spreading to other components.
LED fixtures in modern installations rarely require bulb replacement, but if you installed traditional incandescent or halogen fixtures, keep spare bulbs on hand. Most outdoor deck lighting failures result from connector corrosion rather than fixture malfunction—quality waterproof connectors filled with dielectric grease prevent this issue.
How long does it take to install deck lighting?
Most homeowners complete installation in 8-16 hours spread across one or two weekends, depending on deck size and fixture complexity.
Do I need an electrician to install deck lighting?
Low-voltage deck lighting systems are DIY-friendly and don’t require licensed electricians in most jurisdictions, though checking local codes is recommended.
What’s the best voltage for deck lighting?
Twelve-volt low-voltage systems offer the ideal balance of safety, ease of installation, and adequate brightness for outdoor deck lighting applications. Learn more about why low-voltage deck lighting is the smart choice.
How much does deck lighting installation cost?
DIY installations typically cost $400-$1,200 in materials, while professional installation ranges from $1,500-$4,000 depending on deck size and fixture quality.
Can I install deck lighting on existing decks?
Yes, existing decks accommodate lighting retrofits easily, especially with surface-mounted fixtures like post cap lights and deck railing lights.
How do I calculate the right transformer size?
Add total fixture wattage and multiply by 1.25 to determine minimum transformer capacity, ensuring 20-25% overhead for system reliability. See our ultimate guide to low-voltage transformers for more details.
What spacing is best for deck lights?
Space deck railing lights 4-6 feet apart, recessed fixtures 6-8 feet apart, and install deck step lighting at every tread for optimal coverage.
Are solar deck lights worth considering?
Solar fixtures work for accent lighting but lack the reliability and brightness of low-voltage wired systems for primary deck illumination. Compare your options in our guide to solar vs. electric deck lighting.
How deep should I bury deck lighting wire?
Bury wire at least 6 inches deep when running across ground level, preferably in PVC conduit for added protection.
What’s the lifespan of LED deck lights?
Quality LED fixtures typically last 25,000-50,000 hours, translating to 10-20 years of normal evening use.
Transformer: An electrical device that converts standard 120-volt household current to safe 12-volt power for low-voltage lighting systems, typically including built-in circuit protection. For a deeper dive, explore our comprehensive guide to landscape lighting transformers.
Voltage Drop: The reduction in electrical voltage that occurs as current travels through wire over distance, potentially causing distant fixtures to appear dimmer than those near the transformer.
GFCI (Ground Fault Circuit Interrupter): A specialized outlet that immediately cuts power when detecting electrical current leakage, required for all outdoor electrical connections to prevent shock hazards. Safety standards are reinforced by findings from the U.S. Consumer Product Safety Commission deck safety data.
Lumens: The measurement of total light output from a fixture, with higher numbers indicating brighter illumination—most deck lighting fixtures produce 50-200 lumens per unit.

Installing deck lighting transforms your outdoor space into a functional, beautiful extension of your home that you can enjoy long after sunset. By following this systematic approach—from careful planning and proper fixture selection through methodical installation and thorough testing—you’ll achieve professional-quality results that enhance both safety and ambiance. The skills you’ve learned apply to various outdoor lighting projects, making future improvements easier. Whether you installed recessed deck lighting for subtle elegance or bold post cap lights for dramatic effect, your new lighting system will provide years of reliable service with minimal maintenance. Take pride in your accomplishment, and enjoy your newly illuminated outdoor living space.
Ready to start your deck lighting project? Gather your materials, review your plan one final time, and transform your deck into an inviting evening retreat.
Getting deck lighting transformer sizing right is one of those decisions that sets the tone for your entire outdoor lighting

When the sun goes down, a well-lit deck becomes the centerpiece of your backyard. But achieving that effect requires more